 This past Christmas my kids gave me the Veritas MK II Honing Jig. My first reaction to this is, it rocks!
Years ago I bought an inexpensive honing jig and I never had much luck with it. I decided to forgo using it as I figured out that I was able to do a better job with free hand sharpening my chisels and plane blades. The results were okay, but often I felt that the edges were not as sharp as they could be. I had also noticed that a couple of the bigger chisels had a very slight skew that most likely was introduced by me not holding them down with equal pressure. I also really had no control over the bevel. While I worked to maintain the same bevel that was already established. I like having a micro-bevel on my blades and while it is possible to do this freehand, but it would always be at an inconsistent angle. Finally, I almost always walked away with my finger tips with very thin cuts, similar to paper cuts.
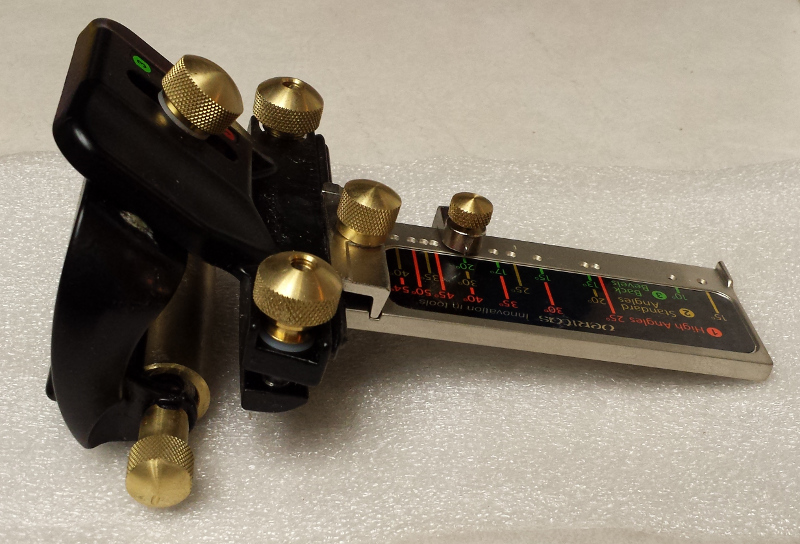
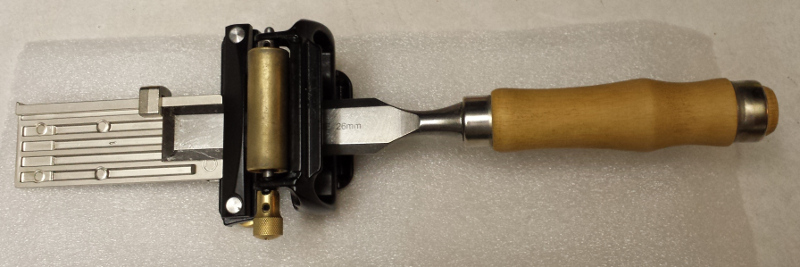 The honing jig from Veritas solves all the above frustrations I had with sharpening free hand. The jig includes a gauge that sets the distance the blade is exposed so that bevel angle is the same for every blade. The gauge is adjustable to a variety of angles that are commonly used. There are two thumb screws that once the blade is lined up are used to tighten the clamp that holds the blade in place. One thing that needs to be taken care of is that these thumb screws are providing equal pressure so as to not inadvertently introduce skew. Thank you to Roger T who pointed this out to me before I learned this the hard way! The jig also provides a switch on it that allows a quick and easy way to put a consistent micro-bevel on every blade. The wheel on the jig allows for very smooth operation allowing for a very consistent motion for sharpening. At first glance the jig looks complicated because of all the various adjustments it allows, but once everything is set, it is actually very quick and easy to use.
 As a first go around with this jig, I sharpened my entire chisel set, 11 in all, ranging from an 1/8″ up to 1 1/2″ wide chisels. Each one got sharpened at a 1000 grit, 4000 grit, and finally an 8000 grit wet stone. I got through all 11 chisels fairly quickly. The edge that was produced is definitely superior to the edge I was creating going freehand. I will definitely be using this jig for sharpening all my hand tools from here on out!
 Two quick tool gloats. Back in April, I went to the Lie-Nielsen tool event host at the Popular Woodworking Magazine headquarters near Cincinnati Ohio. I had a great time there, but also picked up their new tapered cross-cut saw. I have used it a couple of times to help lay out some short dados, and it is a great saw. While I was at the tool event I tried out their new tapered dovetail saw. I did not buy it yet as I have the Veritas saw, but I can tell you , Lie-Nielsen has a winner there! This may be a future purchase for me. I have also been wanting to update my jack plane, as the one I have is not well made Stanley Handyman. I tried out the #62 while I was there, and I am seriously considering that as the replacement for the jack plane.
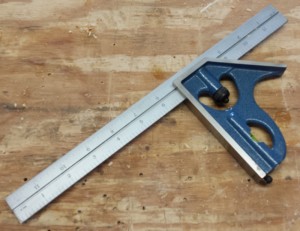 Last weekend I also swung by Gerstner’s yearly warehouse sale. While they had a real nice discount on most of the stuff there, one of their tool chests is unfortunately outside my budget. I will say this though, they are beautifully made chests. Maybe some day! 🙂 I didn’t leave empty-handed though. They at want time sold rebranded PEC squares and they were closing them out for a very low-cost. So I picked up a nice, and much-needed, 12″ combination square.
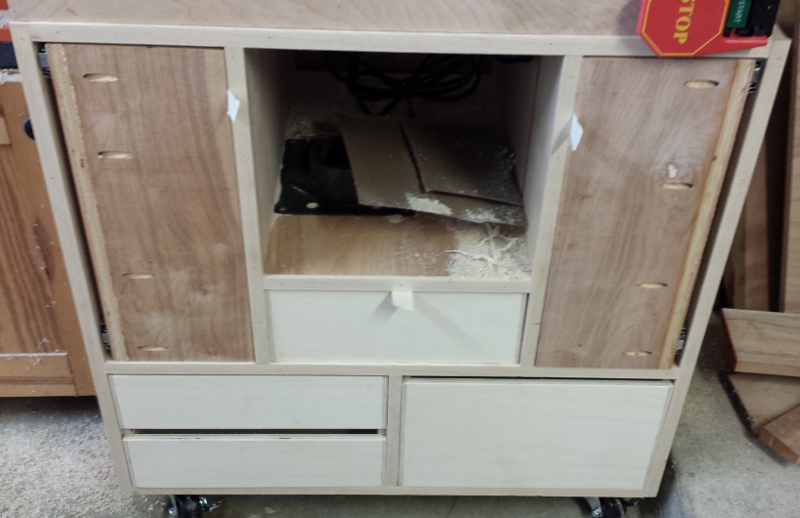
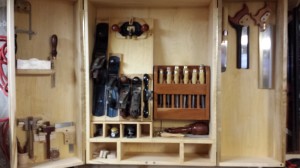 Finally, I did some shop maintenance as well. First I rearranged a few things in the hand tool cabinet so it can better accommodate my now growing collection of hand saws. I actually started using the second door, and moved my hand saws over to it. I still need to make the drawers for cabinet though. One of these days!
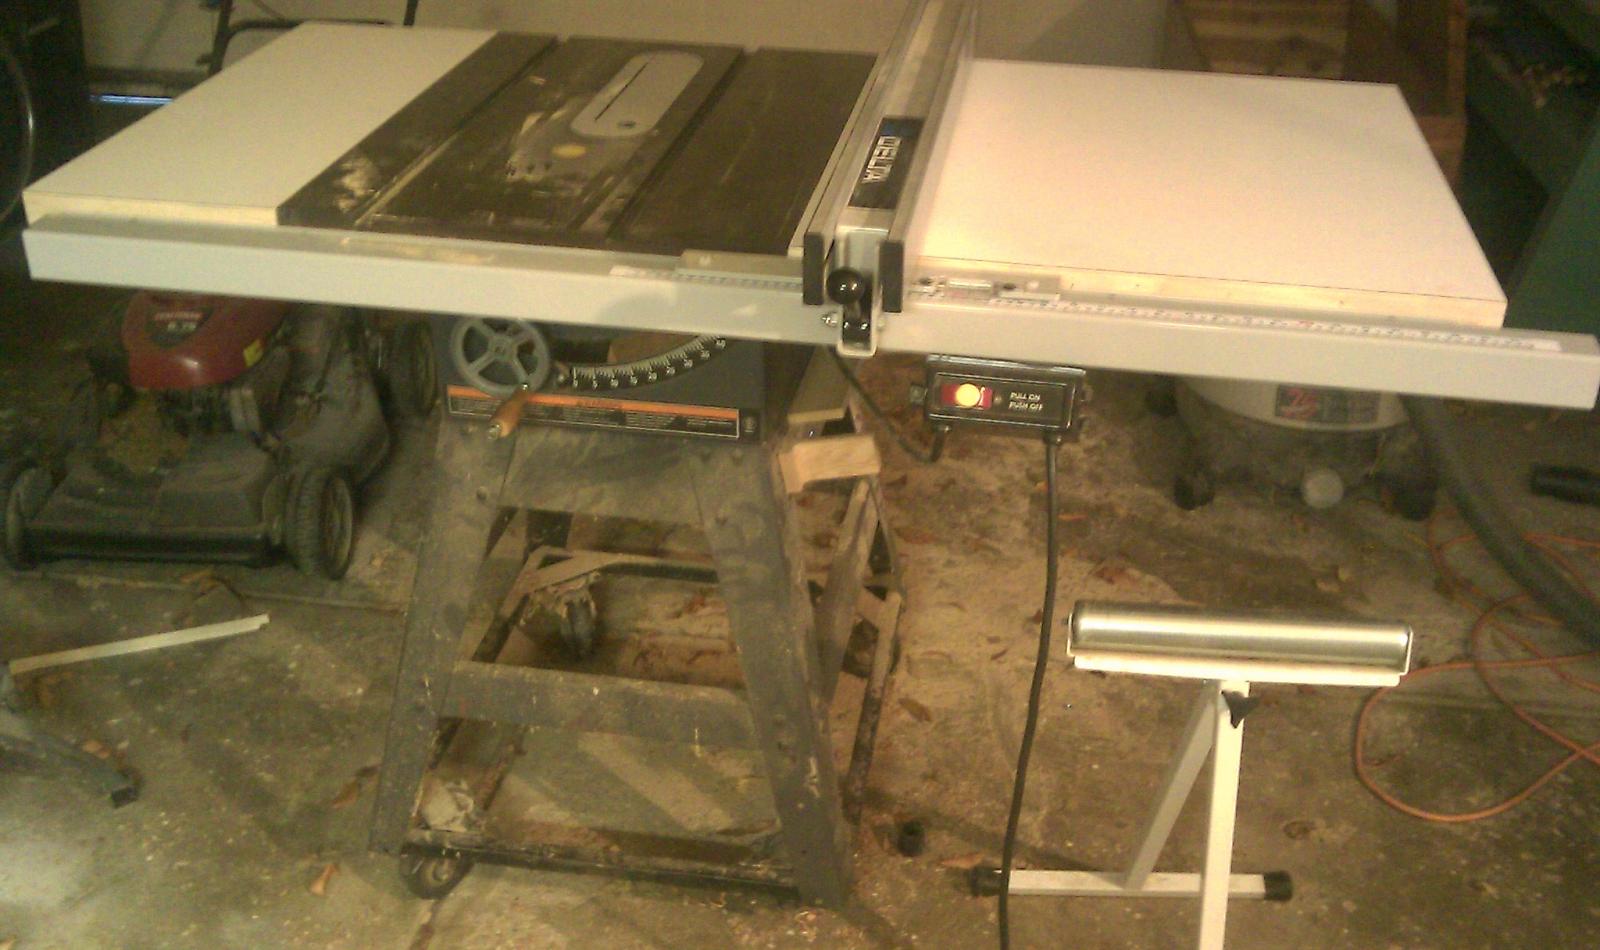
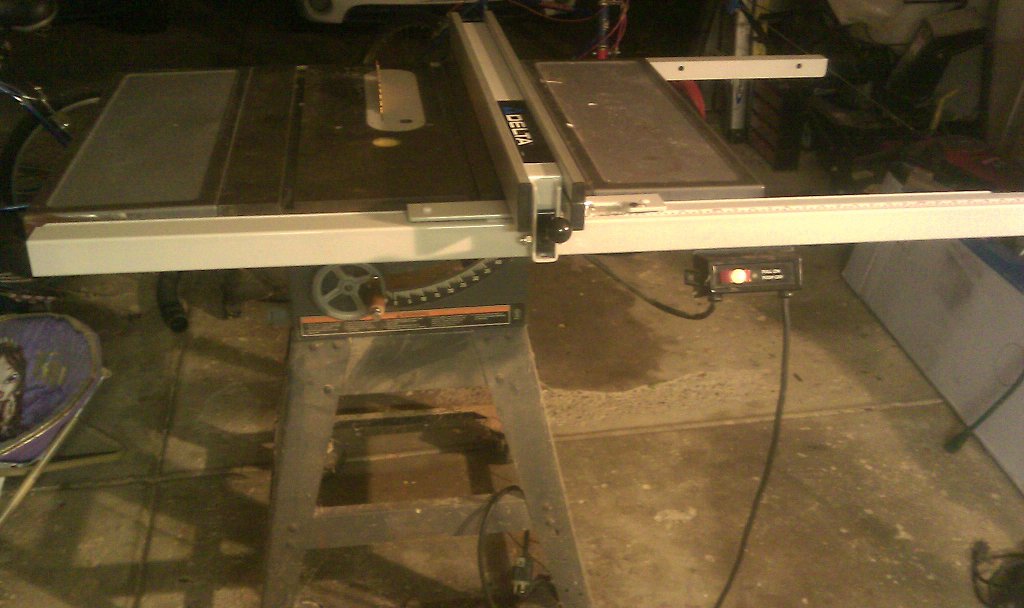