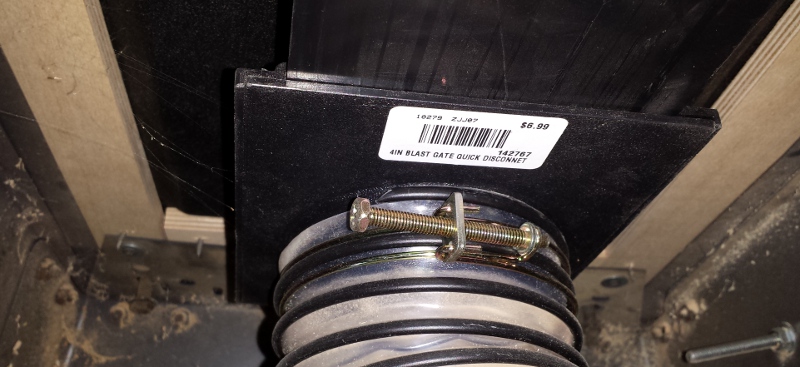
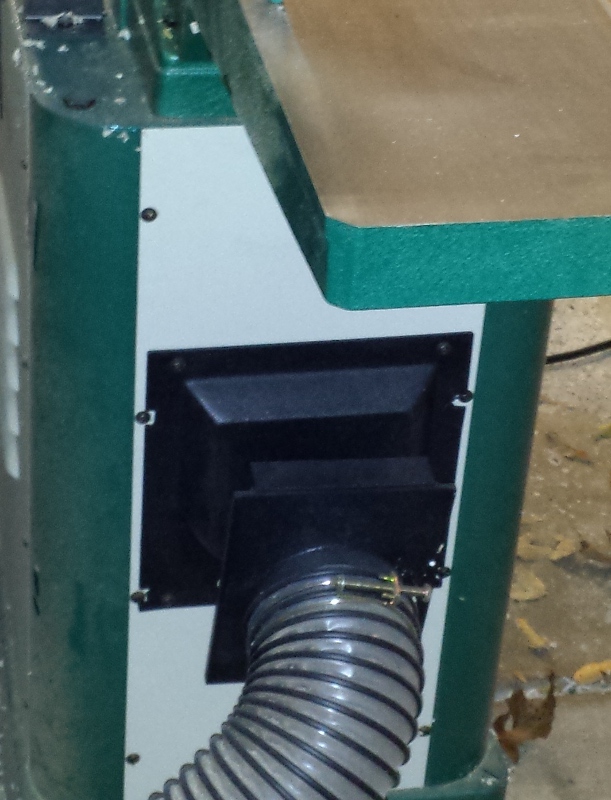
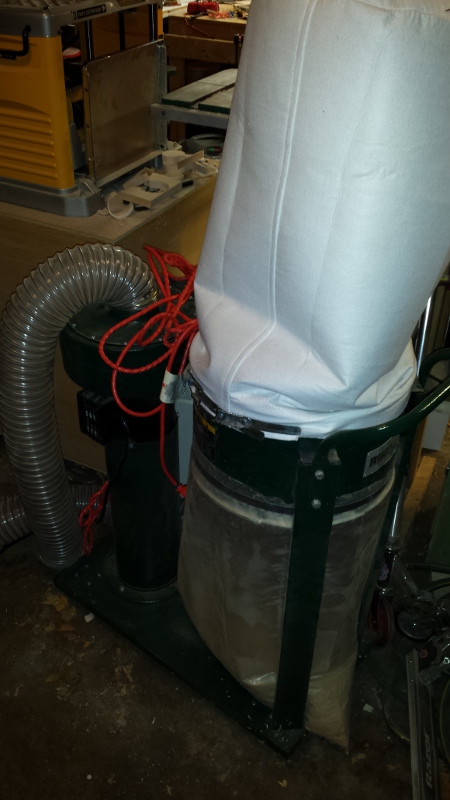
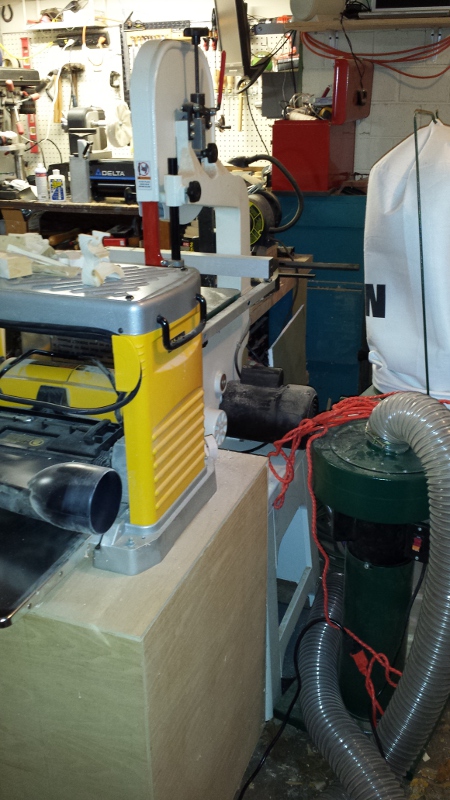
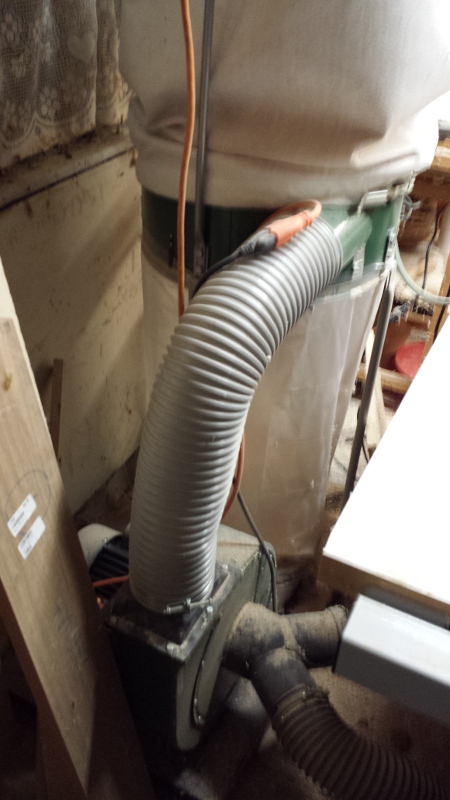
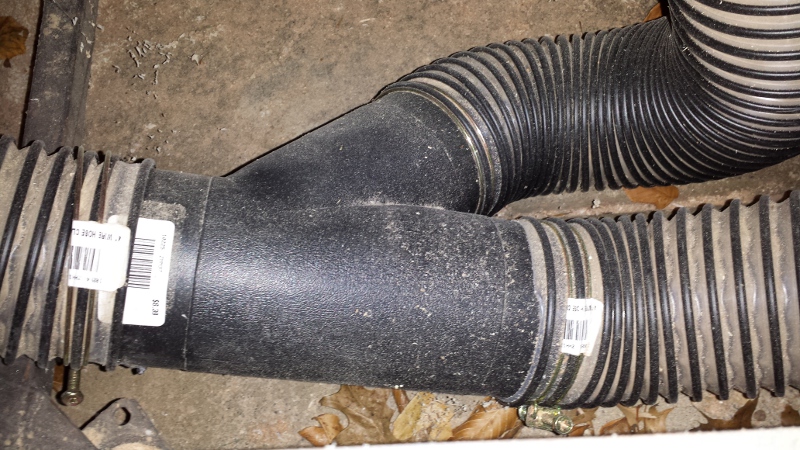
 With the table saw and jointer prepped, it was time to hook them up to the DC. While it is always preferable to use rigid pipe for DC ducting, the distance were so short for each connection, I used flexible hose for ease of setup. The table saw hook up is about 3 feet, from the DC, and perhaps 1.5 feet from the ground. The jointer is about 6 feet from the DC. The first run of hose was from the DC to the Y. From the Y two runs went to the table saw and to the jointer.
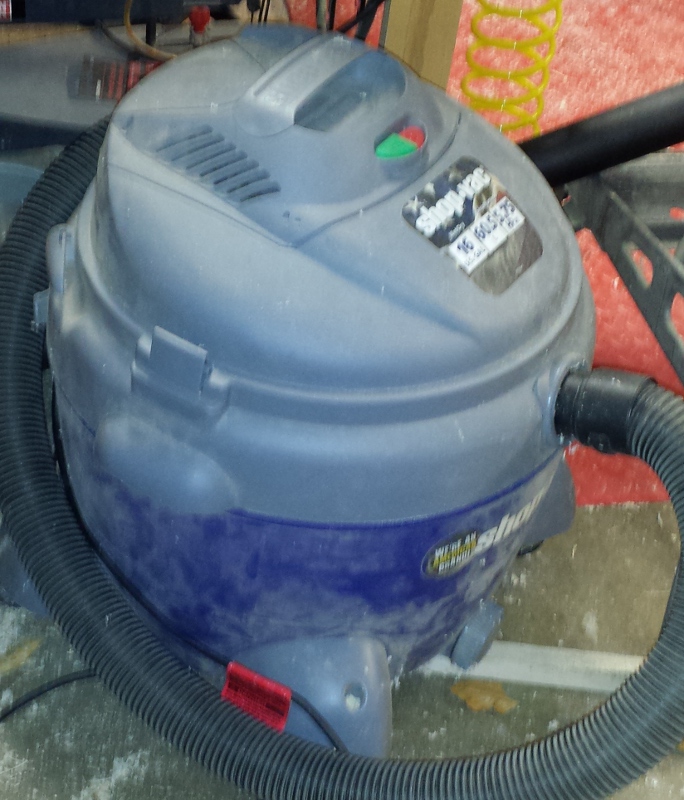
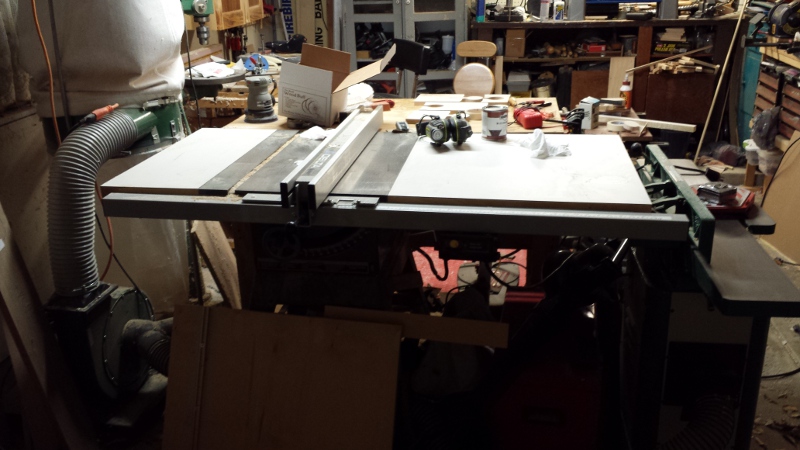
 After getting this setup, I ran some test cuts through the table saw and over the jointer. I was impressed with the difference it made. With the jointer, I had been using the small DC whenever I used it, but I found the new setup worked just as well clearing the chips and shavings away. With the table saw, I saw the biggest improvement. The biggest improvement was no dust hitting the floor under the saw. Between the two, using the blast gates has proven effective at keeping the CFMs up at the machine being used. One thing I have noticed is that if the blade isn’t completely buried in the blade I get a lot more dust on the top. So the next modification I make will be some sort of blade guard attached to the DC.
 As I previously stated, my dust collection setup will be something that will always be improved upon. Besides the table saw upgrade, I have want to expand it to more. The next be chip and dust generator is my router table. I made it many years ago and has served me well, but it is grossly lacking in its dust collection ability. I have been putting serious thought into build a new router table which will incorporate the connection to the large DC. I also have an OSS that generates a lot of dust. I want to get a better option setup for dust collection as well.
One thing I will say about the new dust collection setup, is it has cut my clean-up time in half, especially around the table saw. The updates I made were long overdue!