
Now that the shop has finally been warm enough I have been able to work more on the router. Therefore, I am now able to write about my progress!
The top is composed of two layers of MDF edge banded with some left over hardwood, and a layer of Formica across the top. I will ask my readers to take extra care while building a top like this, as it does get heavy, and MDF creates a LOT of dust when being cut. I actually tend to avoid using MDF as much as possible, but with the flatness and weight it is perfect for a router table top.
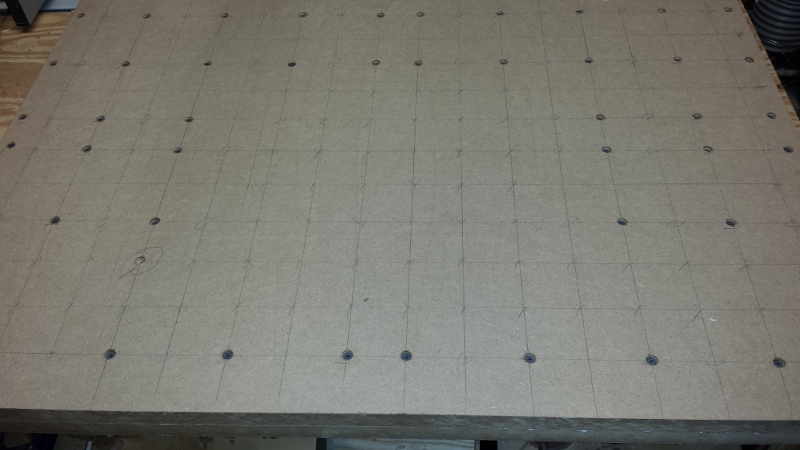 The first step in making the top is cutting the two sheets of MDF, so that they are over-sized. I have learned the hard way that laminating two sheets of MDF never go together right on, so making them over-sized will allow for trimming later in. On one of the pieces, I drew out a grid of lines to determine placement of the screws so that they would not get hit by a bit or blade when cutting out the inserts for the lift and track. I then drill and counter sink for all the screws. With that done, I spread a ton of glue across the first layer of MDF, keeping it as even as possible. I then place the two layers together, and then start feeding screws in, working from the center out, until all are in. since I had some sections void of screws, I also used clamps and weight to hold the two sheets together until the glue dried.
Once the glue was dry, I was ready to trim the top to final dimensions. Please be aware, the top is heavy. I kept one edge as straight as possible so I could run it against the table saw fence and get one clean edge. I then bring the fence to the final width I want and ripped the opposite side. I did take care to make sure I took off about the same amount on both sides so that I could keep the lift centered. I then cut a bit off of each end using the crosscut sled to get to the final length.
I will note, the top is heavy at this point. I believe to do this safely on the table saw a good heavy saw with a crosscut sled is needed. If you don’t have either or both of these, a circular saw with a good blade, and a guide rail can do just as good a job.
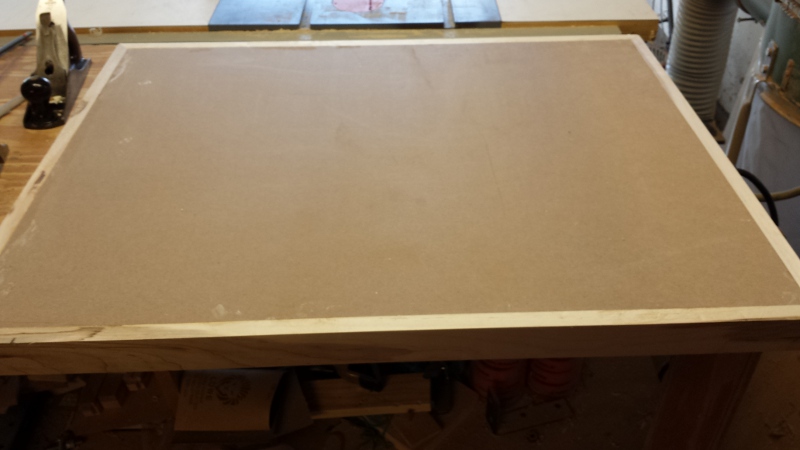 For the edge banding, I milled up some 3/4″ stock and cut miters for each corner, taking care to fit each one individually. I actually chose not to drive any nails, and just simply clamped them in place. After the glue dried, I then used a hand plan and card scraper to make sure that the edge banding was absolutely flush to the MDF top. I also eased the corners so that they were not too sharp.
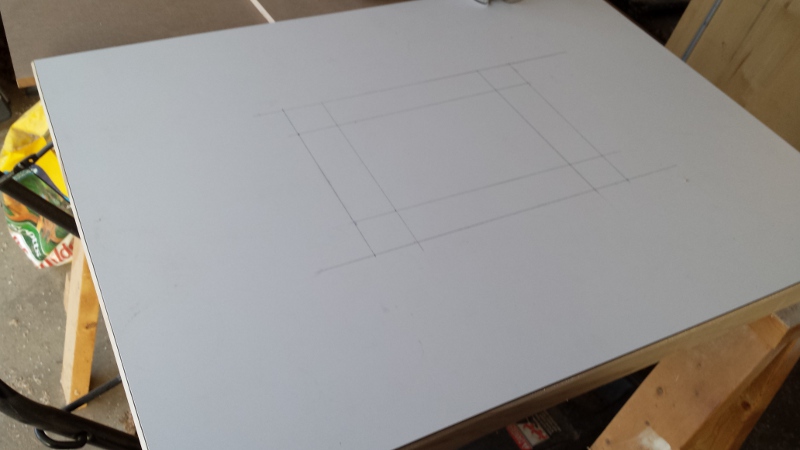 The top was ready for the Formica layer. For this I used contact cement, sprayed on both the top and Formica. Once tacky I put down the Formica on to the top, and used a j-roller to smooth it out. I then used a flush trim router bit to get the Formica perfectly fitted, and finally another pass with a chamfer bit to ease the edges.
 Using templates I made (will discuss making those in a future post) and spiral router bit with a template bushing, I routed out the recess for the lift’s plate. I actually left a center section in that I used as template to route down as far as I could with the bit I have. I then cut out the remaining depth with my handheld jigsaw. Since the method left a lip, I was able to clean the cut up with a flush trim bit. I then fitted and leveled the lift into the recess.
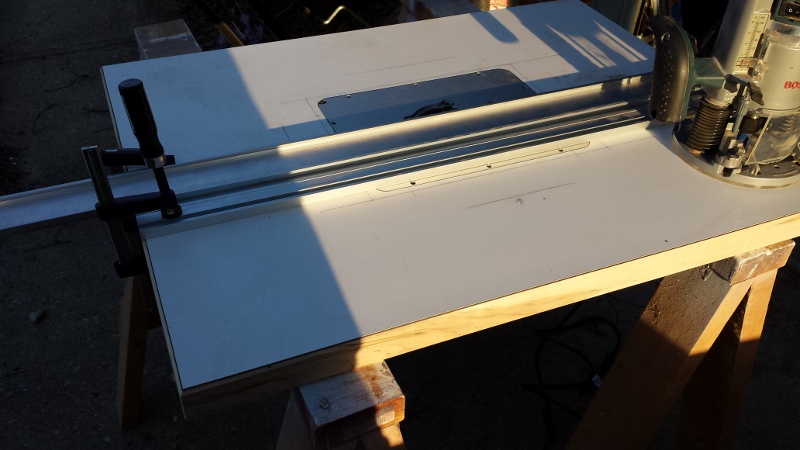 The last piece for the top was to get the combo track installed. I actually used the guides on the lift plate to help position my guide rail so that it was parallel to the front of the table, and that my 3/4″ router bit came close to touching the plate. This would not be moved again for any of the passes to route out the channel. First, I clamped the combo track against the guide rail which established the edge closest to the front. I then routed out the first pass, which left a 3/4″ groove. I then removed the track, and used the t-track clamped against the guide rail. This established the edge furthest away from front of the table, and perfectly set the width for the combo track. All that was left was a row between the first two passes, which I cleaned that out as well. The track is held in place with bolts. Once it was installed, I shaved down the edges so that they matched the chamfered edges.
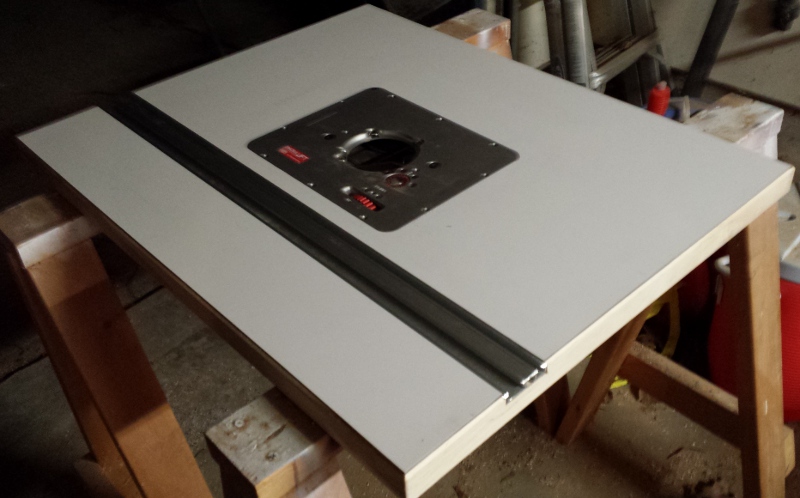 With that, the top is complete.