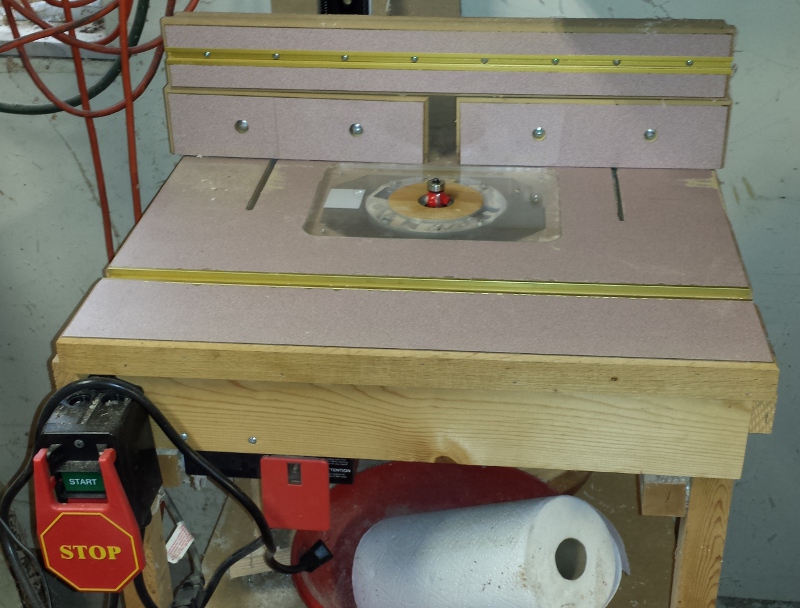
 As I go through the process of documenting my router table build, I thought it would be good to have a few posts on proper use of one. When properly used, a router table can be a safe and powerful machine in your arsenal of tools. Unfortunately, as with any tool, improper use can cause severe injury, shooting projectiles, and ruined work pieces.
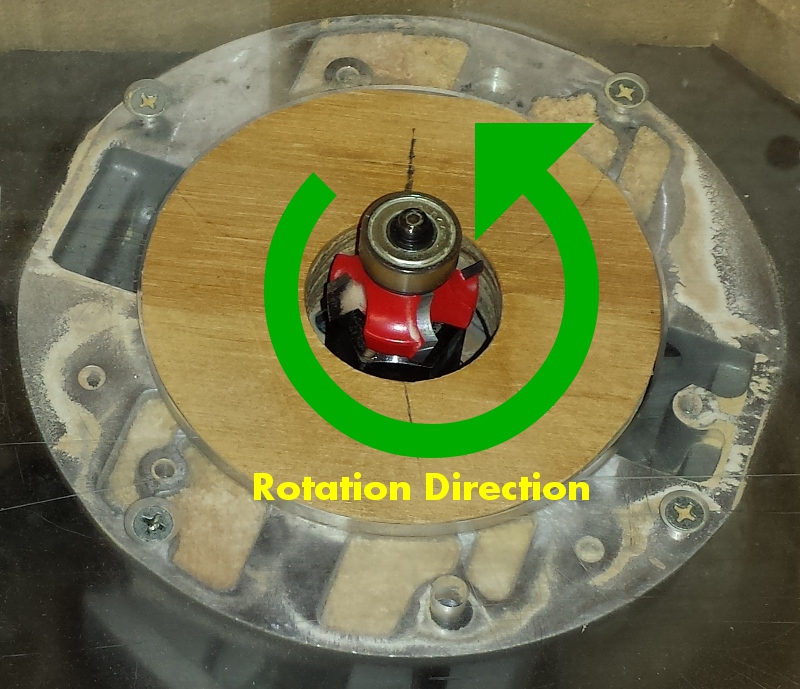 The first thing to understand about using a router table is the direction of spin of the router bit, as this dictates the usage. When mounted in the router table, the router is inverted, so from the users perspective the bit is spinning in a counter clock-wise direction.
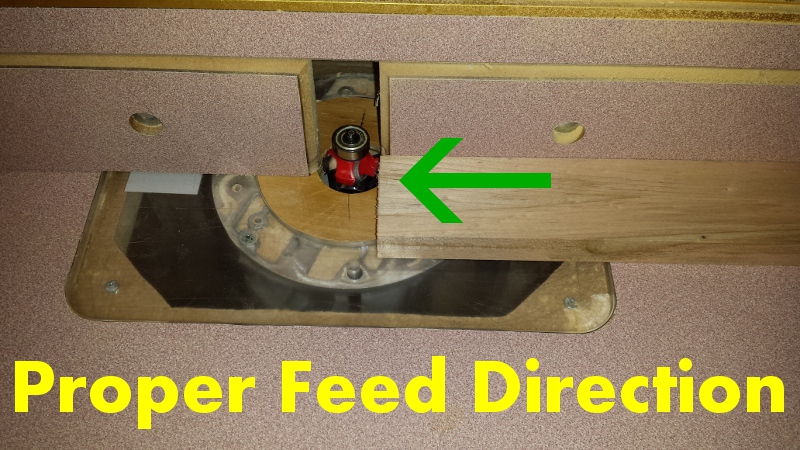 When pushing a work piece through the router, it must go against the direction of the spin. For most operations, this translate to moving the work piece from right to left. Going against the spin of the bit will also provide a more accurate cuts as the spin of the bit will pull the work piece into the fence or bearing. This also gives more control of the work piece. Moving the piece with the direction of spin is known as a climb cut. This is a potentially very dangerous operation that can result in the work piece become a projectile, possibly causing injury.
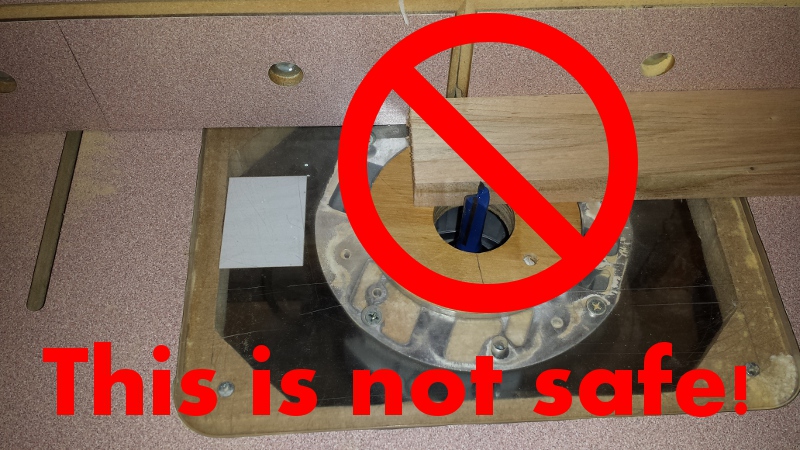 There is one operation, that no matter which direction the work piece is sent through results in a dangerous condition. This is trapping a workpiece between the router bit and fence. When pushing right to left, the work piece will very likely fly off of the router table, potentially pulling fingers into a spinning bit. If pushing the work piece from left to right, the work piece will have a tendency to pull away from the fence causing loss of control of the work piece, again creating an unsafe situation. It is best said, don’t ever attempt to run a work piece between the bit and fence.