 A discussion on home network infrastructure on a woodworking blog? Why not? 🙂 I am tying this back to the Technology in the Shop series of articles that I wrote last year, and I believe this post could be beneficial to those who are wanting to do a similar setup that I have done.
Before I had the dedicated computer in the shop, I would carry my laptop out for the webcam, drawings, and such. The router and access point for the house was on the extreme opposite end of the house, and I wouldn’t always get a good signal. I ended up buying a WiFi extender. While this would benefit me out in the shop, it would also benefit everyone else in the house by, in theory, decreasing some of the dead zones we had. The result was a slight improvement.
 When I setup the permanent computer, which was an older machine, it seemed to experience more connectivity issues. I added a newer 802.11N USB card on the laptop which helped some. However, I still got frequent drops, which was especially annoying when I was trying to stream. So much so that I don’t do it very often anymore.
The final straw was we got a Chromecast for Christmas. It actually worked great, but what I found was that it would overwhelm the extender, and other devices on it would suffer.
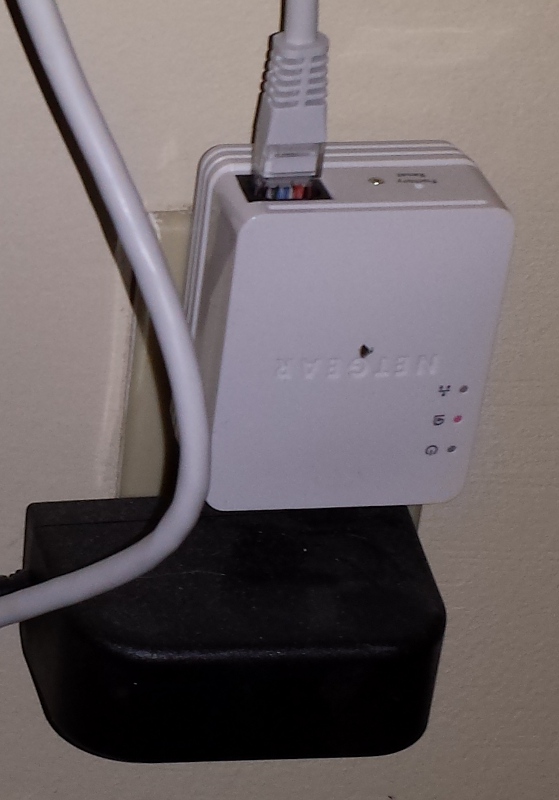
 I decided it was time to add a second access point on our network, and do away with the extender. I was putting serious thought in running an ethernet cable through the walls and ceilings, which would be a pretty serious under taking. Someone then recommended that I try ethernet over power first. I had looked into this a few years ago, but it was an expensive solution that had varying degrees of success. Based on the recommendation, I looked at it again, and the cost of these had come way down, and by reading the reviews, it seemed like they were very stable.
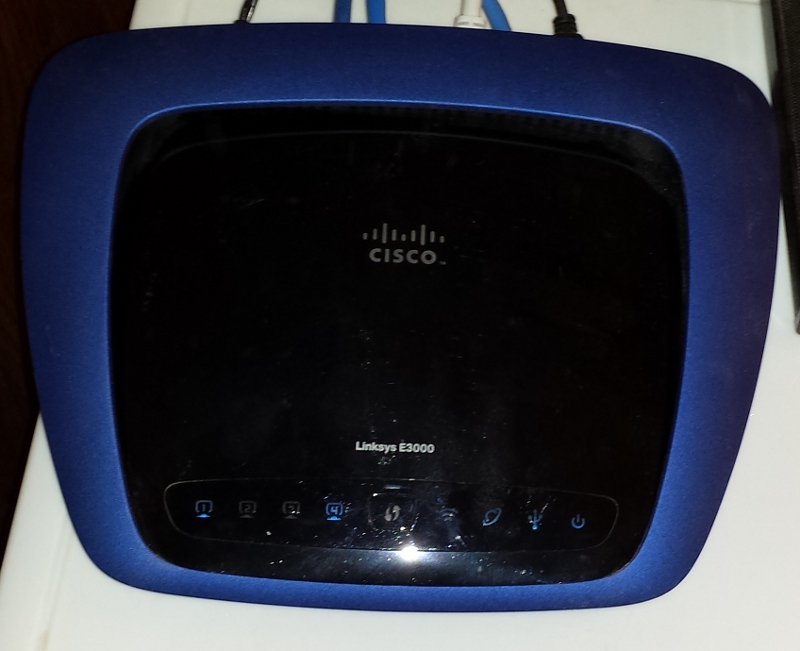
 So I found an EoP option that was on sale, and bought a second wireless router. A note on the router, while I couldn’t buy the exact model we have for our primary router, I bought one that had very similar specs. In theory any two WiFi APs should work together, but it is a wise to get the same brand and model when possible. Once the EoP arrived, I hooked them up and configured the new router. The first thing I did with the new router was turn off of the routing and DHCP functions on it. After that I set the IP address and name of the router (not the SSID) to something different than first router. I then setup the security and the SSID identical to that of the primary router, so that all of our devices would connect to it seamlessly. I then disconnected the extender, plugged in the first end of the EoP to the primary router, and the receiving end to the new router. I then ran a few tests to verify that the new connections were working.
For the devices we have inside the house, we noticed the improvements almost immediately. Even my wife and kids noticed improvements in the quality of their connections. So much so that I suspect that the extender was causing a lot of unneeded network traffic that has now been eliminated. Due to the extreme cold, I have not had a chance to test the shop computer with the new setup, but I am very optimistic that I will also see a significant improvement with that as well.