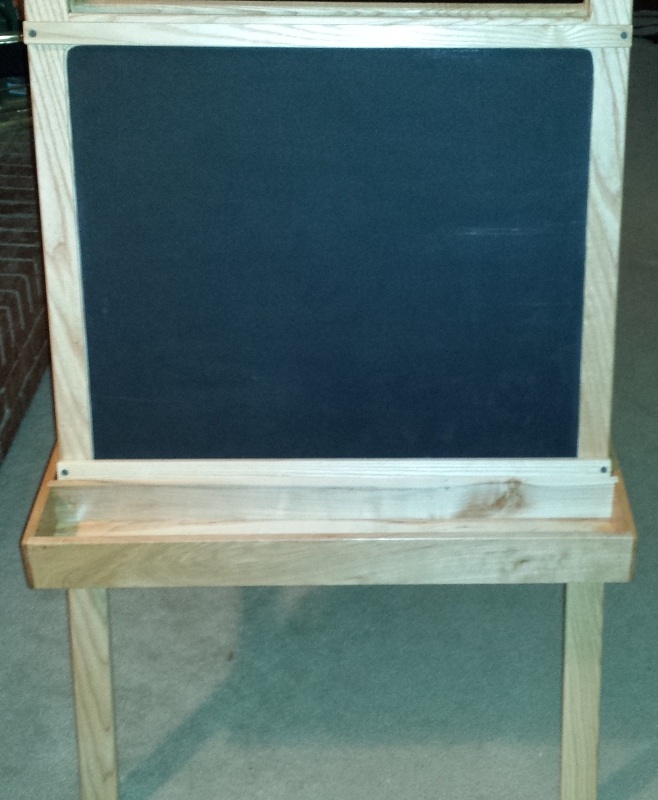
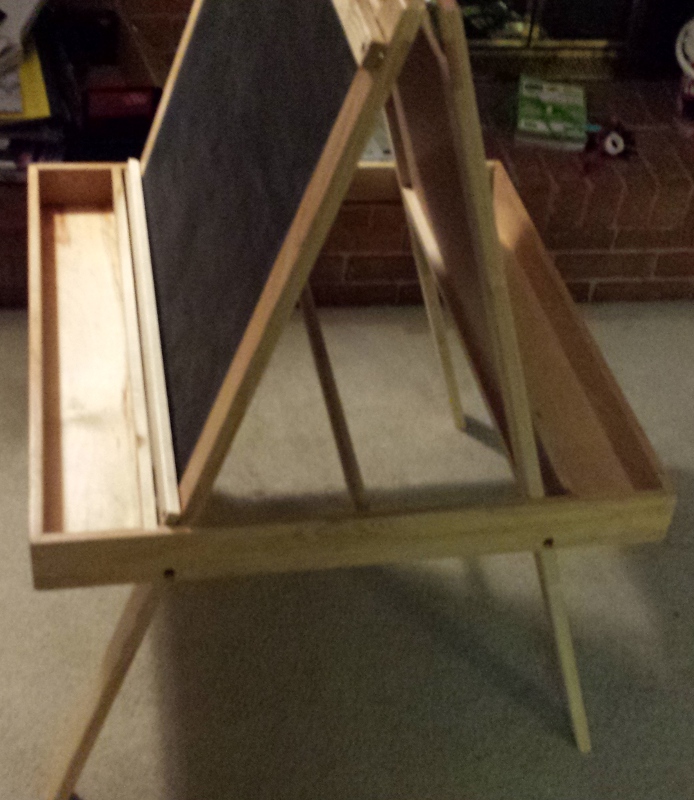
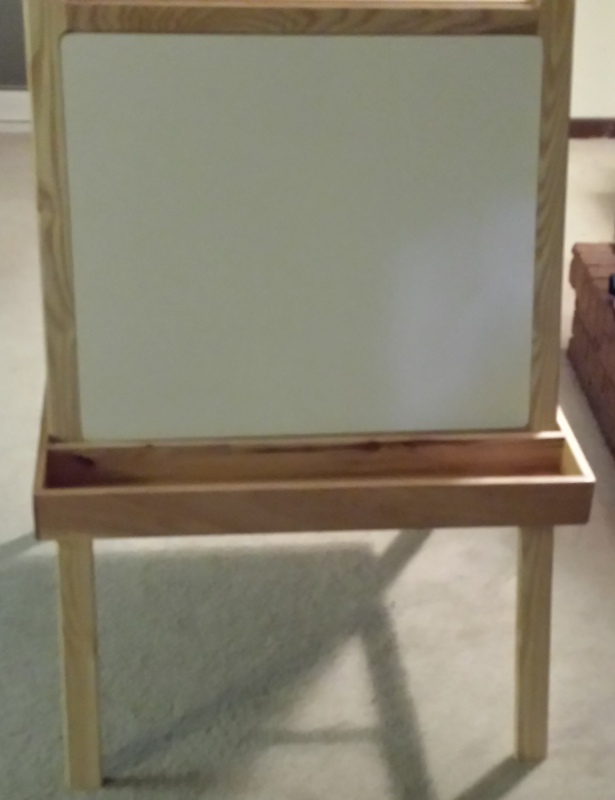
![]() This was my busiest Christmas holiday in the shop yet. After completing the easel for my Nephew, I started working on request from my wife. She found a picture of some cutting boards that she thought would make a good gift for some family and friends. They are made in the shape of a puzzle piece, and can be linked together for cutting french bread. Or as single boards they can be used for cheese and cracker boards. The puzzle socket also allows for a wine glass to be held.
This was my busiest Christmas holiday in the shop yet. After completing the easel for my Nephew, I started working on request from my wife. She found a picture of some cutting boards that she thought would make a good gift for some family and friends. They are made in the shape of a puzzle piece, and can be linked together for cutting french bread. Or as single boards they can be used for cheese and cracker boards. The puzzle socket also allows for a wine glass to be held.
 I ended up making 2 sets of 4, with a 3rd set on order from my wife. Each set actually was made fairly quickly. What took the most time was making the template. First thing, was I needed to be able to run the rough cut piece through my 6″ jointer, and still have a full sized board with no glue-ups. So the template was 5 7/8″ wide. The length is roughly 13.5″. Before I even started with a full size blank, I started working on the circular rounded front. While I probably should have done this on paper, I elected to do it on some scrap wood that I was able to cut down to the width I needed. Using a compass, coins, and free hand, I came up with a pencil design that looked good. the one thing I didn’t pencil out was the shoulders on either side of circle. In fact, I free handed out two options on the band saw, a concave and a convex version. After cleaning up the cuts on my oscillating spindle sander, I traced out both versions on another piece of scrap. I ended up liking the convex version far better than the concave, so I went with that. Using the two different sided piece, I made another template with the finished profile for the front. I did this by tracing the half the piece, flipping it, the tracing the half. I then used the drill press to drill out where the band saw wouldn’t go, then roughing out the shape on the band saw. I then used a flush trim bit on the router table, flipping the template once to get a symmetrical profile.
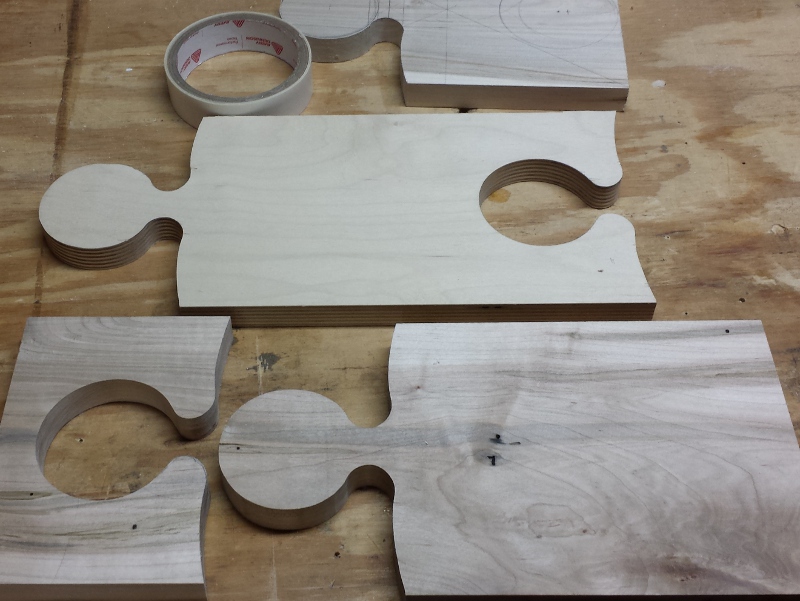 Once the front template was done, I started on the back template. Again, I used another scrap piece at the same width. I then used the front template to trace out the profile on the back template. I then roughed out the shape on the band saw. I then used my OSS to clean up the shape back to the lines. I then carefully started taking more material off the template until a good loose fit between the two templates could be made. I didn’t sweat any imperfections as they would be hidden by the round-overs I would put on the actual cutting boards. Once I got the back template done, I was ready to make a full size template. Using the band saw, and flush trim method I used earlier I was able to complete the template. I then marked on that template with the dimensions needed for the work pieces so that I would have them for future use.
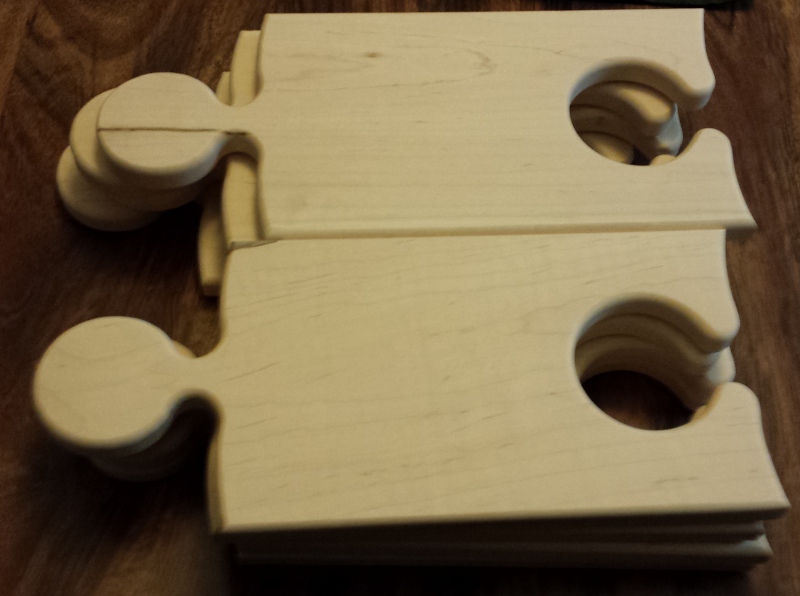
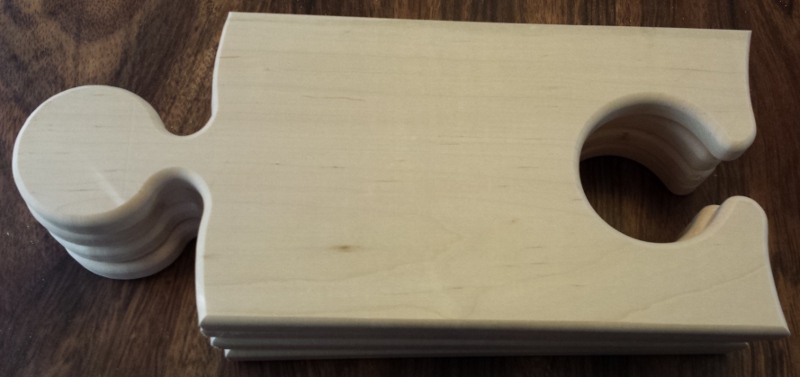 Finally, I was able to start on the cutting boards themselves. I used maple for these, but really most closed-grain domestic woods would work very well for this application. Again, the process was tracing the template to the work piece, roughing out the shape using both the drill press and band saw. Then using woodworkers tape, attach the template to the work piece. From their on to the router table with the flush trim bit, and then round over on both sides. With some finish sanding, the boards were ready for finish. The finish of choice is butcher block oil.
The puzzle cutting boards were a fun project to build, I have a feeling that I will be using the template often.