Mantel Clock – Design Reflection

Published on by Mike  (Leave a comment)

2013-10-20 16.33.45   The clock was an experiment for me.  Some of my earliest projects, I never used any sort of plans, except for maybe a quick drawing on paper.  The projects were either extremely simple…..or just didn’t end as well as I expected.  What really helped me increase the quality of my projects is drawing them up before hand with sketchup, and every major project I have done for the past 3 years I have made a drawing for.  During this time, I like to think I have become a better woodworker by pushing my limits when I can.  This project, I pushed my limits by using no design whatsoever, not even a napkin drawing.  I did take inspiration from photos, and some help from my wife.

2013-10-13 16.01.51Part of the design challenge was also having elements in it that allowed me to use new techniques that I have not tried before.  This turned out to be resawing on the band saw to make the 1/4″ thick panels.

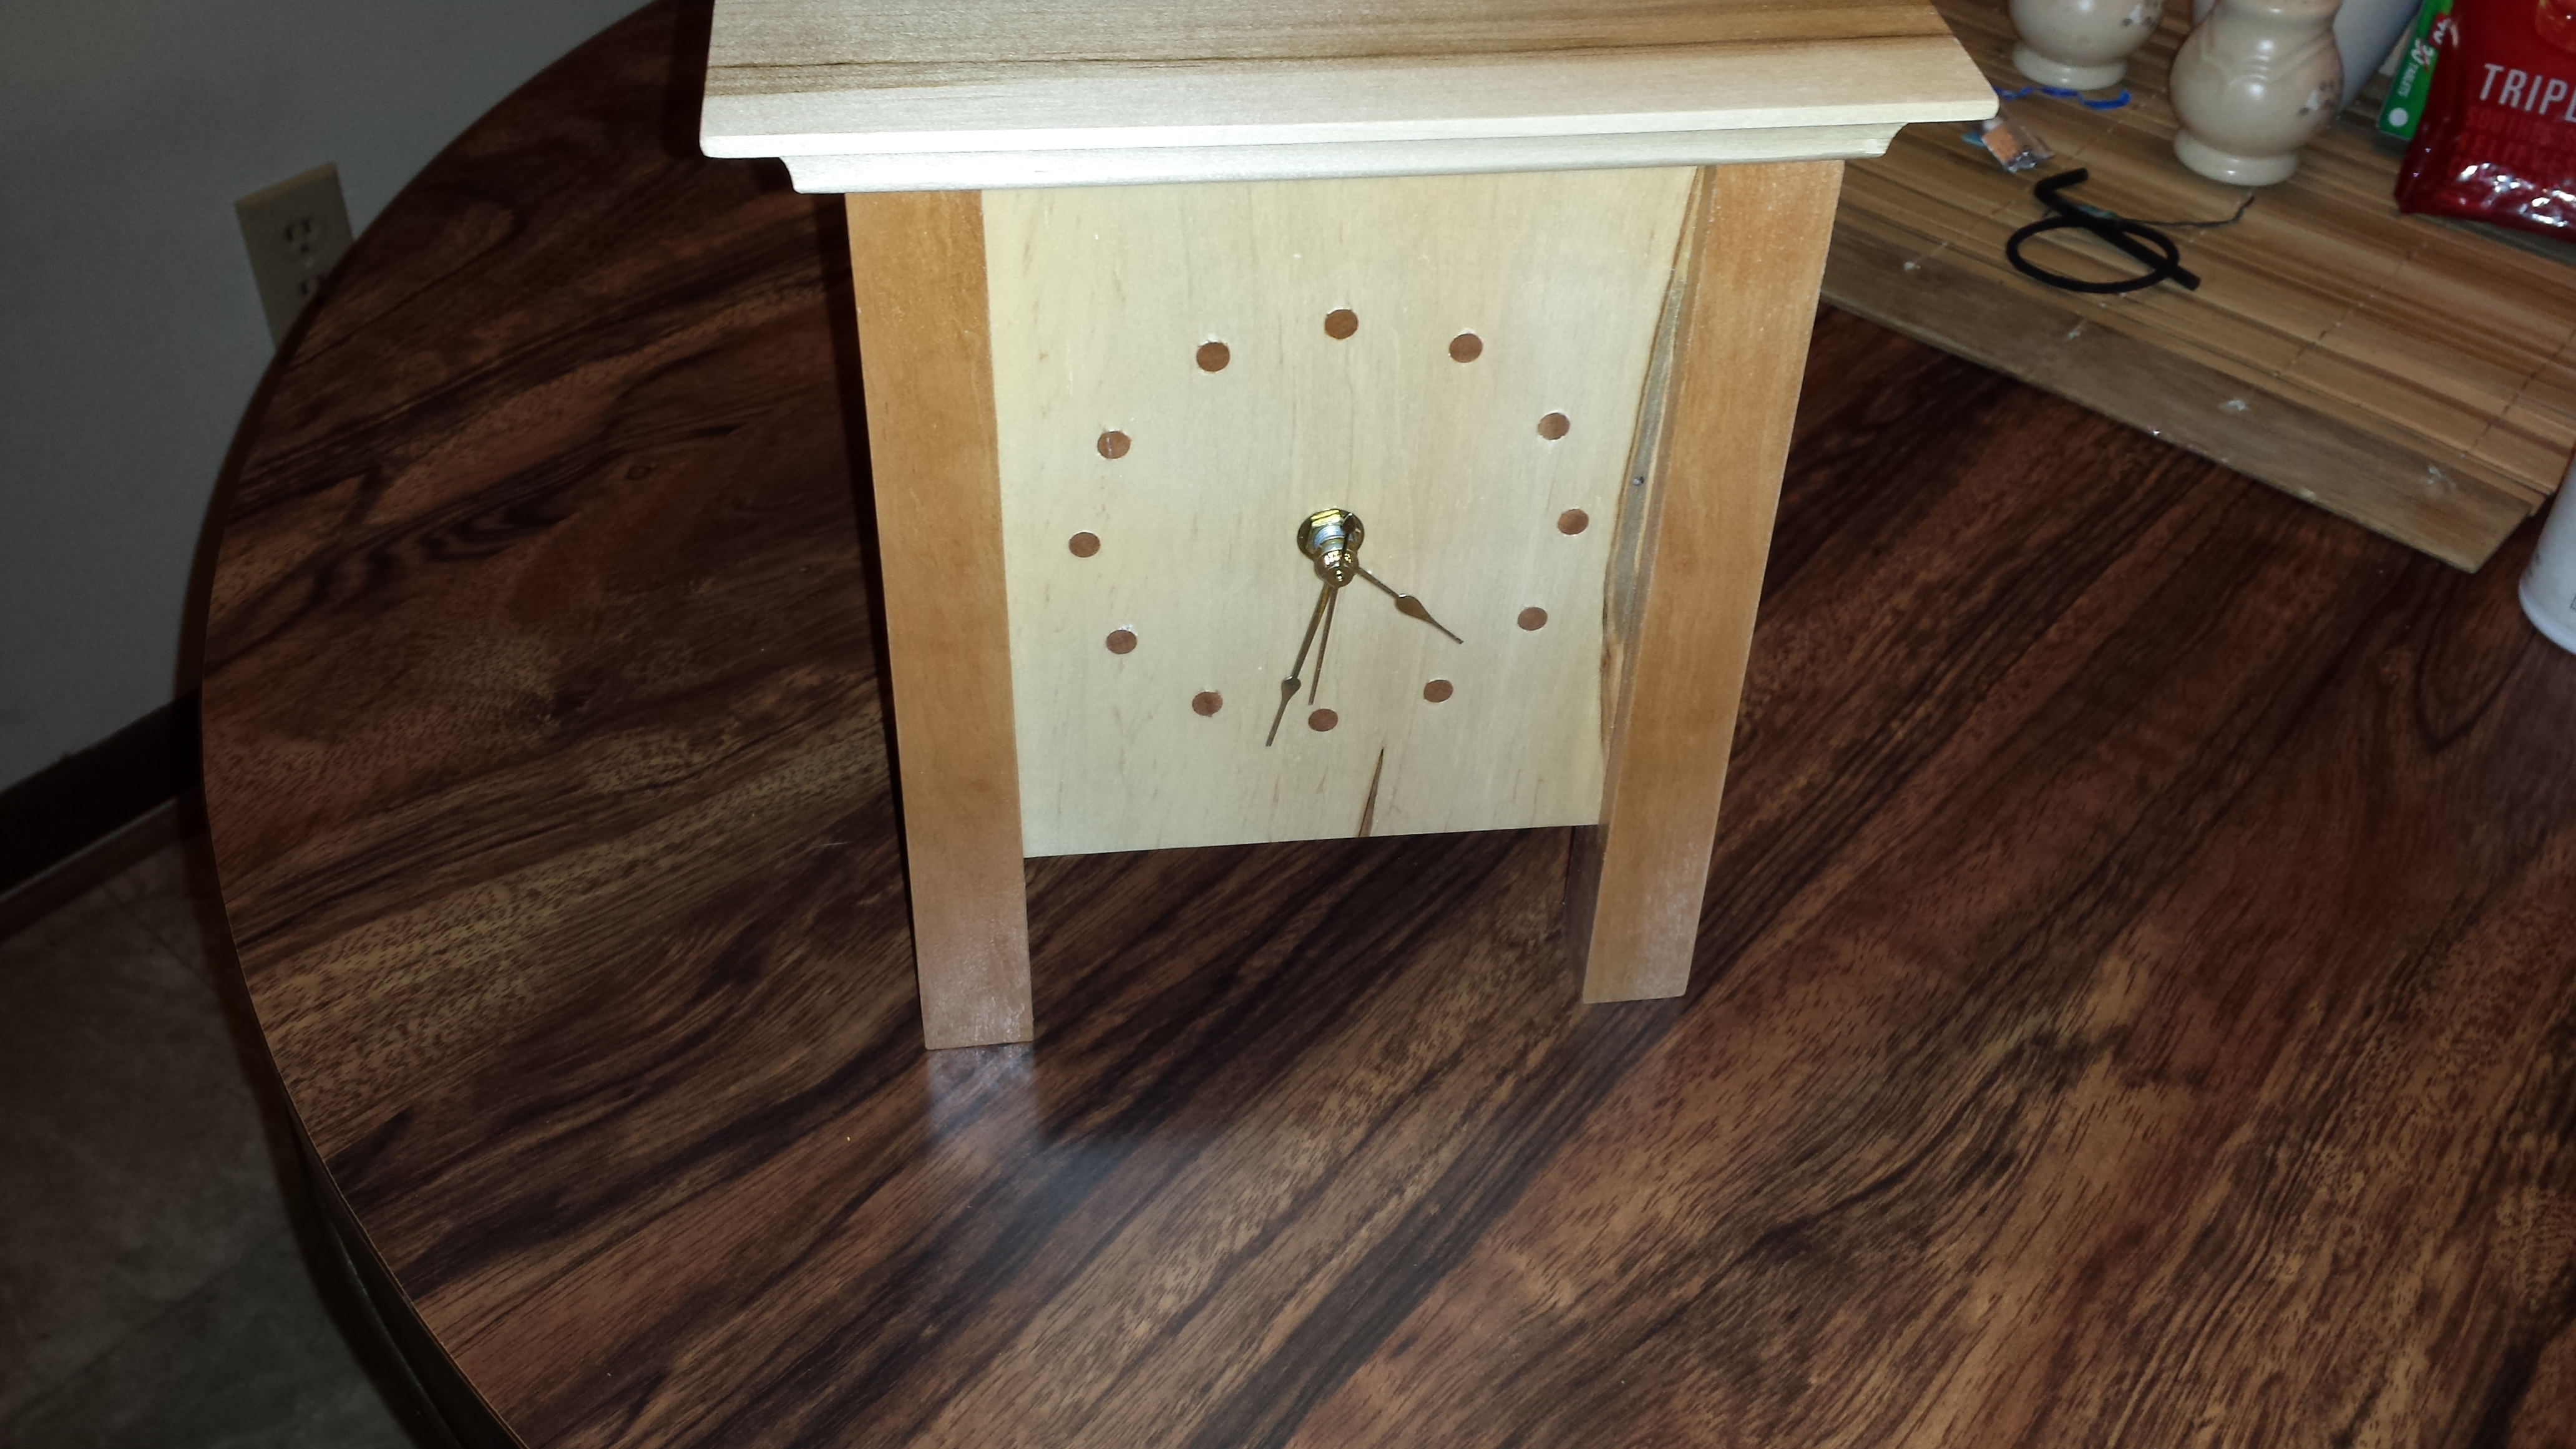
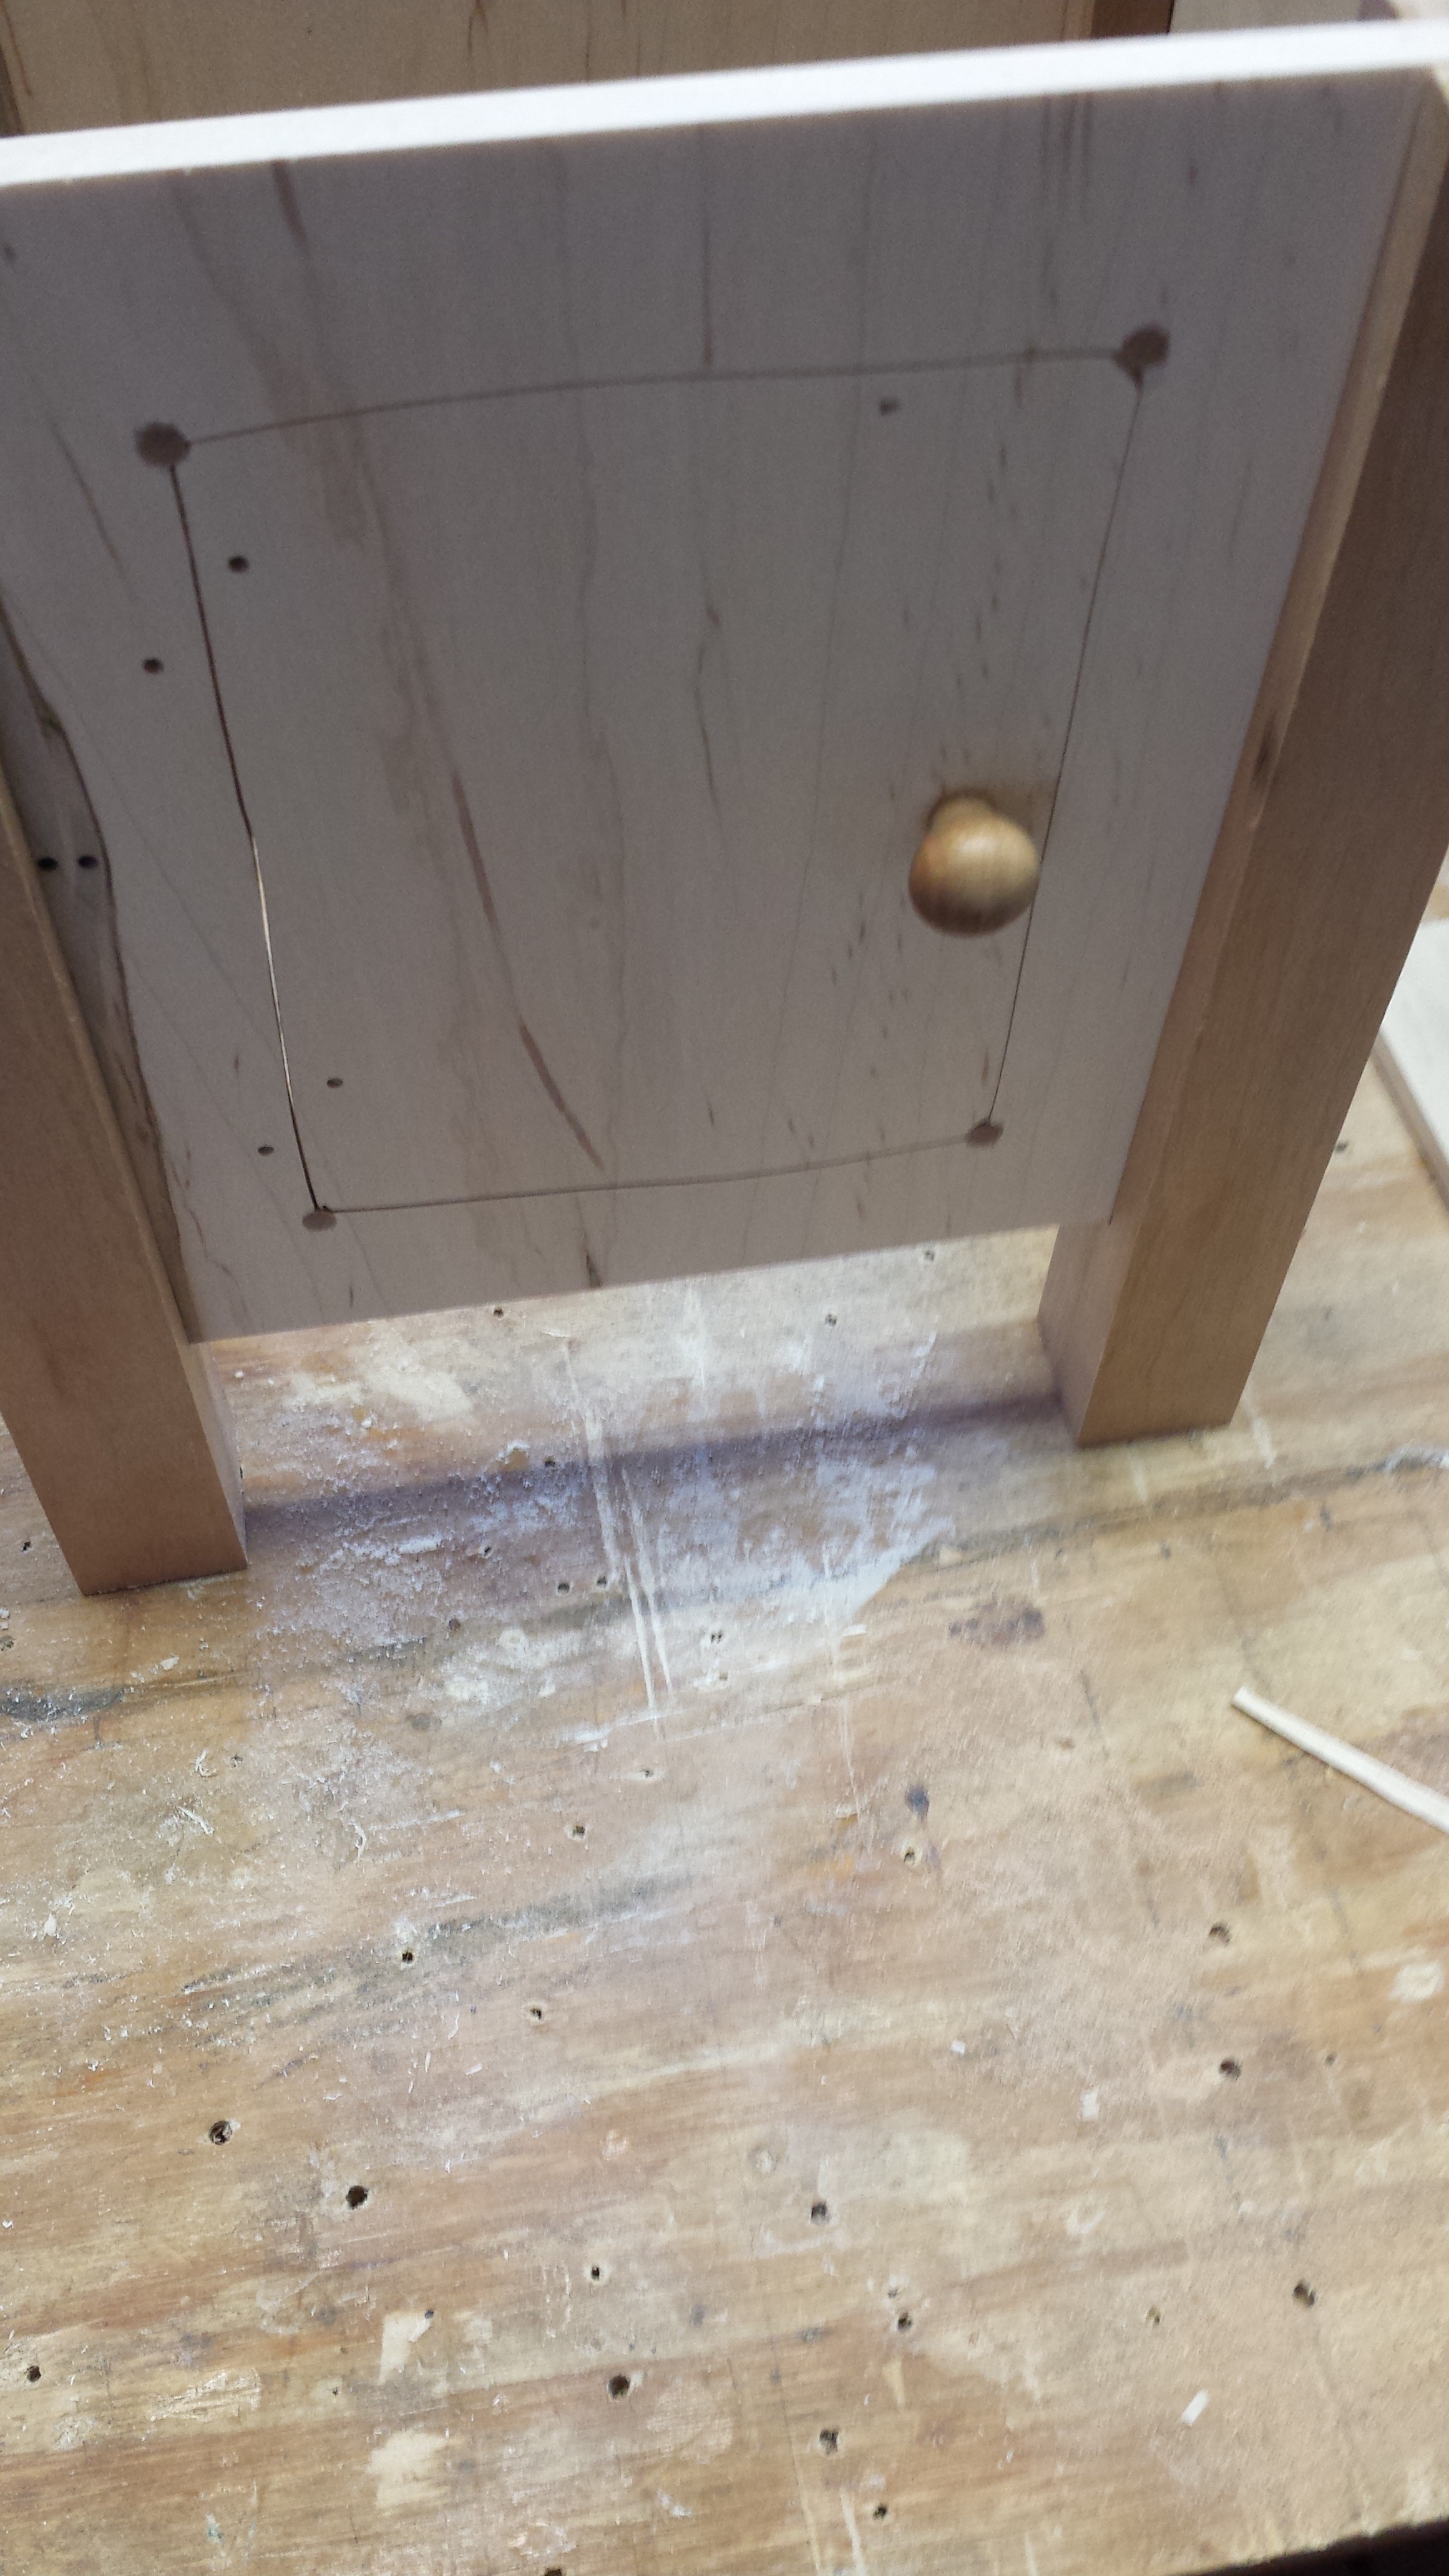
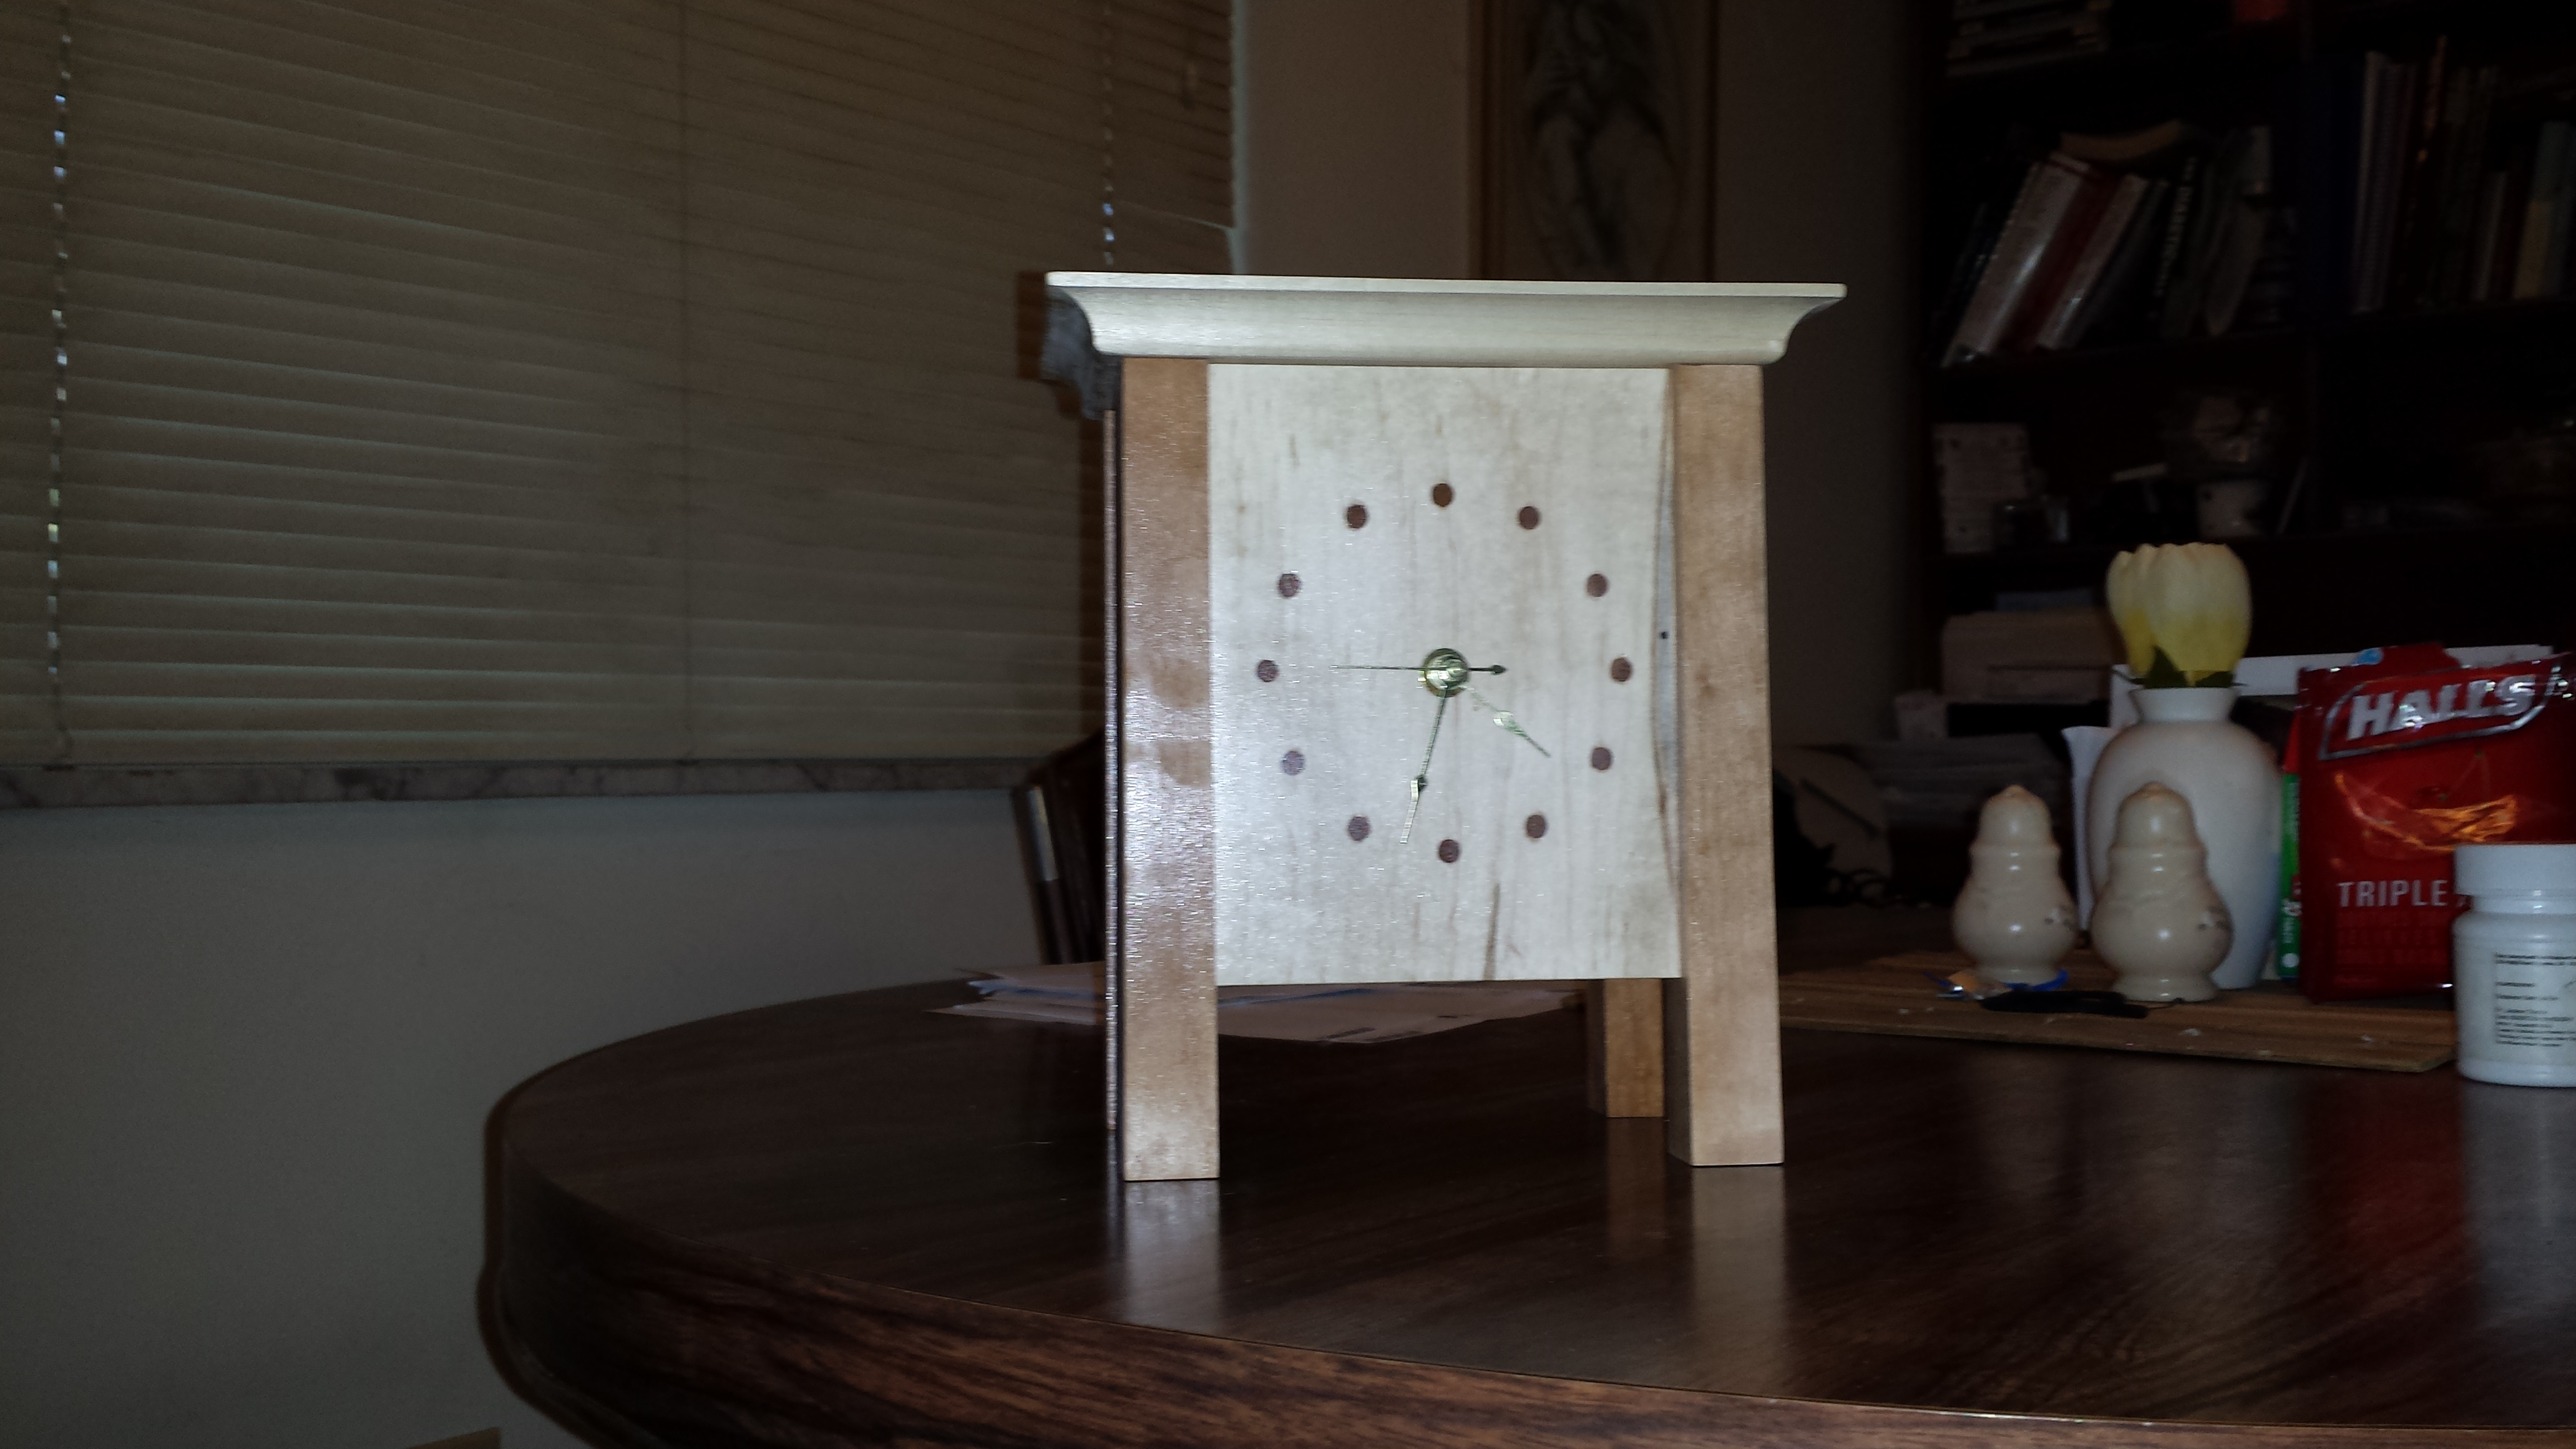
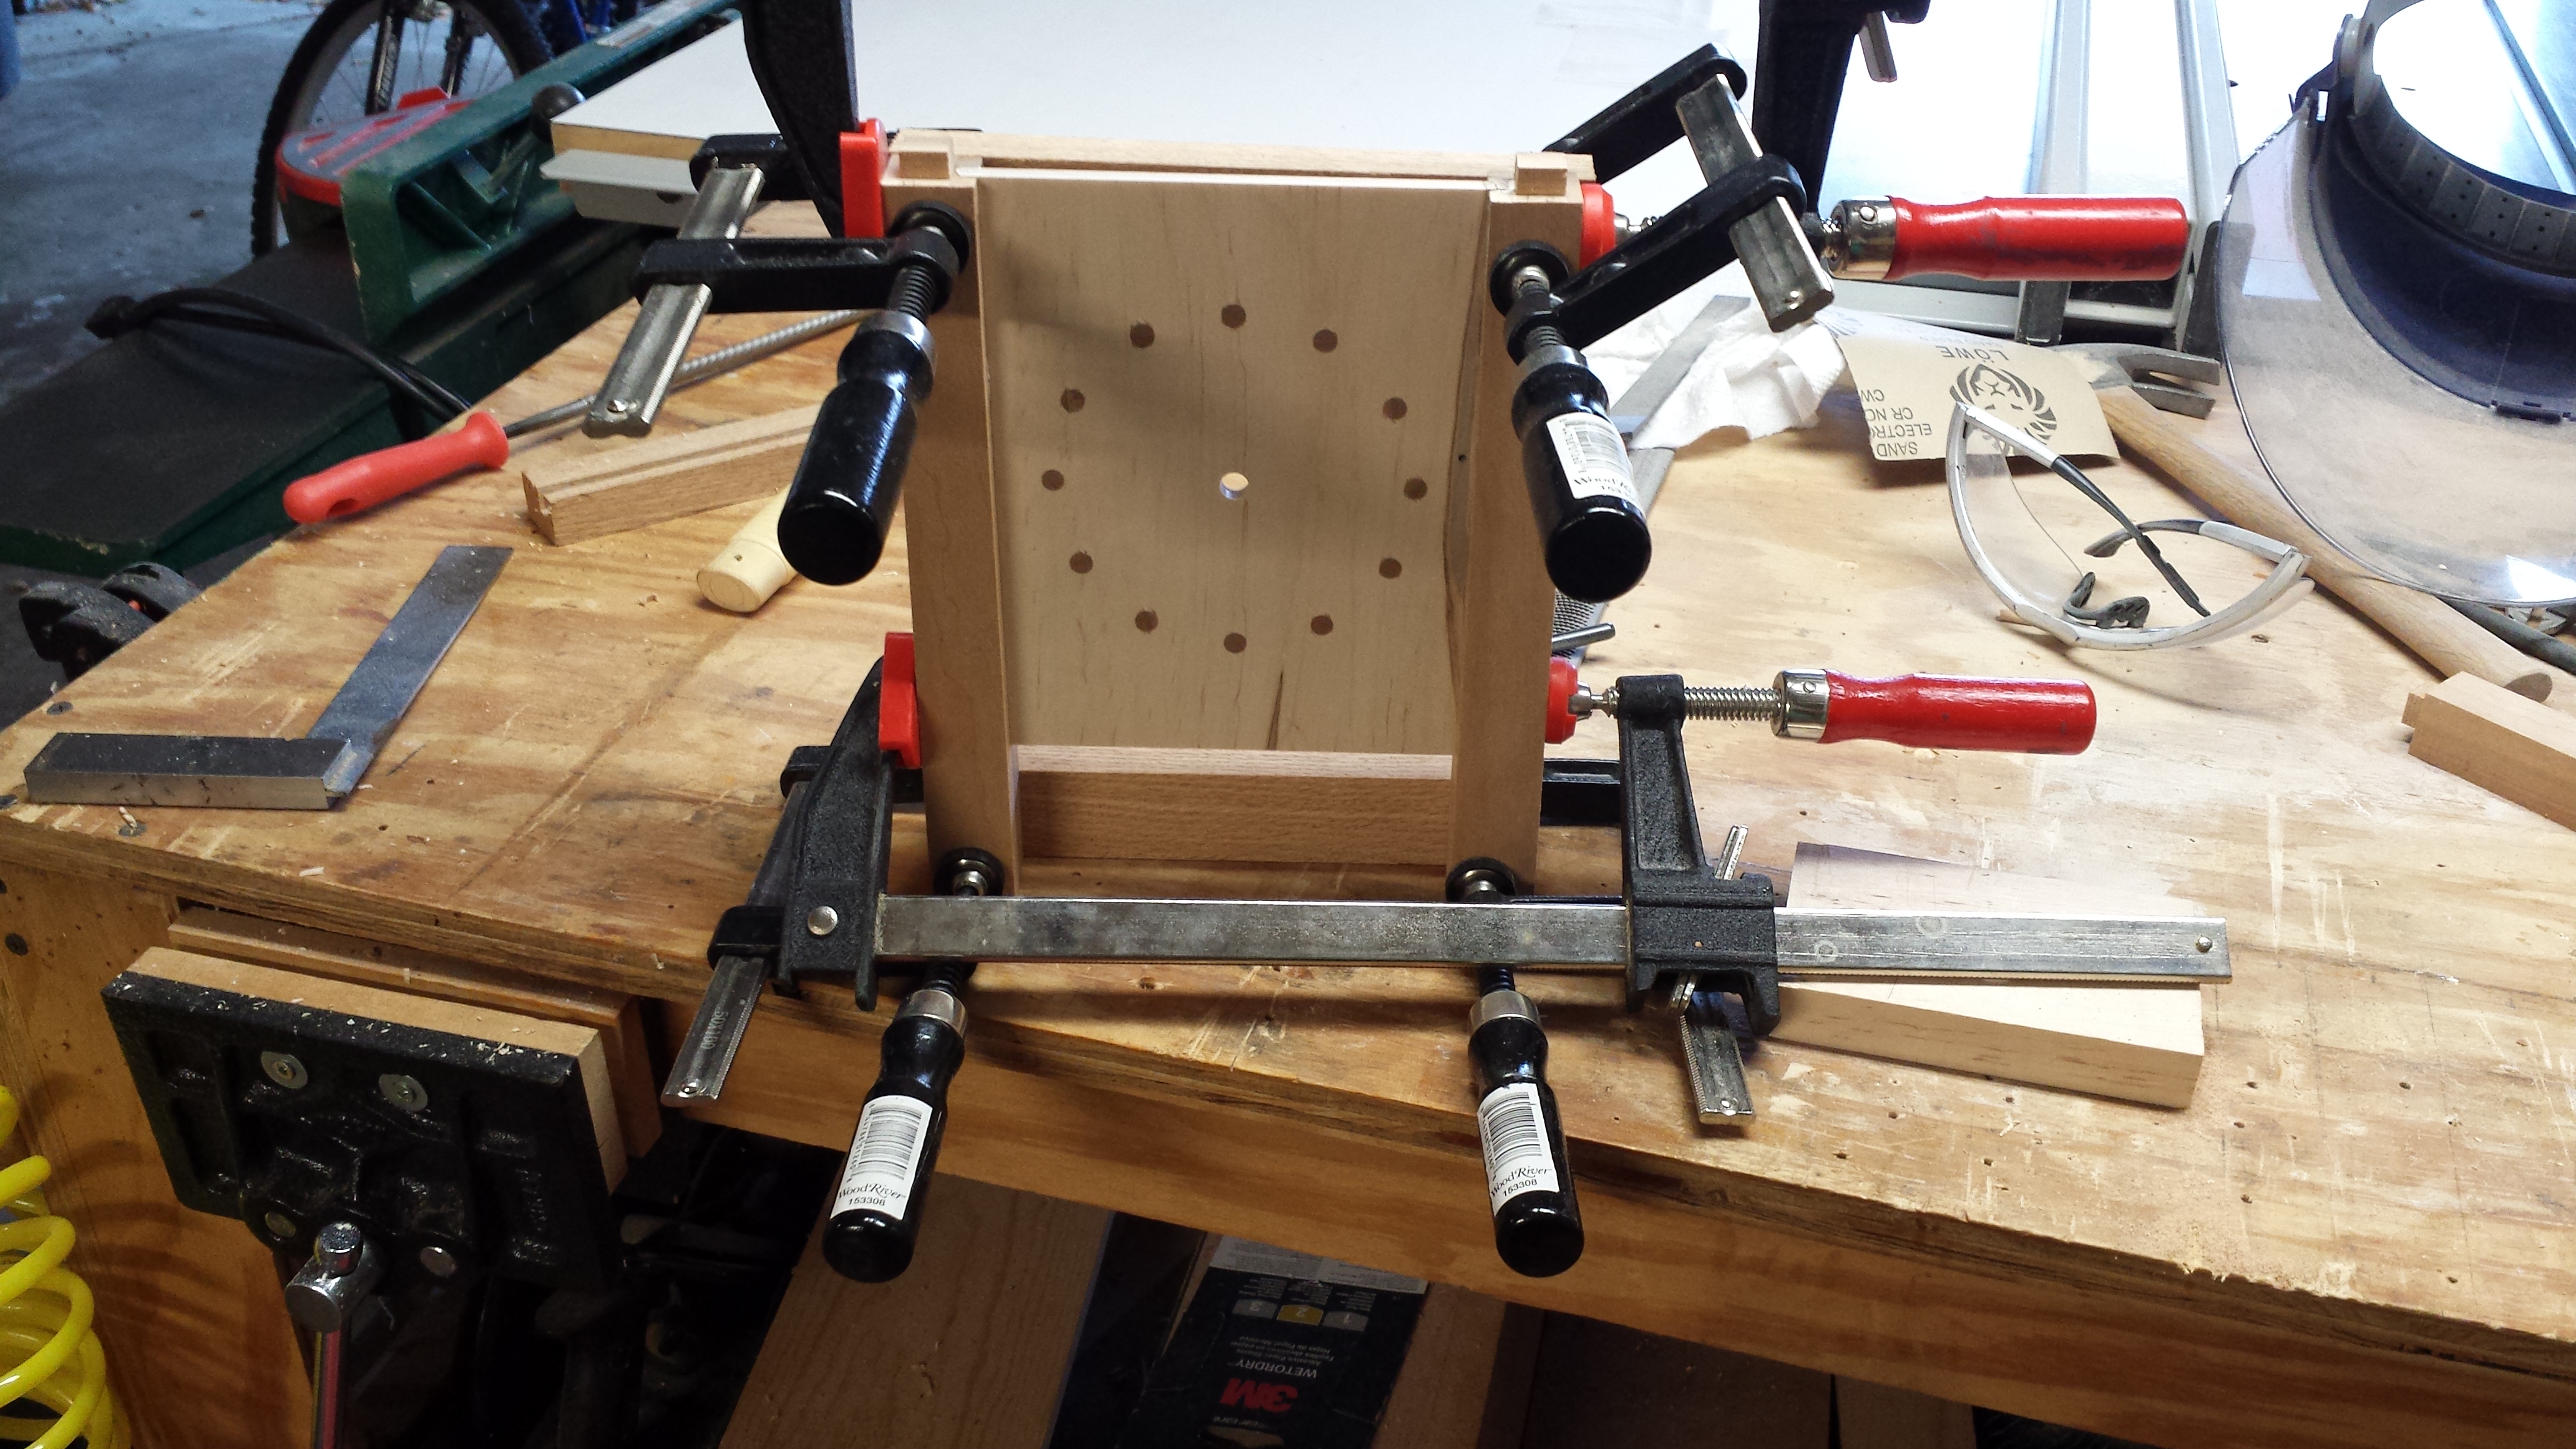
As for the design itself, after I laid out and drilled the holes for the face, I was concerned I made the face too big for the clock.  Looking at the finished product now, especially since I simplified the top, I am happy with the size.  2013-10-12 13.25.49
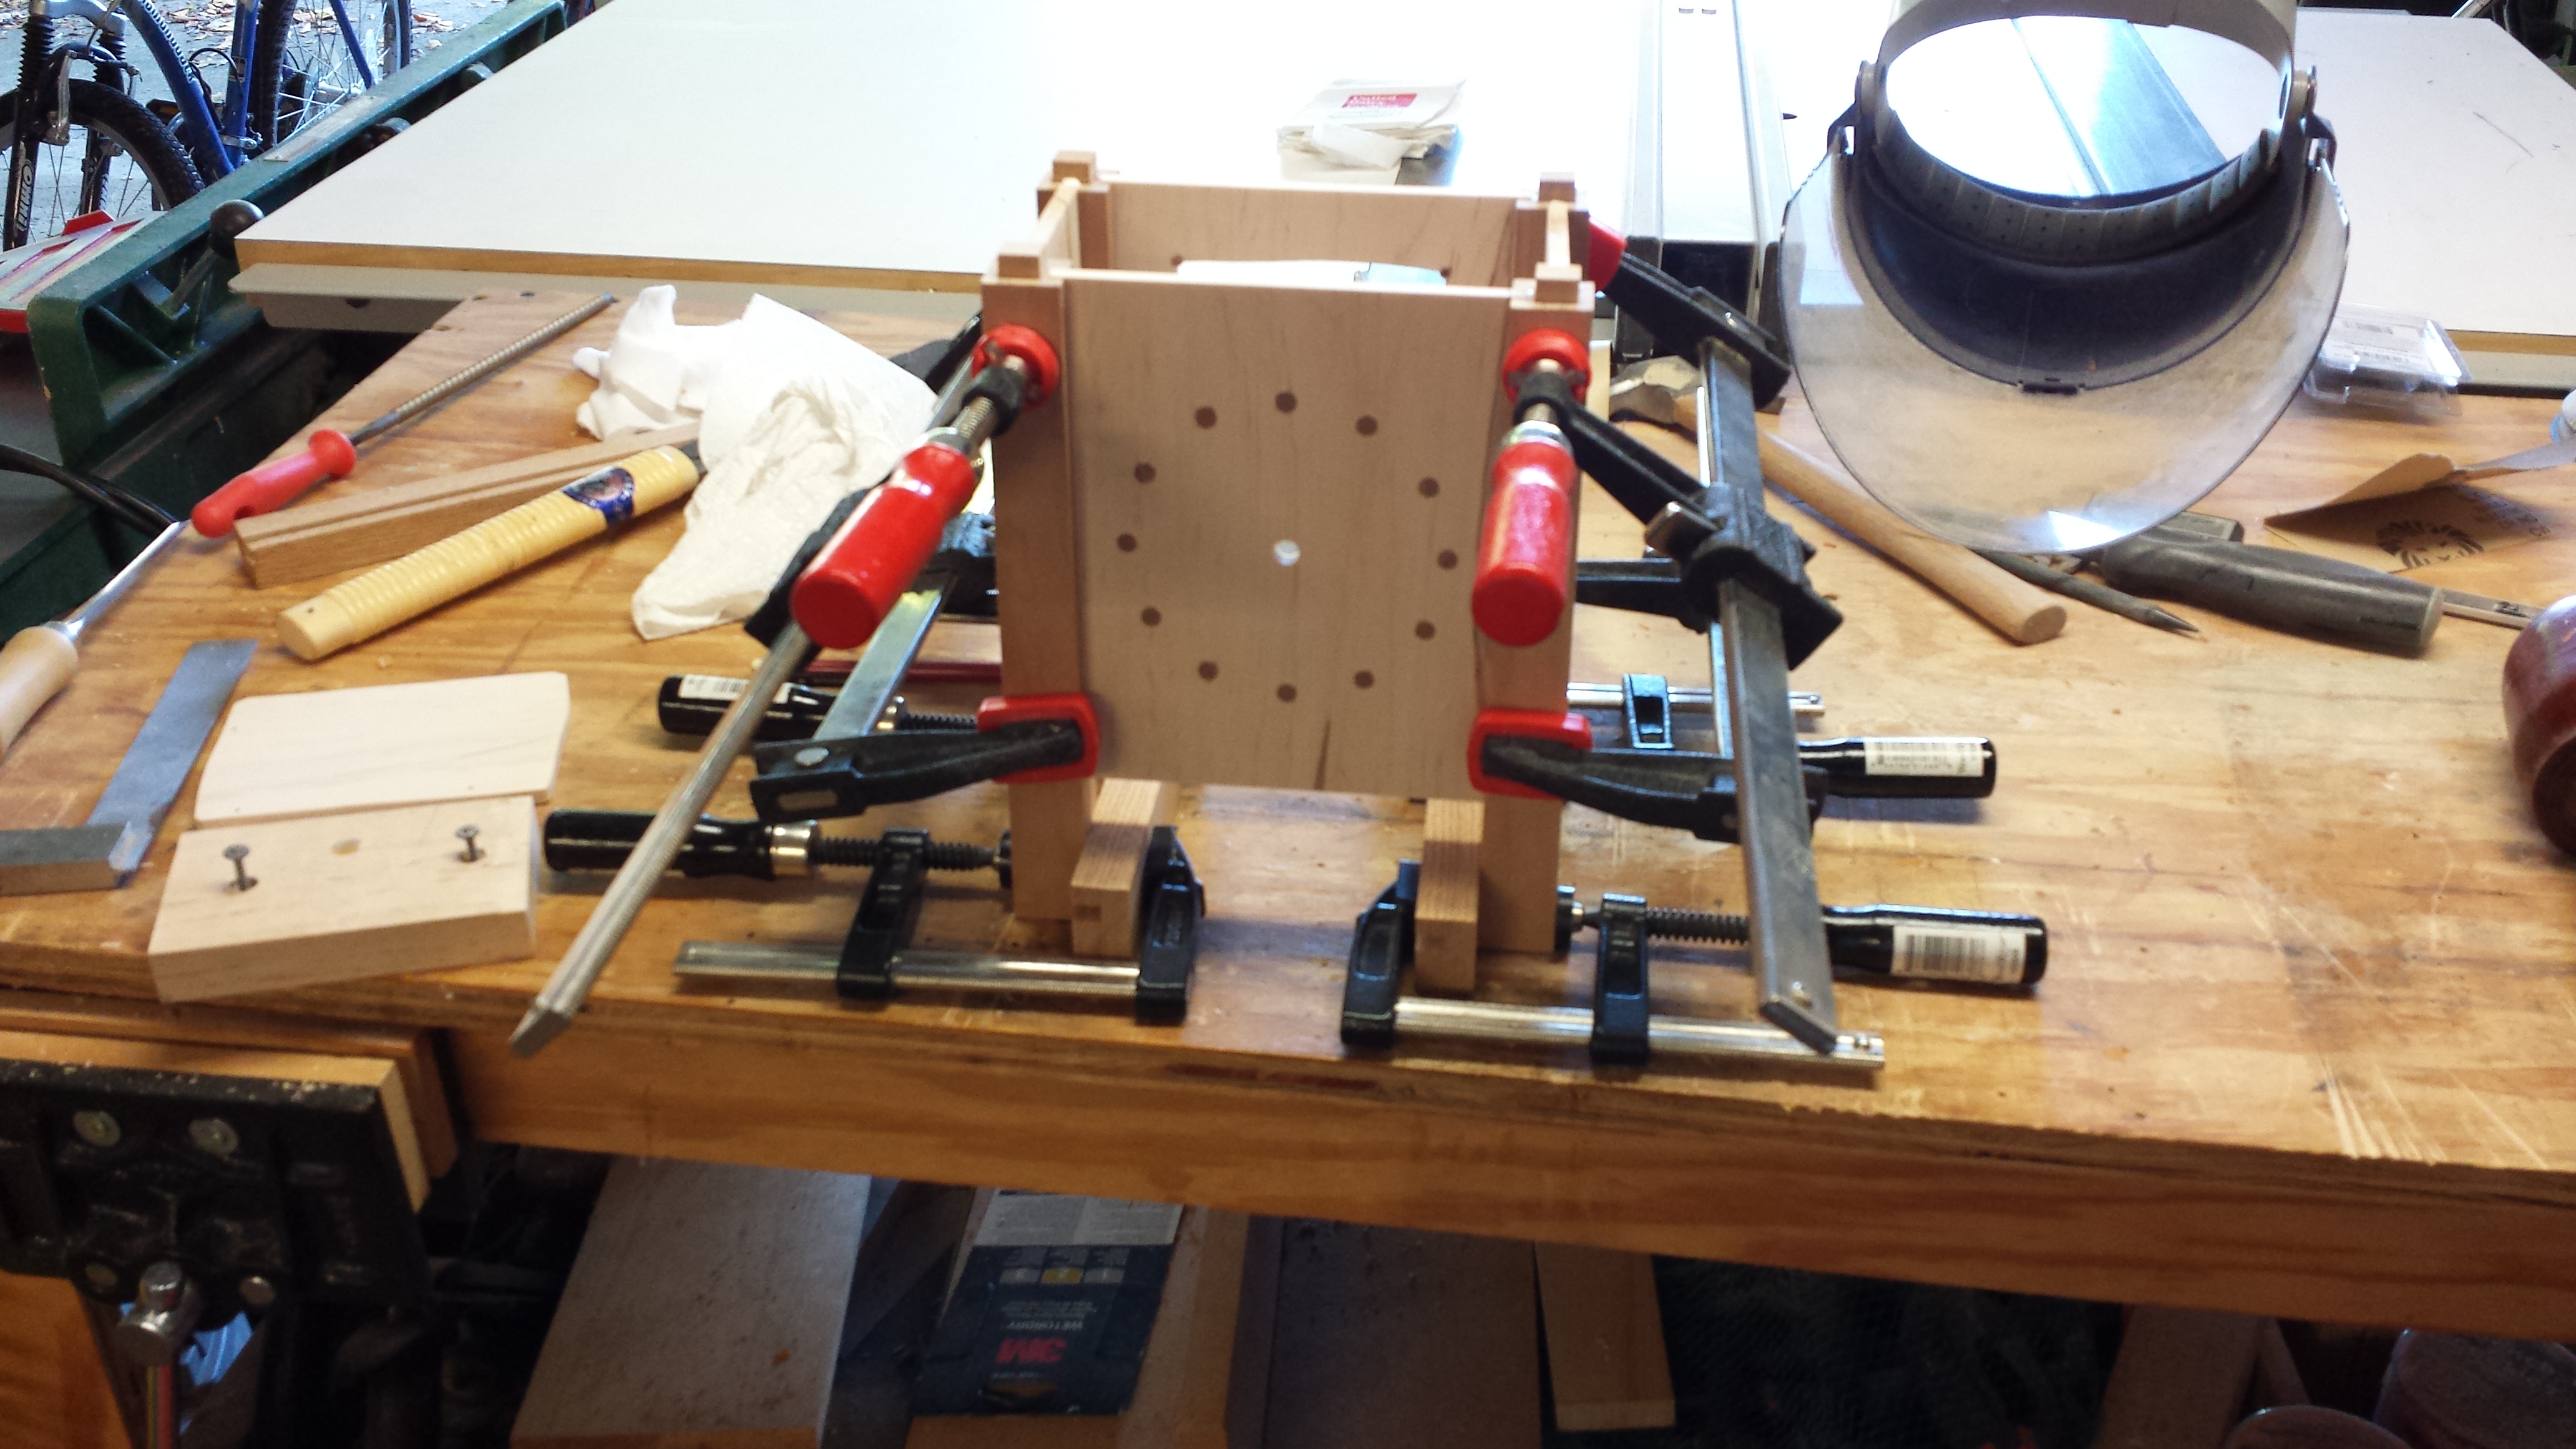
The one thing I would change on the design is the columns.  I think I would have liked slightly thicker columns so that I could have made the tapers more pronounced.  Even an 1/8″ thicker I think would have made a big difference.  The top was a tough one.  My vision was originally to make it much more ornate.  However, once I got the first layer on the clock, I really liked the cleaner look of the flat top, so I stayed with it.  The only other thing I would have changed, is the back.  My scroll sawing experience is still very small, and I wish I could have made the cuts a bit more straight.

2013-10-06 16.10.56Overall, I feel this experiment was successful.  I like how it looks sitting on our mantel, and the feedback I have gotten has been very positive.  Also I did enter it into my local Woodcraft’s gallery, in the small projects division.  I am happy to report, that the clock took third place in that division!  Will see what I come up with for next year’s gallery!  🙂

Mantel Clock – The Finish

Published on by Mike  (2 Comments)

2013-10-20 16.33.31I normally like the formula of boiled linseed oil and shellac for my projects.  I really like the richness that the boiled linseed oil brings to wood.  However, I had two concerns about using the oil on this piece.  The first, is that the oil does darken the wood.  I really wanted the contrast between the cherry and maple.  Part of the my wood selection was going through my ambrosia maple stock that had the lightest color, which can be a challenge as ambrosia maple often has a lot of dark coloring to it.  Shellac by itself still brings out the quality of the wood, but the super blonde I would use wouldn’t darken the maple as drastically as the oil would.  The next issue is we are now officially in fall, and my shop area is not climate controlled.  Boiled Linseed Oil really needs warmer weather for it to cure properly.  I just didn’t think we would have enough warm days in a row to let it fully cure in a timely manner.  So, I made the decision to go with shellac only, which dries quickly, even on a 55 degree day.

2013-10-20 16.33.45For applying the shellac, I used my HVLP setup.  This consists of a conversion gun and a pancake compressor.  While the compressor is woefully undersized for this type of application, it does work when there is nothing else to use.  I ended up spraying about 4 coats, using high grit sand paper to smooth.

Once I the finish was completed, I reattached the hinges, and put together the quartz movement, put a battery in it, and set the time.  It is currently on our mantel.

The next post on the clock I will discuss my thoughts on how the design turned out.  Also, I am seriously considering entering the clock into the local Woodcraft’s annual gallery.  If I do, I may write up a brief post about that as well.

Mantel Clock – Assembly

Published on by Mike  (Leave a comment)

2013-10-12 16.26.34   After completing work on the panels, I turned a knob for the back door, as well as making a closer that utilizes a rare earth magnet to keep it closed.  I also filled the corner holes that I drilled for the scroll saw with cherry pegs, similar to the pegs used for the face.  Once that was completed I started the glue-up2013-10-06 16.10.56 of the panels to the legs. I did the front and back panels to start out with first.  This was so I could use cauls to keep the glue-ups flat and square. After the front and back panels were glued together, I glued the rest of the base together, again using cauls where I could.  Once I got the base out of clamps, I held my breath and set it on a flat surface.  Turned out the prep work I had done really paid off and it sat flat without making any tweaks to the columns!

2013-10-12 13.25.49In the spirit of this project, with no plans or drawings, I still hadn’t come up with a top.  I had thought about a domed top, but didn’t want the clock to follow too closely the clock I used for inspiration.  Inspiration can come from many places, and in the case for the top, it came from my wife.  She gave me a few ideas as to how I could go with it.  I was really toying around with the idea o2013-10-13 16.01.51f doing a multi-layered top.  I then cut out the first piece that would attach to the columns of the base, and cut the mortises for the tenons, and then spent some time on the router table creating a profile.  After a dry fit, I really like how it looked.  So I let it sit for awhile.  It was a tough call as to weather I should go further with it or not.  I showed it to my wife as a dry fit, and she liked it too.  So , realizing that sometimes the most difficult aspect of design is knowing when to stop, I decided, it was time to go with it, and glued it to the base.

Next post I will discuss the finish.


Woodworking in America – “Why are you here?!?”

Published on by Mike  (7 Comments)

I just got back from a great weekend at Woodworking in America, Popular Woodworking Magazine’s yearly show.  This year, it was located in Covington, Ky just across the river from Cincinnati, Oh.

2013-10-18 16.26.40I spent much of my time in the market place where various vendors and organizations have setup booths to display the tools and/or pieces they have available.  I got the opportunity to try out tools from Scott Meeks, Bad Axe, Nice Ash, and many others.  While I will enjoy the tools I have purchased, including a Gramercy Rasp, and Grr-rip block from Micro jig, this show was all about who I spent my time.

2013-10-18 15.36.032013-10-19 18.11.16The group I spent much of my time with is the great guys from Modern Woodworkers Association.  These guys made an already great show an absolute blast!  They are fun to be around, and they all have a great passion for woodworking and bringing it to others, both in the online and offline communities.  Keep your eye out for their next pod cast about WIA, as I was one of the guys they interviewed at the show!  As a note, the title of this post is an inside joke with the MWA guys.

2013-10-19 18.53.432013-10-19 18.54.322013-10-19 19.03.43Another great group I got spend some time hanging out with is the Wood Talk Online crew, including Marc Spagnoulo of The Wood Whisperer, Matt Vanderlist (aka the Pod King!) of Matt’s Basement Workshop and Shannon Rogers of Renaissance Woodworking.  The work that these guys have done in the woodworking community have truly raised them to celebrity status, and getting to meet them in person was really an awesome experience!

2013-10-19 18.08.042013-10-18 15.25.282013-10-19 18.52.44The folks at Popular Woodworking magazine once again did a great job bringing in quality vendors as well as quality presenters.  It is very obvious that they listen to the woodworking community as a whole, and do what they can to produce a show that will provide something for everyone who attends!  I am already counting down the days of next year’s show!

The value of a project

Published on by Mike  (4 Comments)

pricemeA week or so ago I had an acquaintance come up to me and ask me how I would go about building a knife block.  He has a set of steak knives with no block and was having trouble finding one in stores.  I do occasionally have people reach out to me and ask me advice on building something, and I am always willing to share. I gave him a couple ideas on how one could be made.  He then offers me $20 to make him one.  I politely declined.

I haven’t yet made anything with the intent to be sold.  The closest I have come to that is building gifts for others.  That said, I have not figured out what the best formula is for pricing my work.

To make a point, I have no issues against Ikea or Walmart.  They both fill a market need, and, admittedly, have shopped at both stores.  However, what I, and other woodworkers for that matter, find frustrating is when people confuse mass produce products of varying quality to a custom piece.  My goal in the wood shop isn’t to build something that will compete Ikea or Walmart.  The products in those stores are mass produced in a way to produce them quickly and cheaply.  For the casual on looker its hard to get past that idea, and are often surprised at how much a custom piece can cost.  They don’t see the preparation of the stock, the machine setup, the test cuts, applying the finish, or even the time it takes to come with even some basic plans.  Therefore, even a simple knife block could have 5-6 hours invested in it.  So, for that amount of time, for a custom made piece, would $100 be fair?  $80?  $50?  While it would be easy to say “it’s just a knife block”  it is easy to forget it is custom made vs. store bought.

Being realistic, I doubt I would ever take on a commission that simple, simply because no one would be willing to pay what it would take to make one, vs. buying from the store.  Unless of course its my wife asking for it!  🙂

Along the same lines, a more realistic commission would be a piece of furniture, say a night stand.  This could take 20 or more hours to make, and for a skilled woodworker, it would not be unreasonable to ask $1000.  Most likely this is a custom design that has gone through several revisions till it meets his customer’s satisfaction.  Then their is material cost.  Lets face it, good hardwood is not inexpensive.  Then after the piece is made, providing the customer finish samples so that they can get the right look.  It is easy to see why a simple furniture piece can get up to $1000.  Now understand what his frustration would be if the customer asked the woodworker to do this for $100.  I know I wouldn’t be happy.

Since I haven’t done any commission work myself, I don’t feel in a place to offer much in the way of pricing a commission.  However, I can understand to a degree people’s misconception of how much a commissioned piece should cost.  First off, they are flooded with DIY TV shows that demonstration projects being put together in under 30 minutes, so it seems much more simple to build a piece then it really is.  Also if a person’s budget is tight they maybe look for a cheaper alternative then what they see in stores, and not understanding what is involved in making a piece, think that having a piece made is a viable option.  The reality is what a piece costs in a store would barely cover the cost of material for a custom made piece.

Coming up with a reasonable price for a commissioned piece is always going to be a challenge.  The best advice I can give anyone who is ready to branch out to this, is have a fair pricing formula, and be able to clearly show the customer what is going into the piece.  Finally, don’t ever undercut yourself.  Your time is worth more than you think, make sure you get something for it.