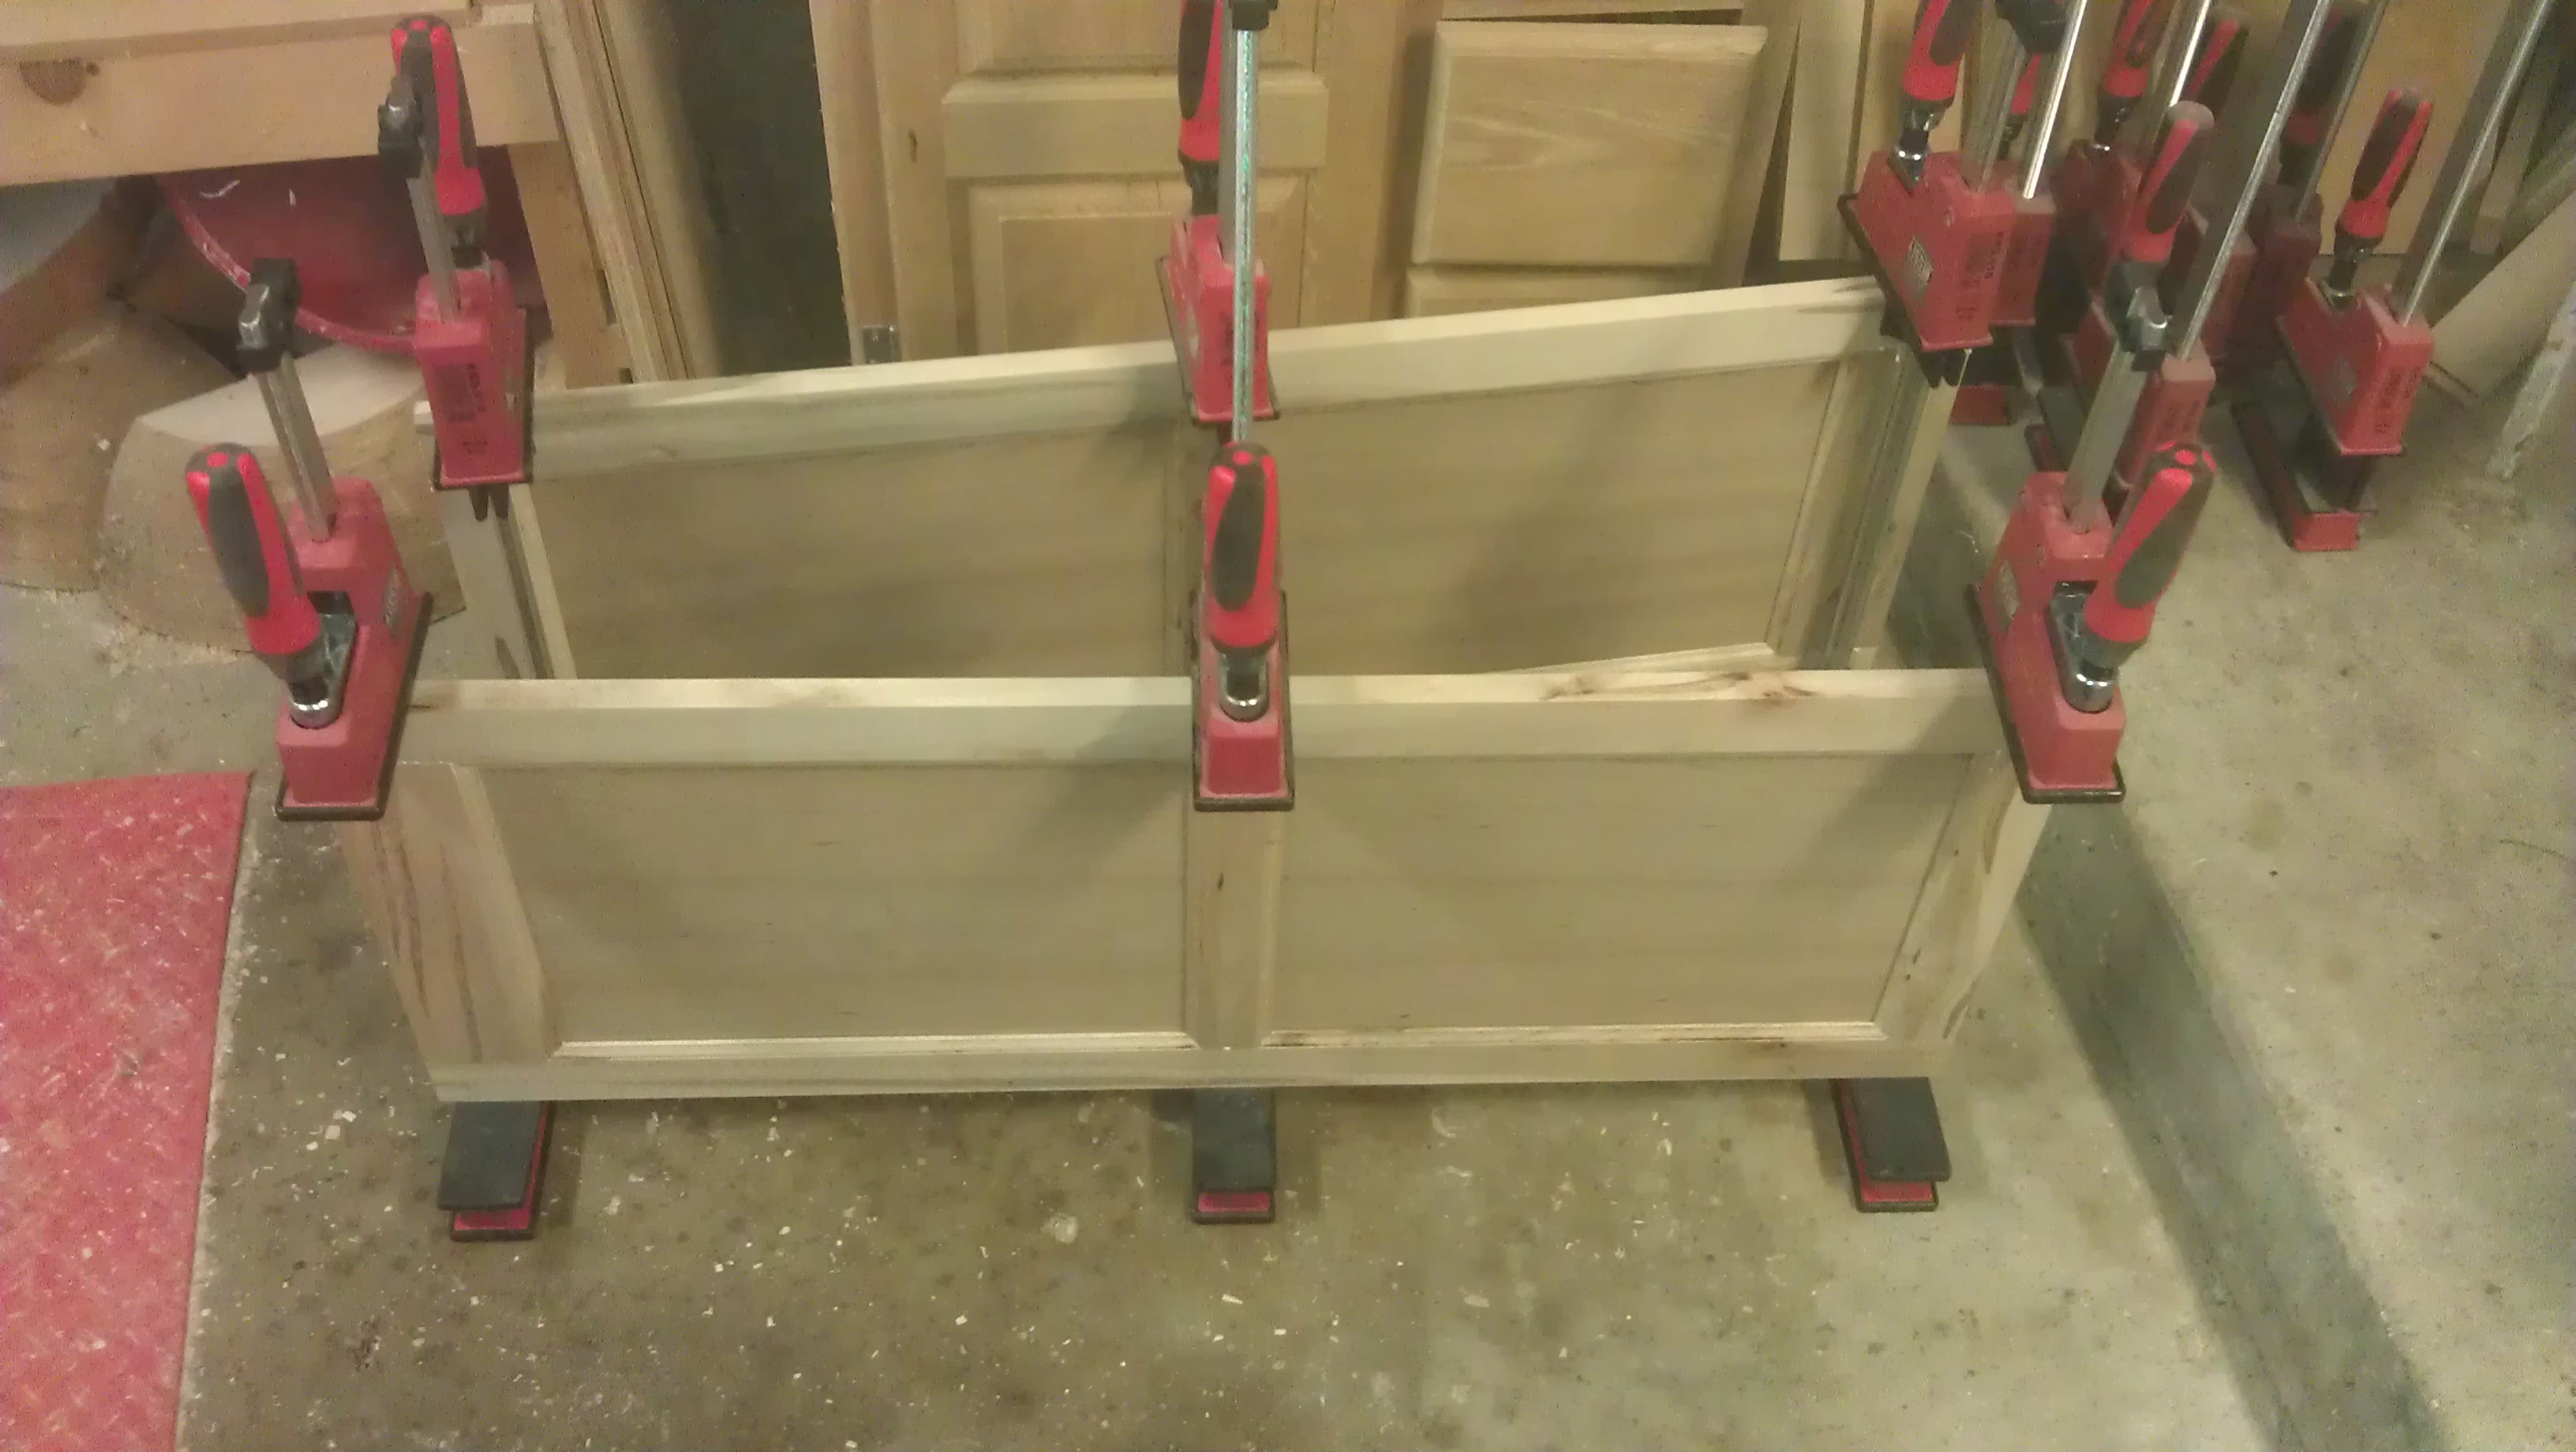
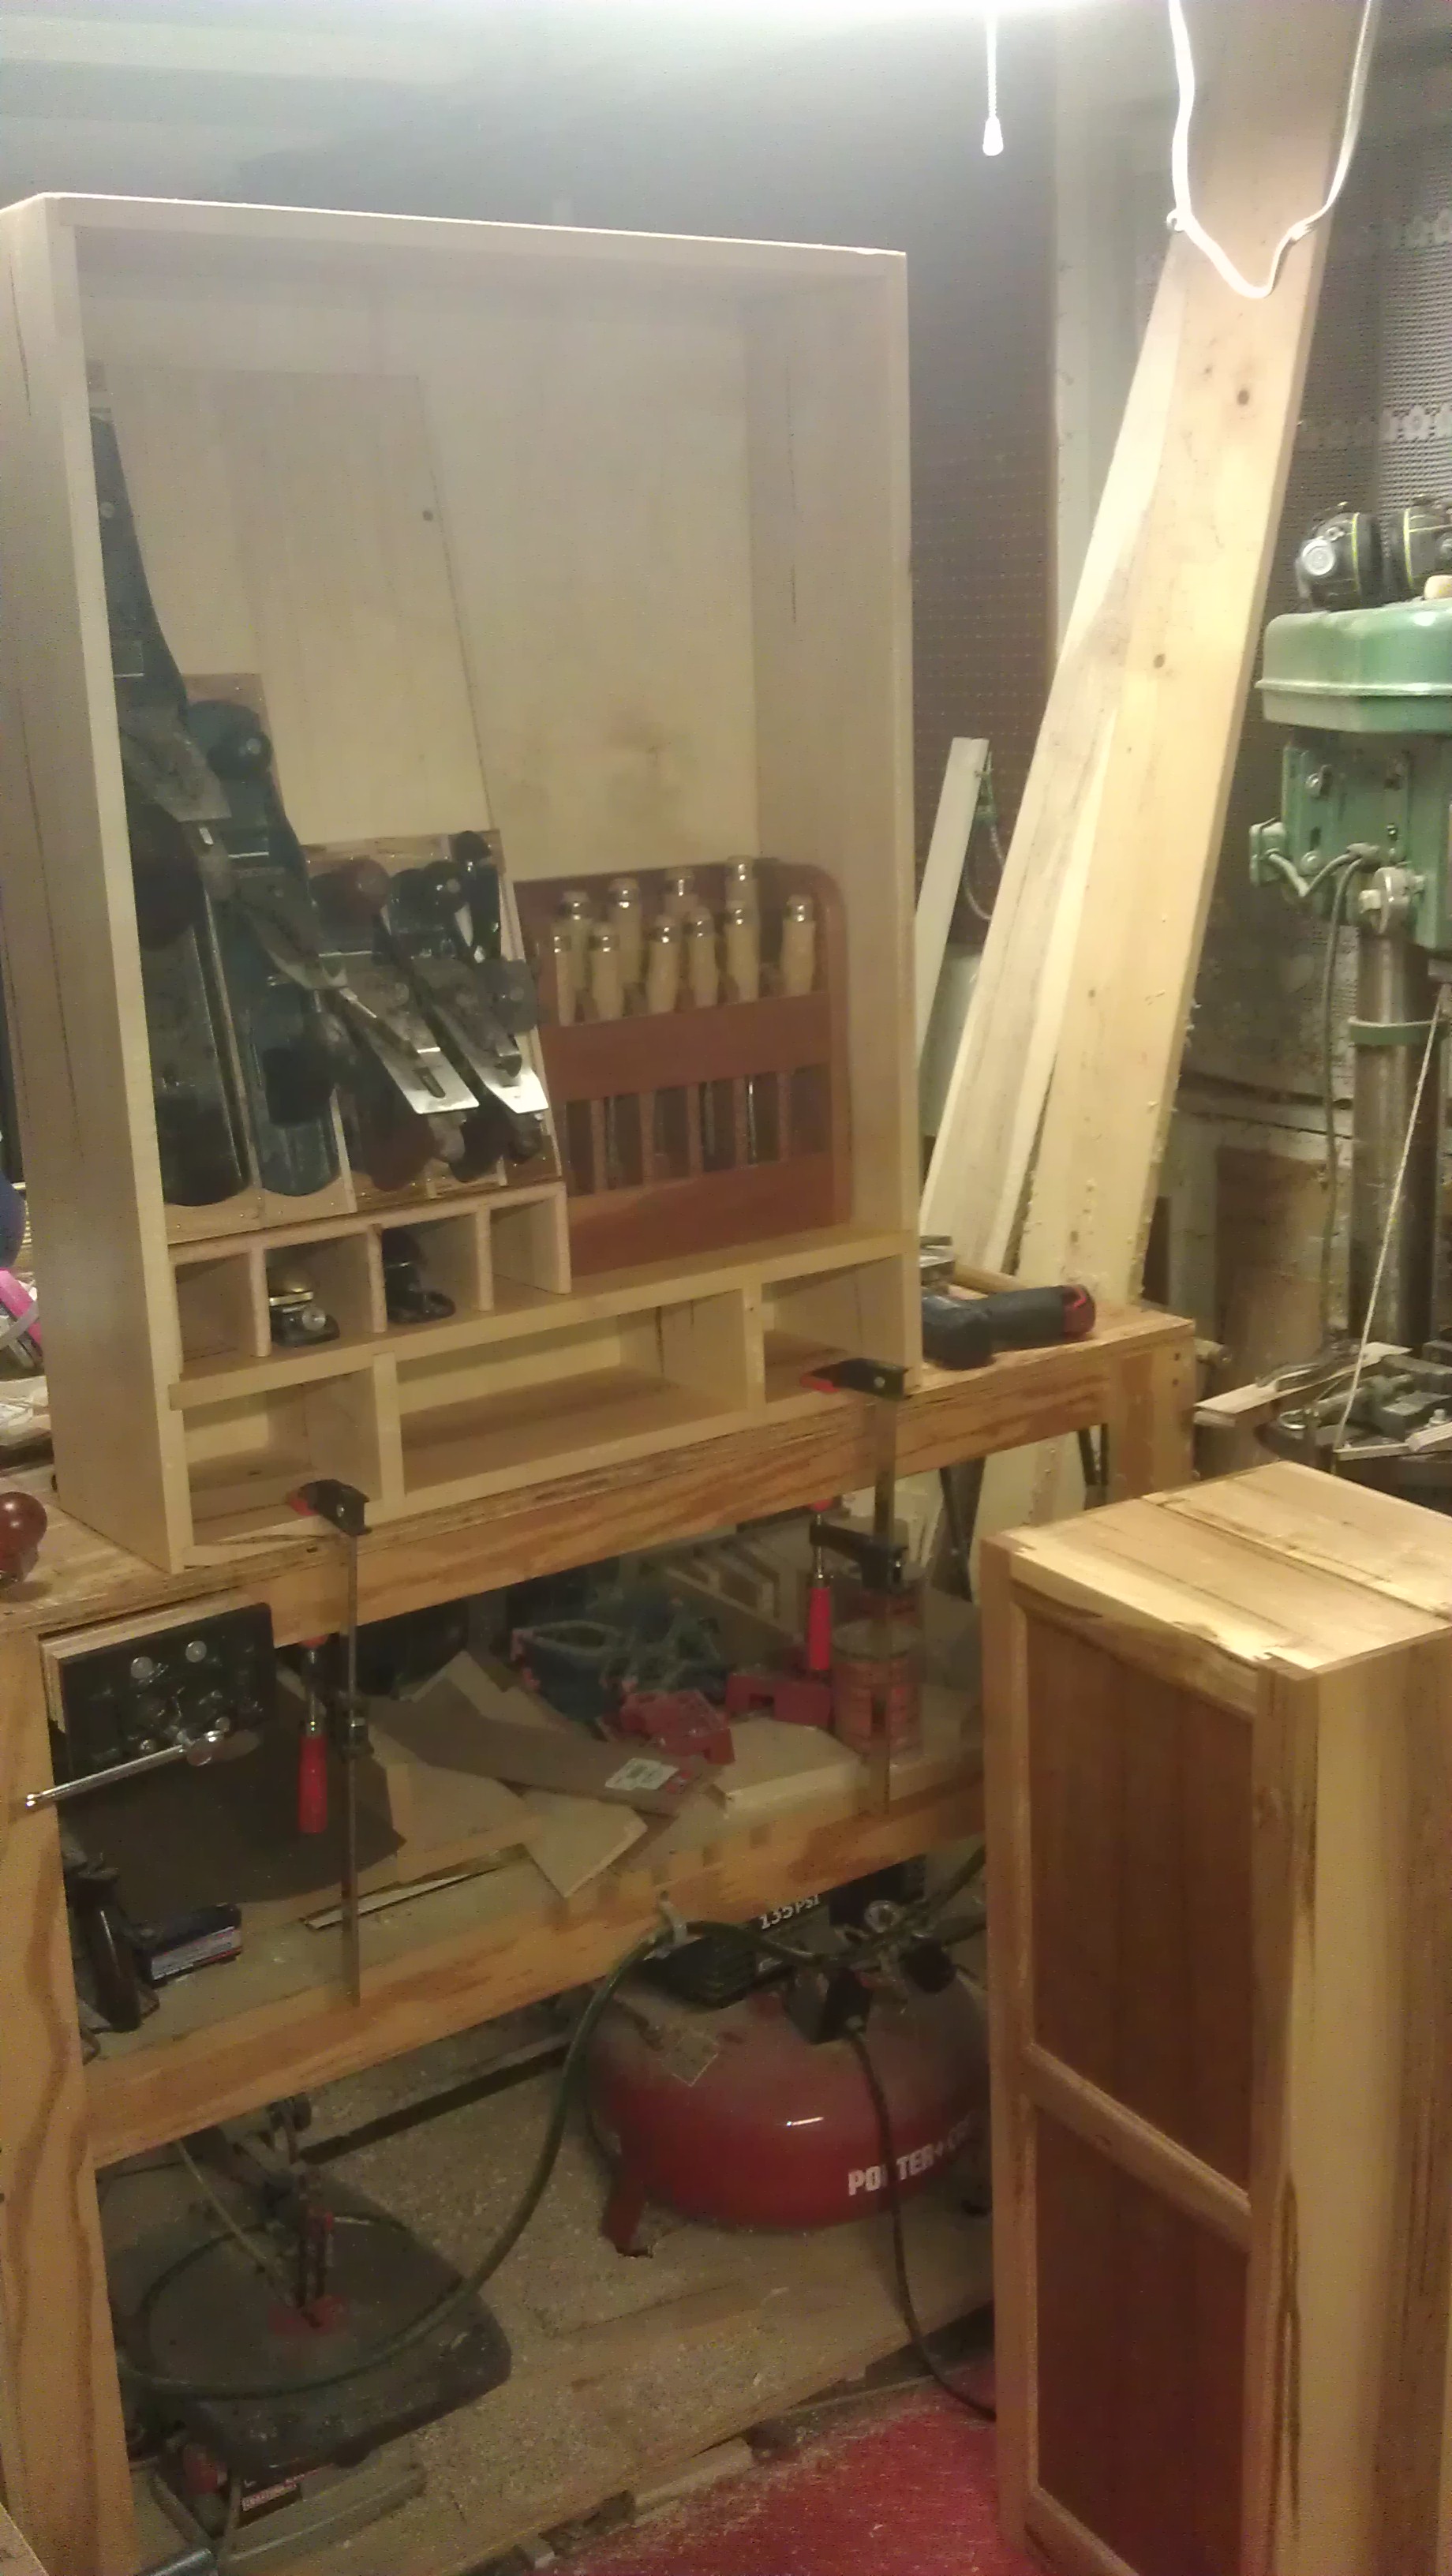
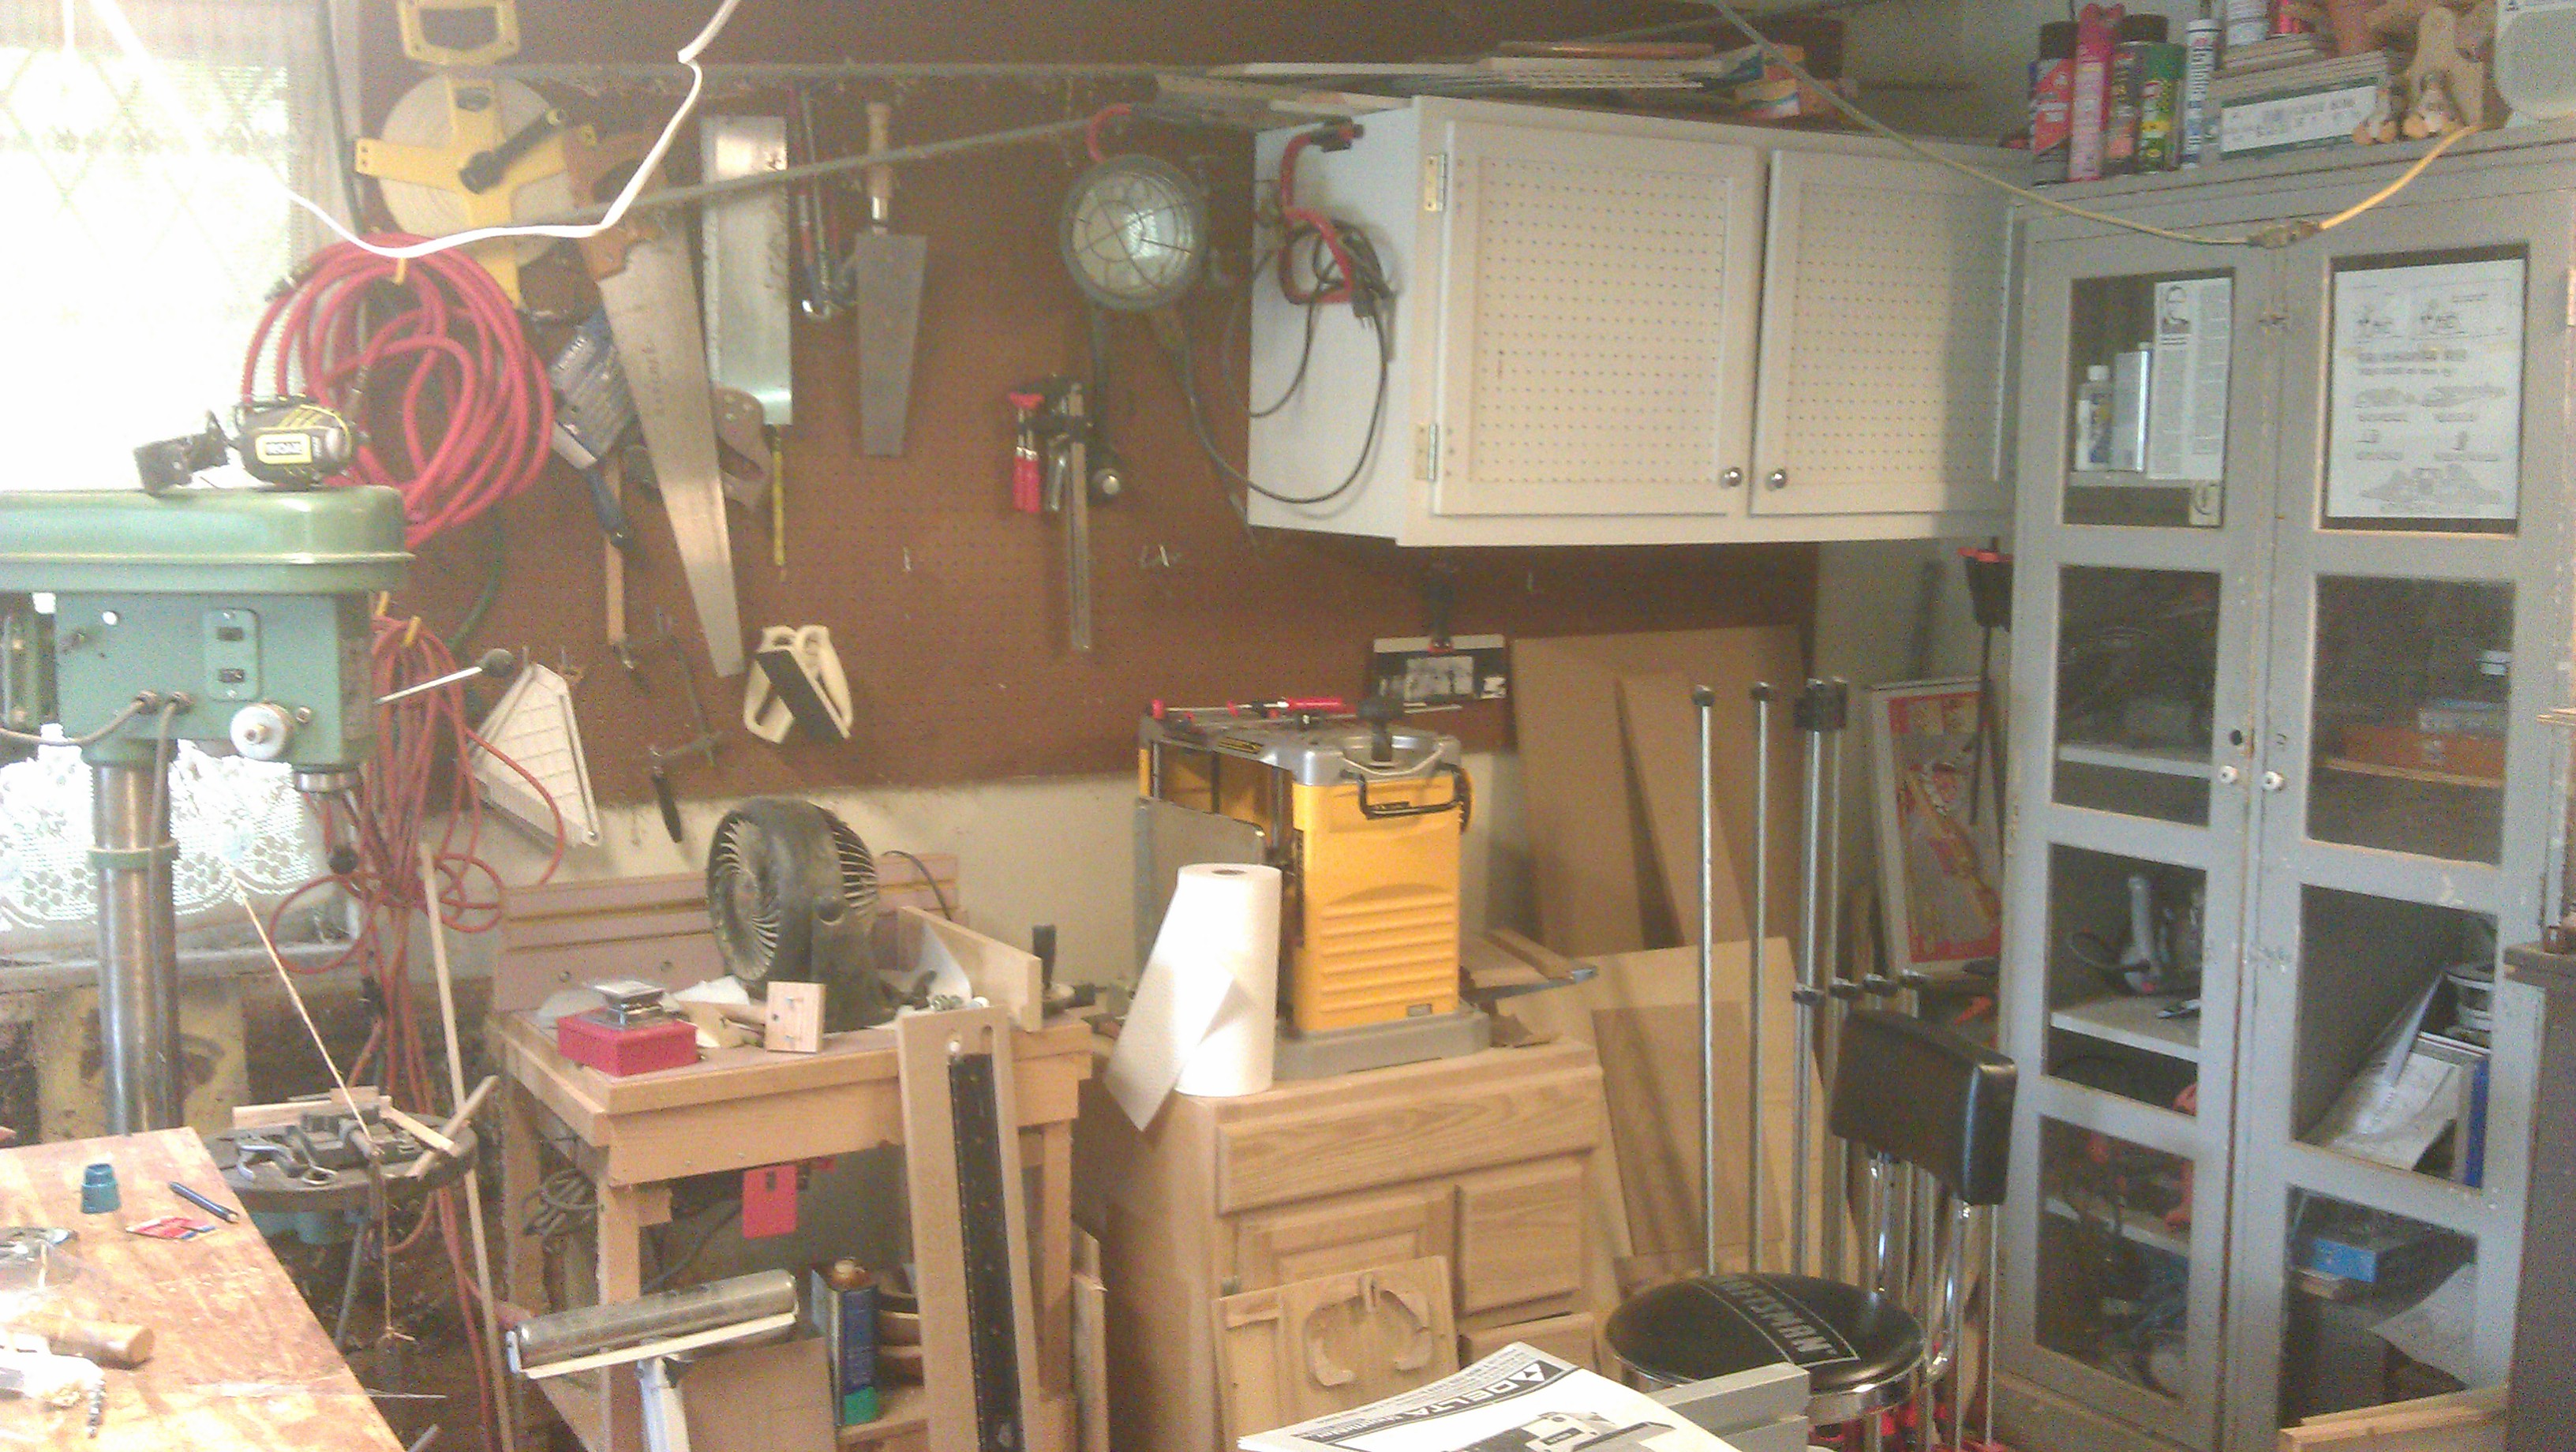
 Yes, I know, my posts drop off when I am working out in the shop. However, the time between my last post and this one has not gone to waste! There have been quite a few changes in the shop! Every shop is a constantly changing environment. When we first moved into this house, most of my tools were small and portable, and I would take them out to the driveway and work. Most of the projects I undertook then were home improvement/repair related, and a few other smaller woodworking projects which were well perforated with brad nails. (Sorry Norm) The white cabinet on the wall I made for power hand tools, and really was the first storage towards my shop. It was perfect for that use, and was on the wall for quite a few years. Everything else I had was well stored on the peg board around it. However, as my interest in woodworking grew, and my projects became more sophisticated, my tool needs changed, and therefore my storage needs changed. Now if you told be 3 years ago that I would have a hand tool collection beyond a set of chisels, I would have laughed. However, that soon changed, and my hand tools started growing. Quickly. 🙂 So that is how and why the hand tool cabinet project began. Other storage needs had also cropped up besides hand tools. Last year I started buying clamps. Real clamps. Not the junk i had bought from a discount store a few years ago. In fact I have started buying Bessey Revos and Bessey F-clamps. The nice thing about the Revos, they do stand up on their own. However, they do take up a lot of floor space, and honestly, I have knocked them over more then I care to admit. So, wall storage was needed as well.
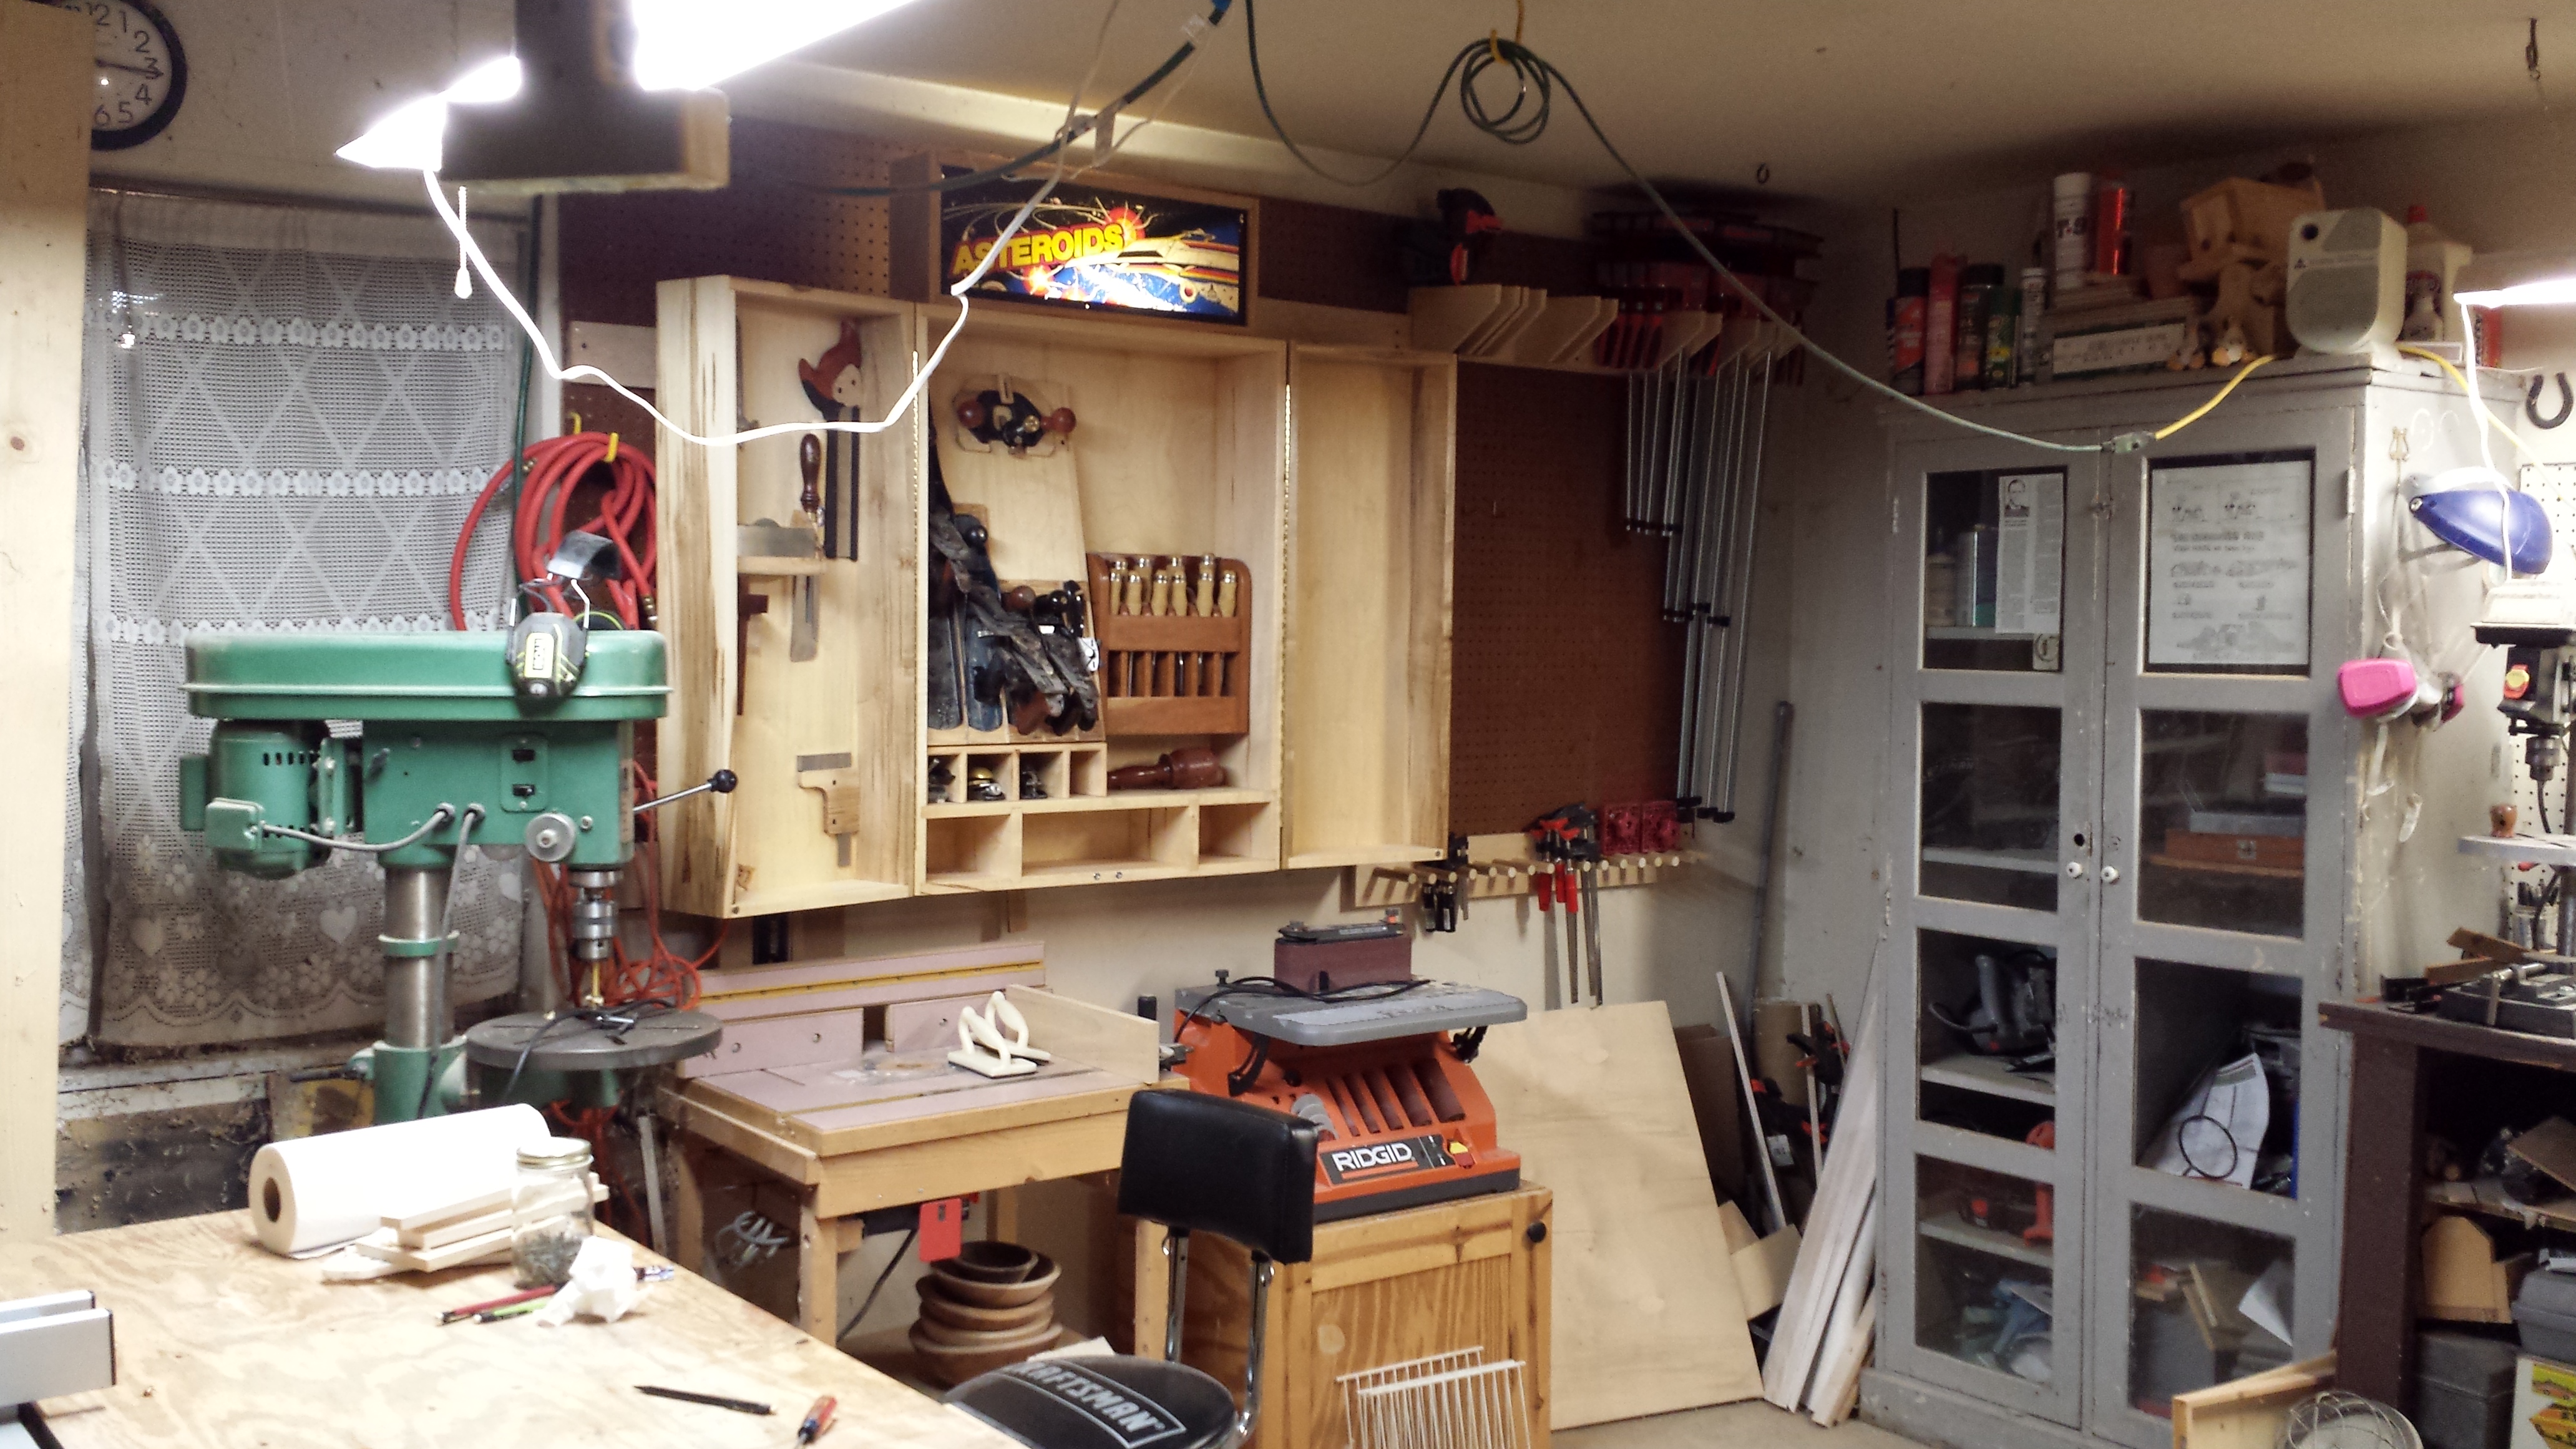
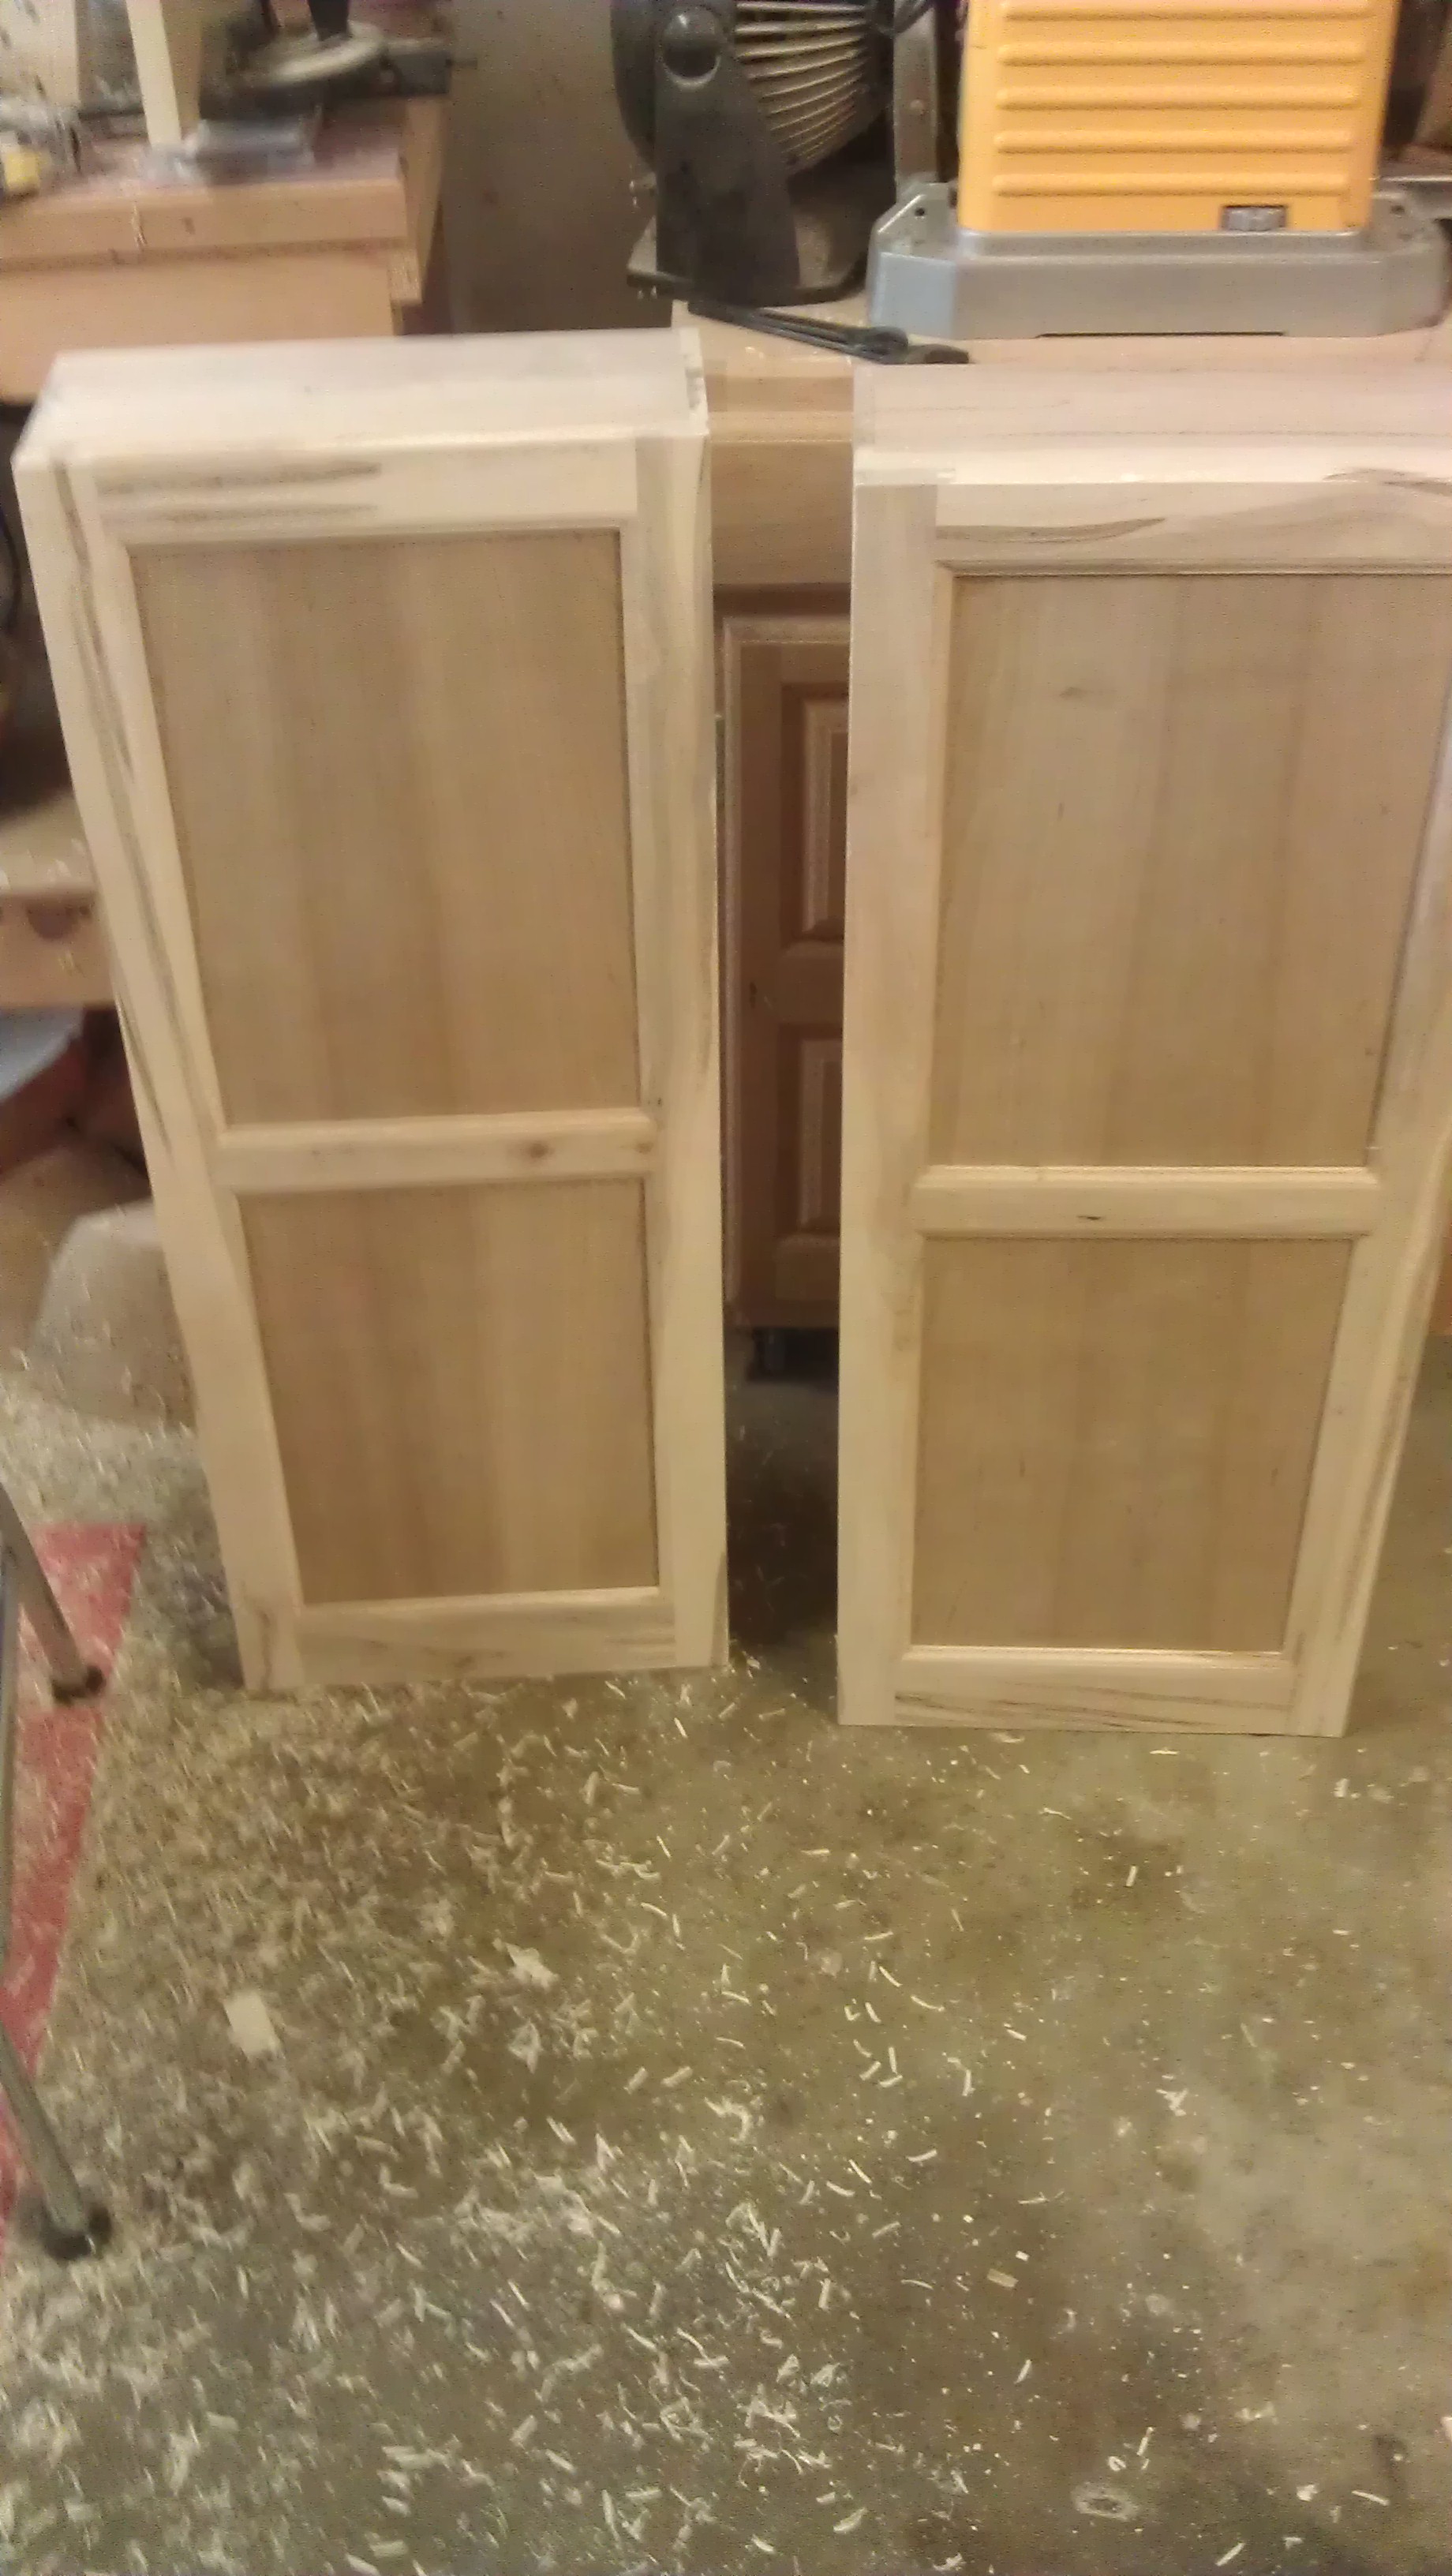
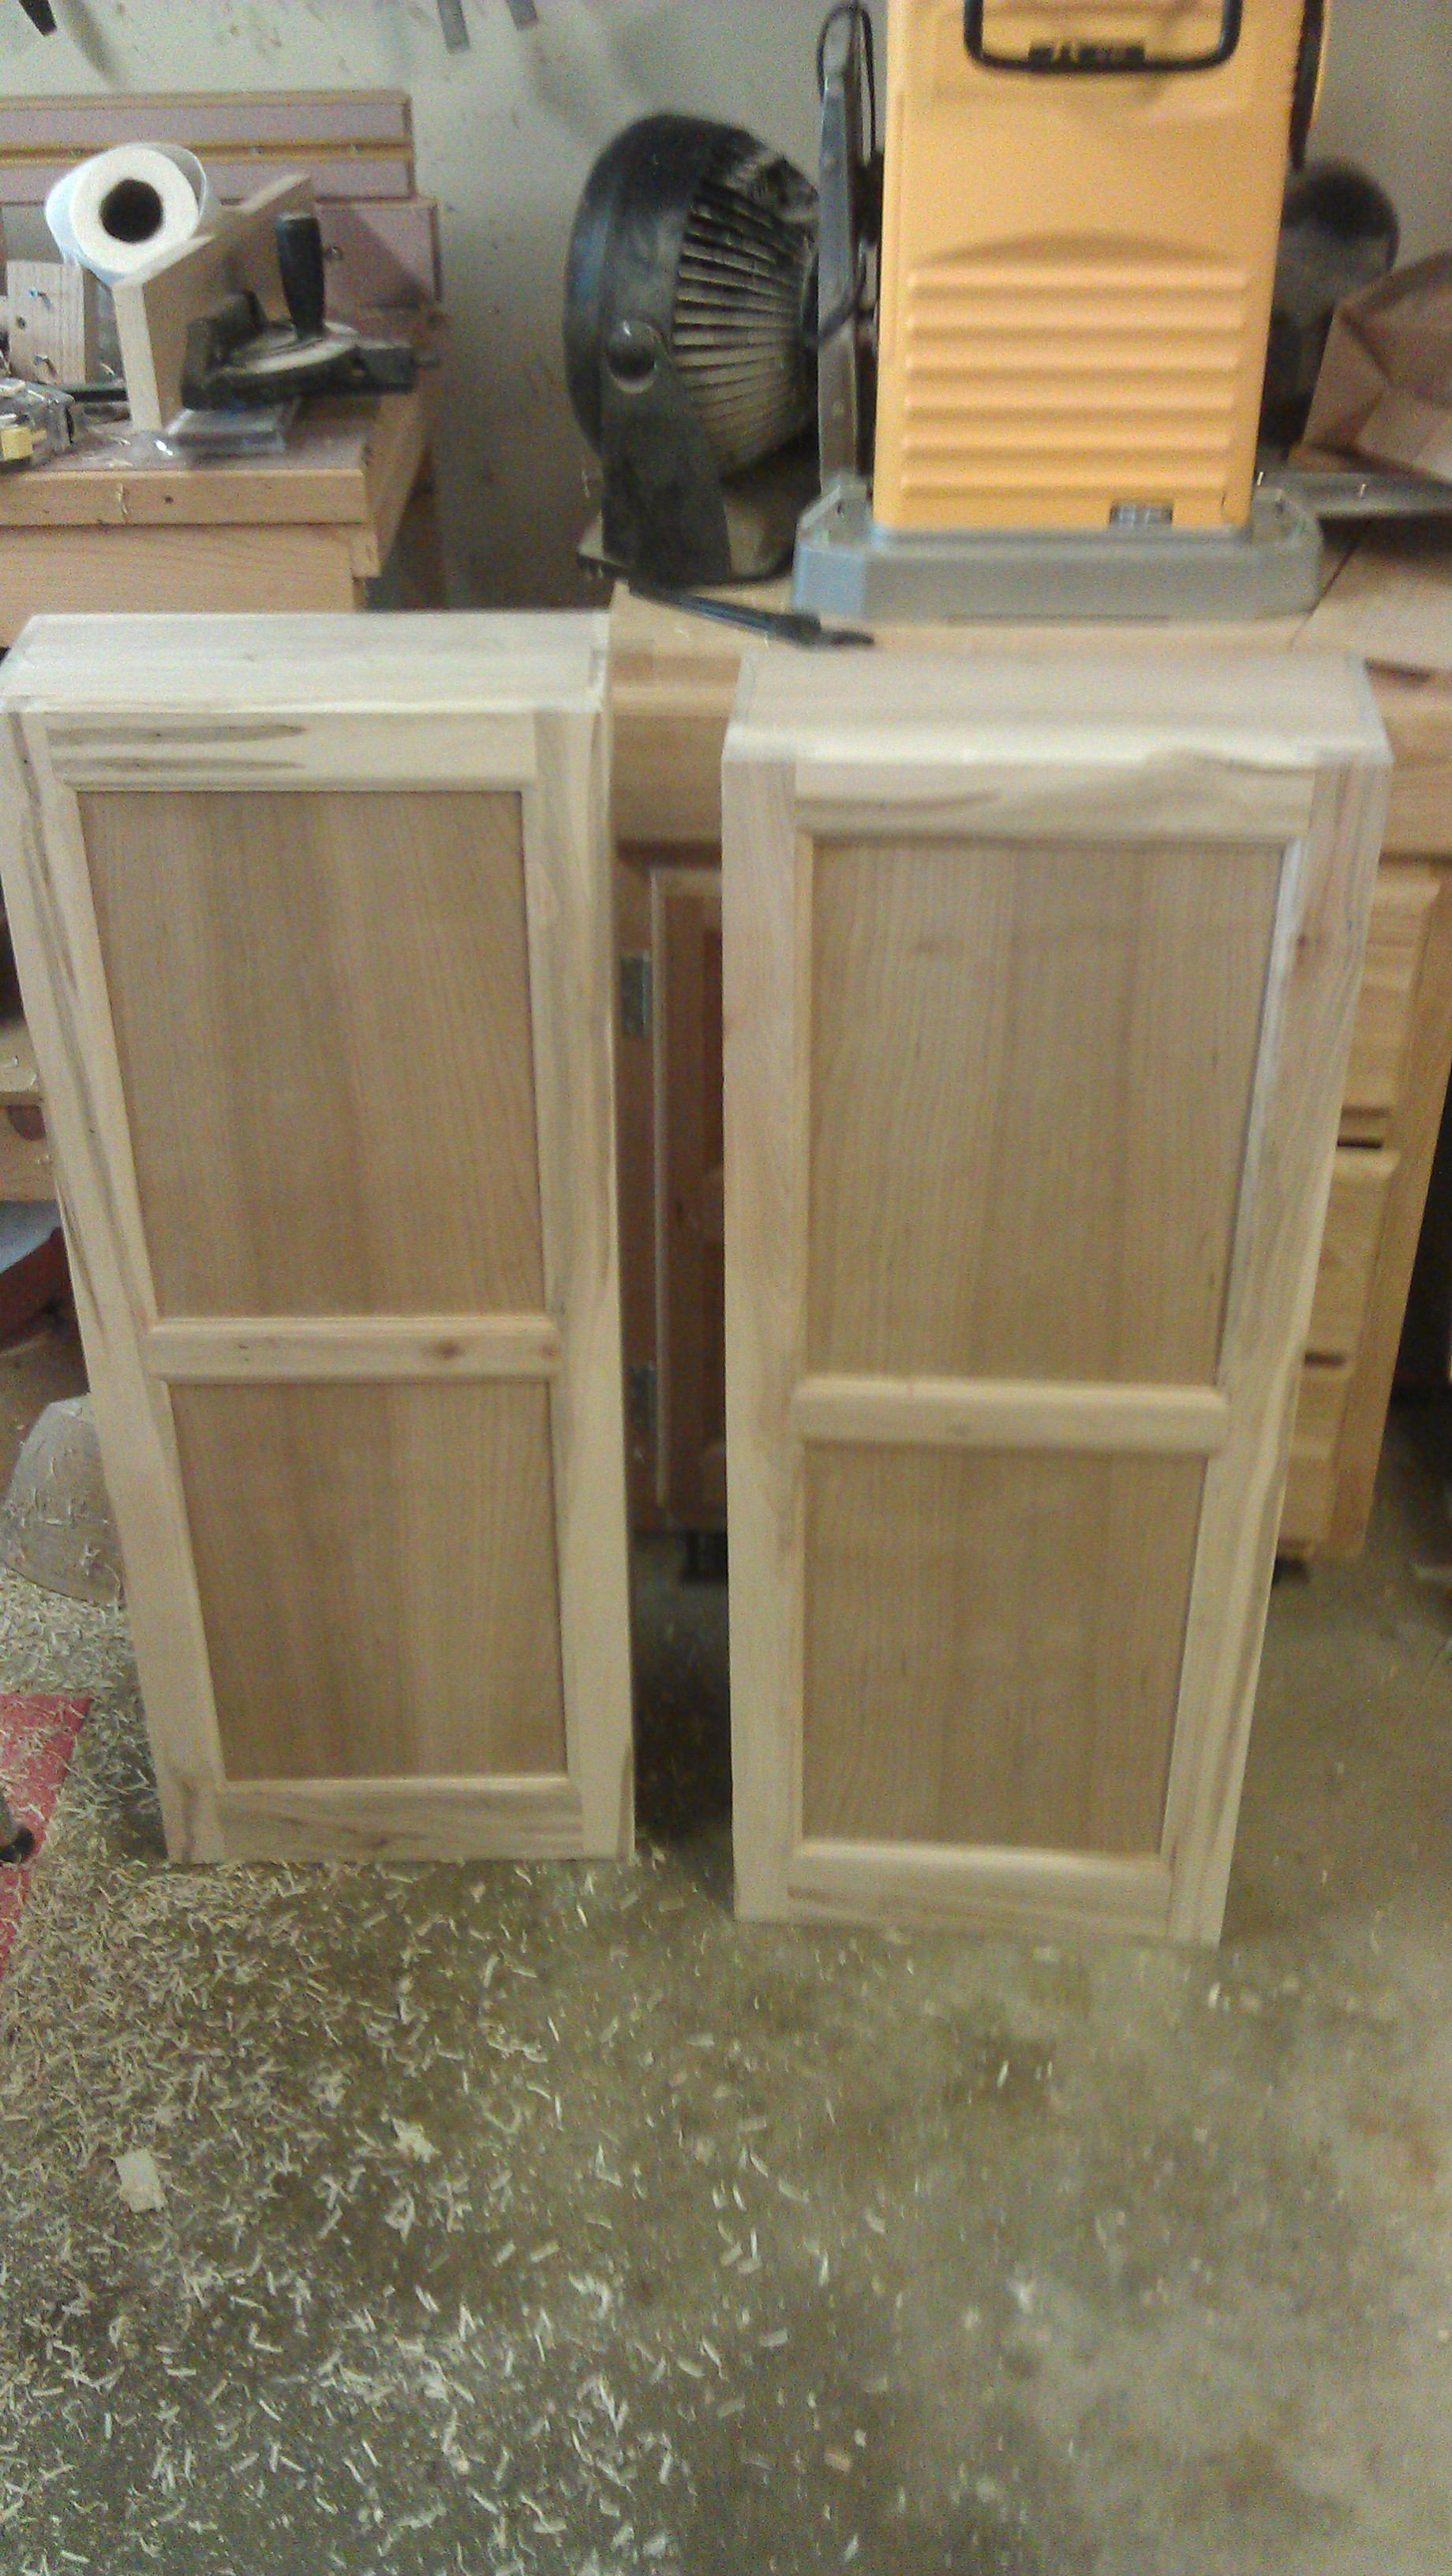
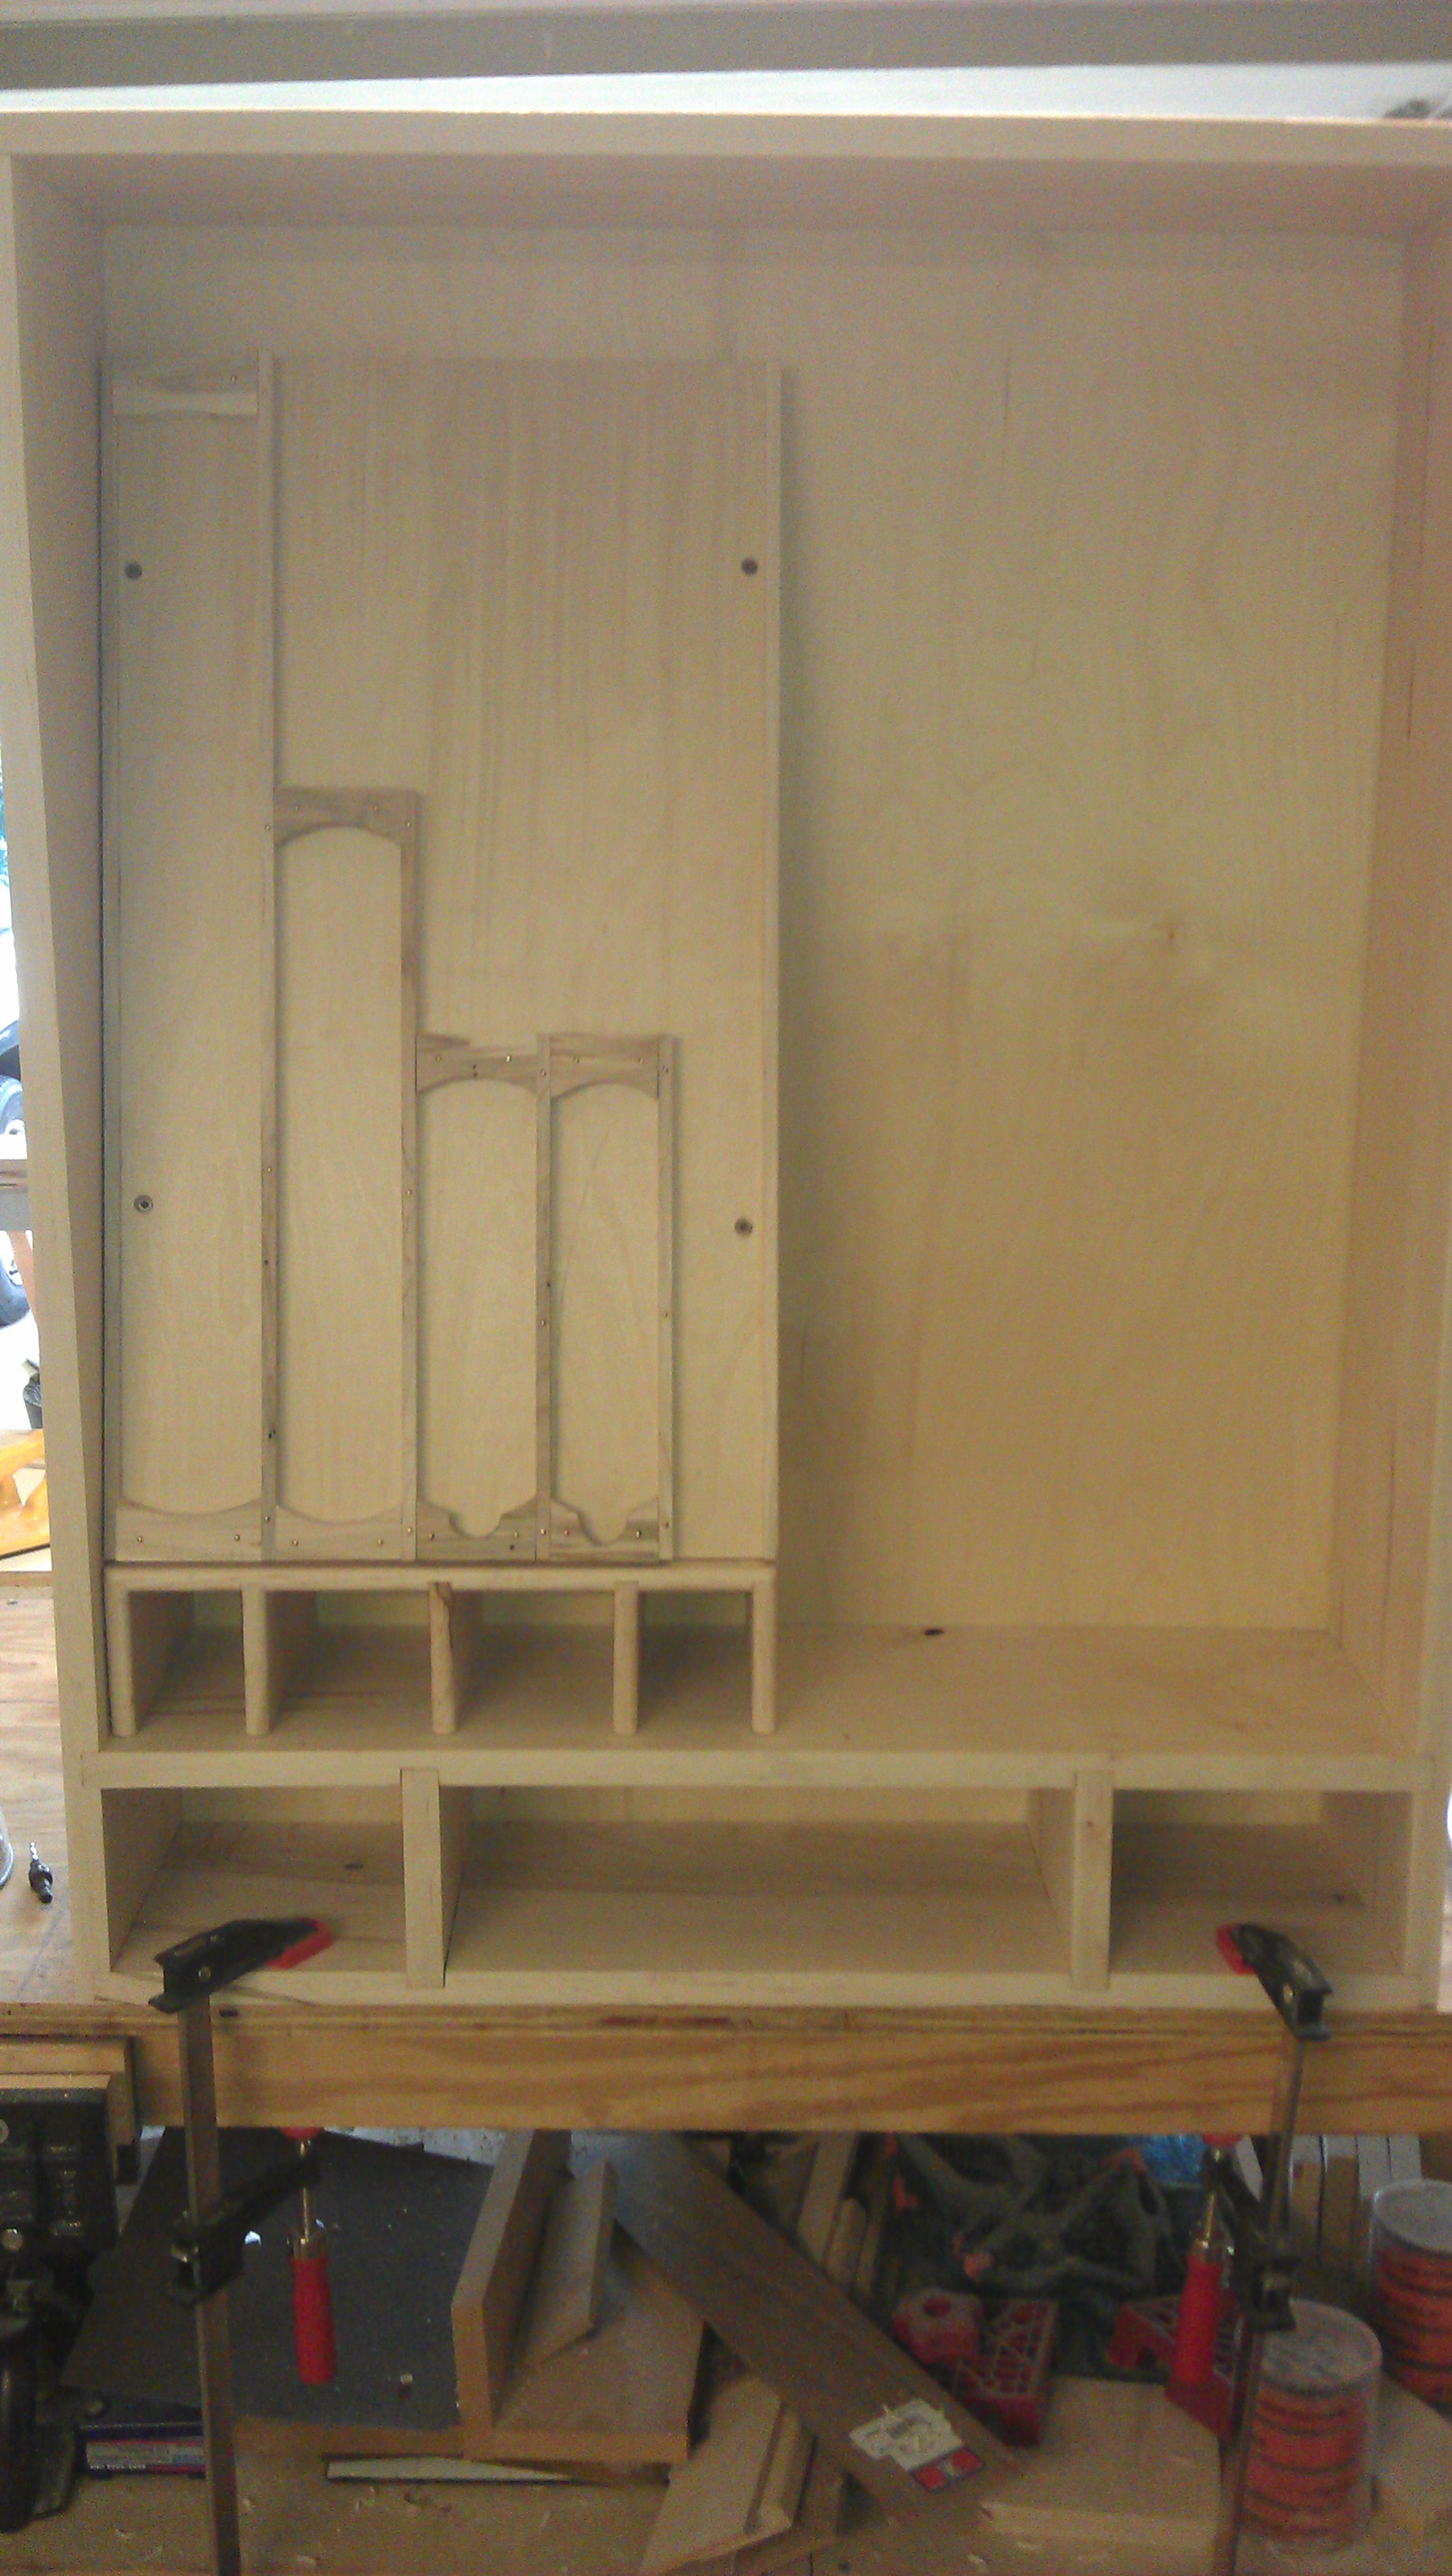
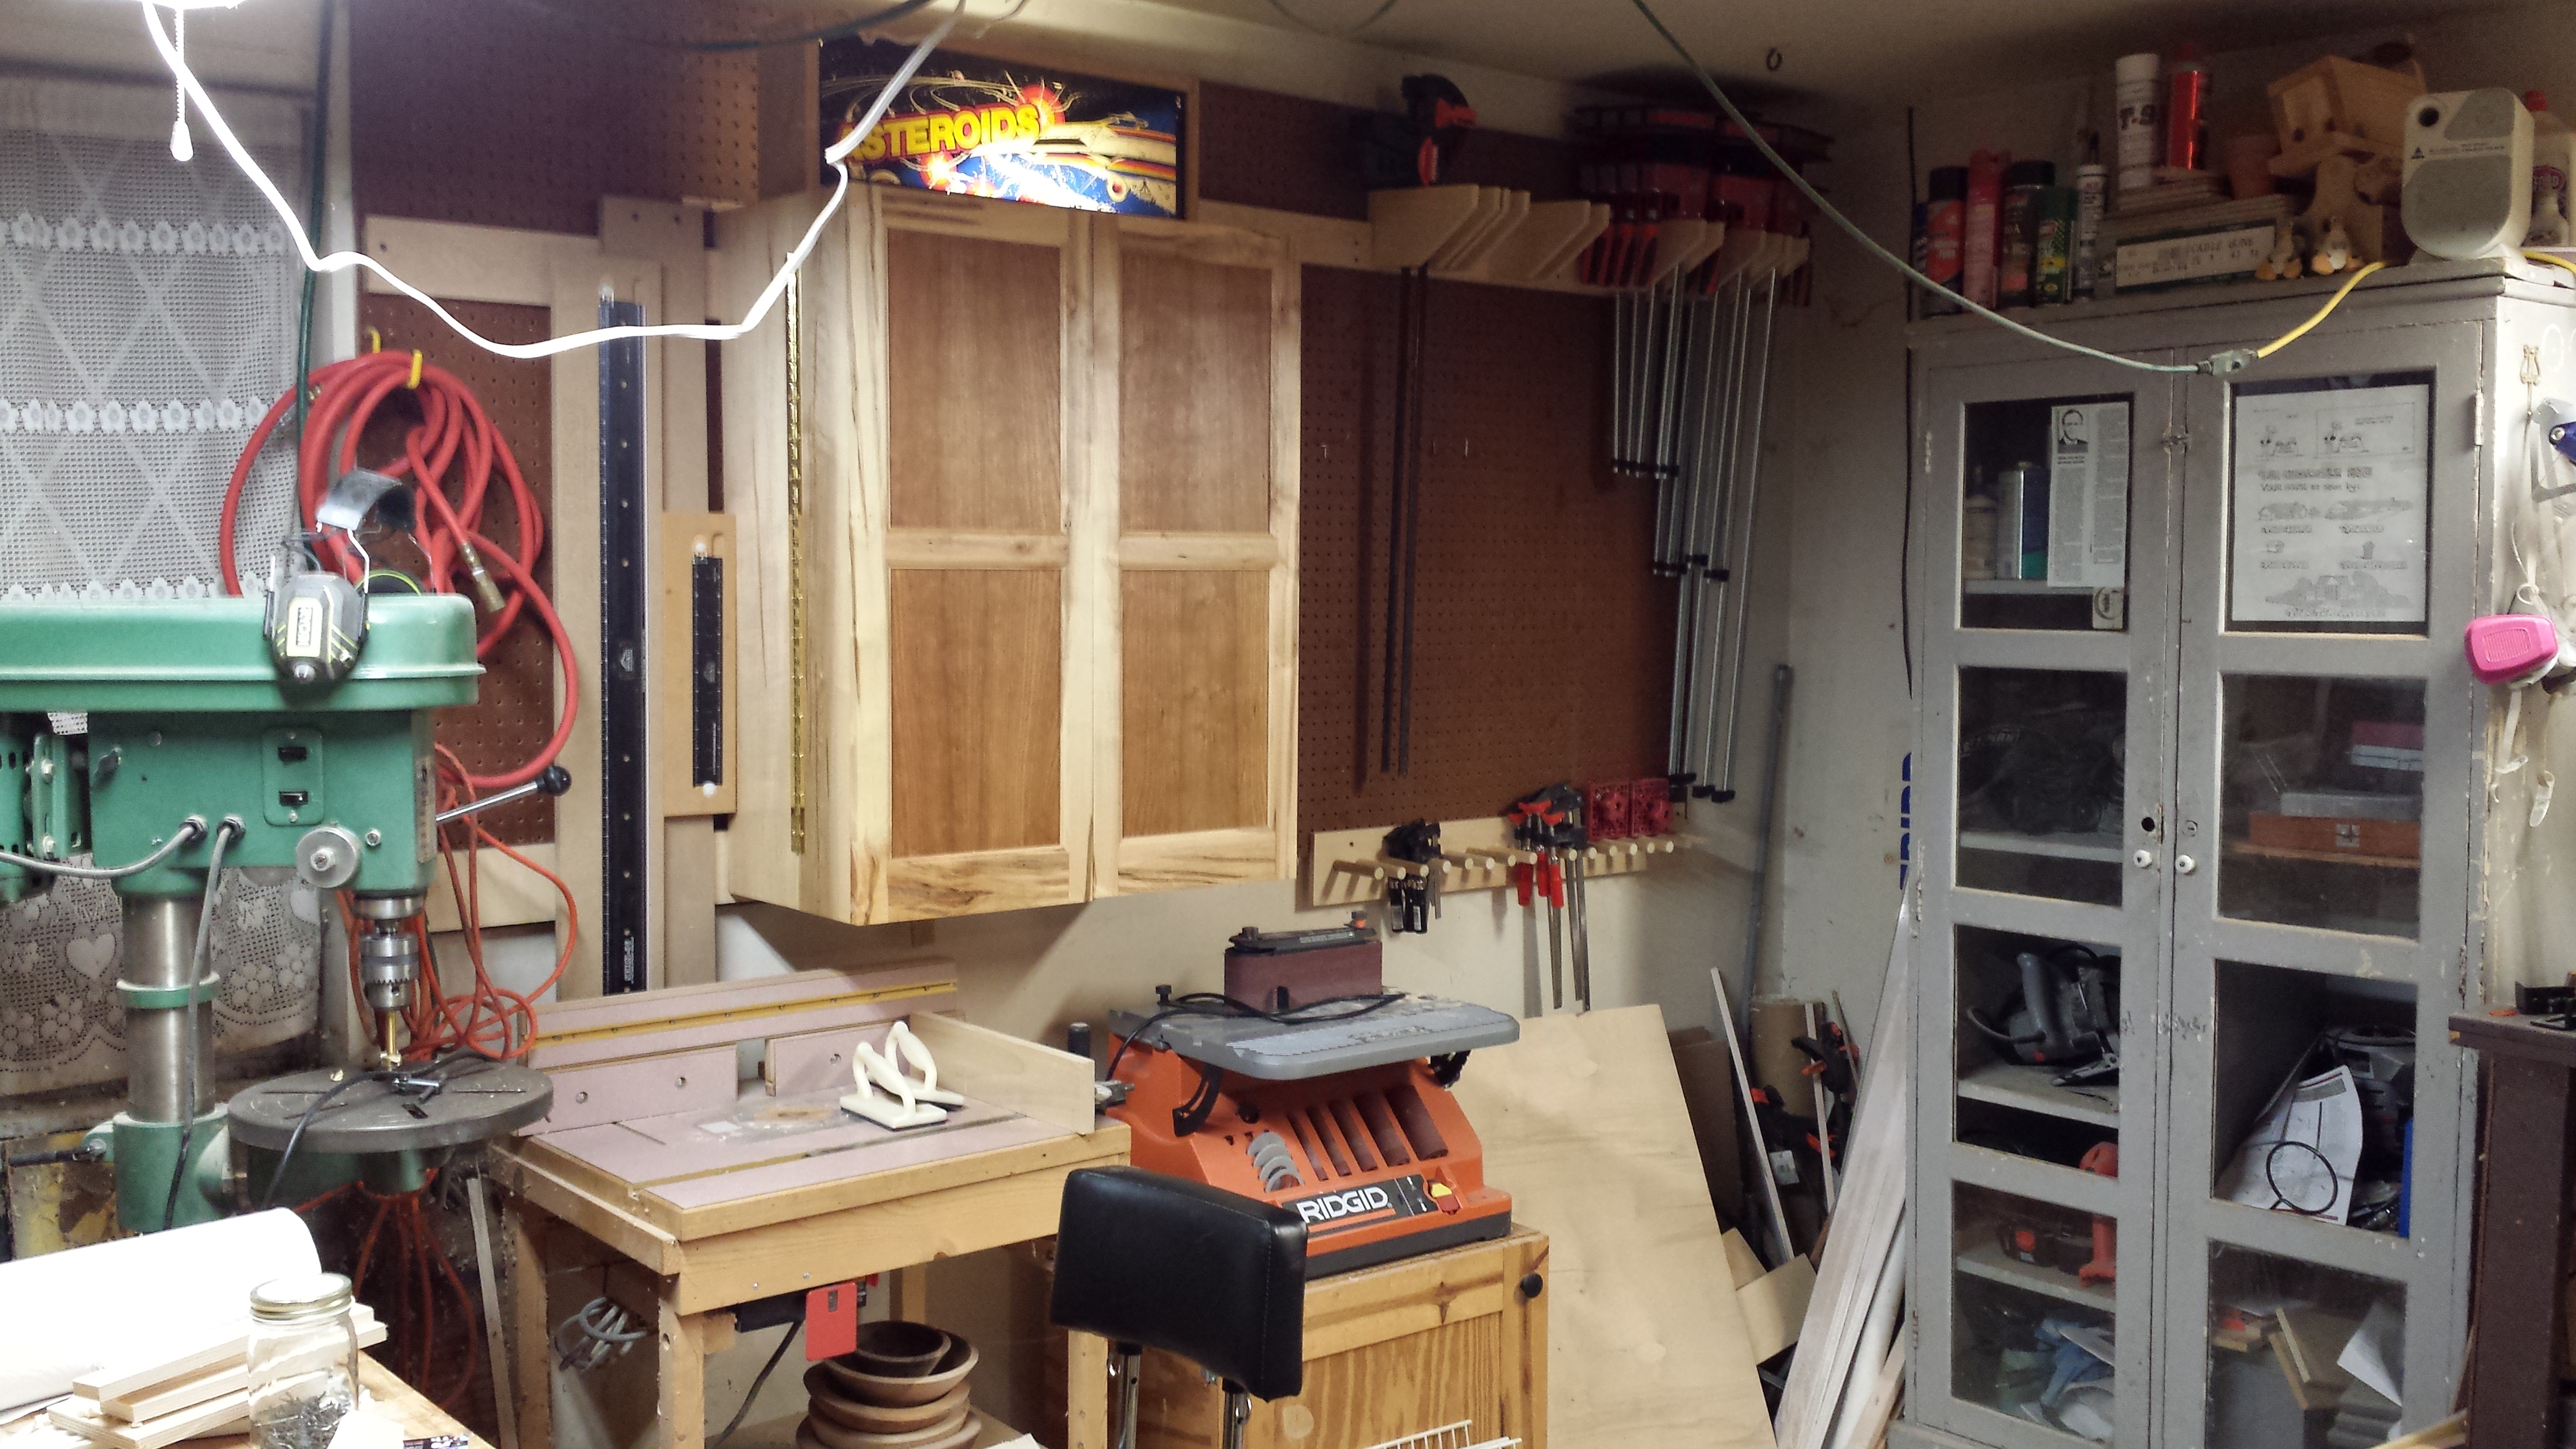
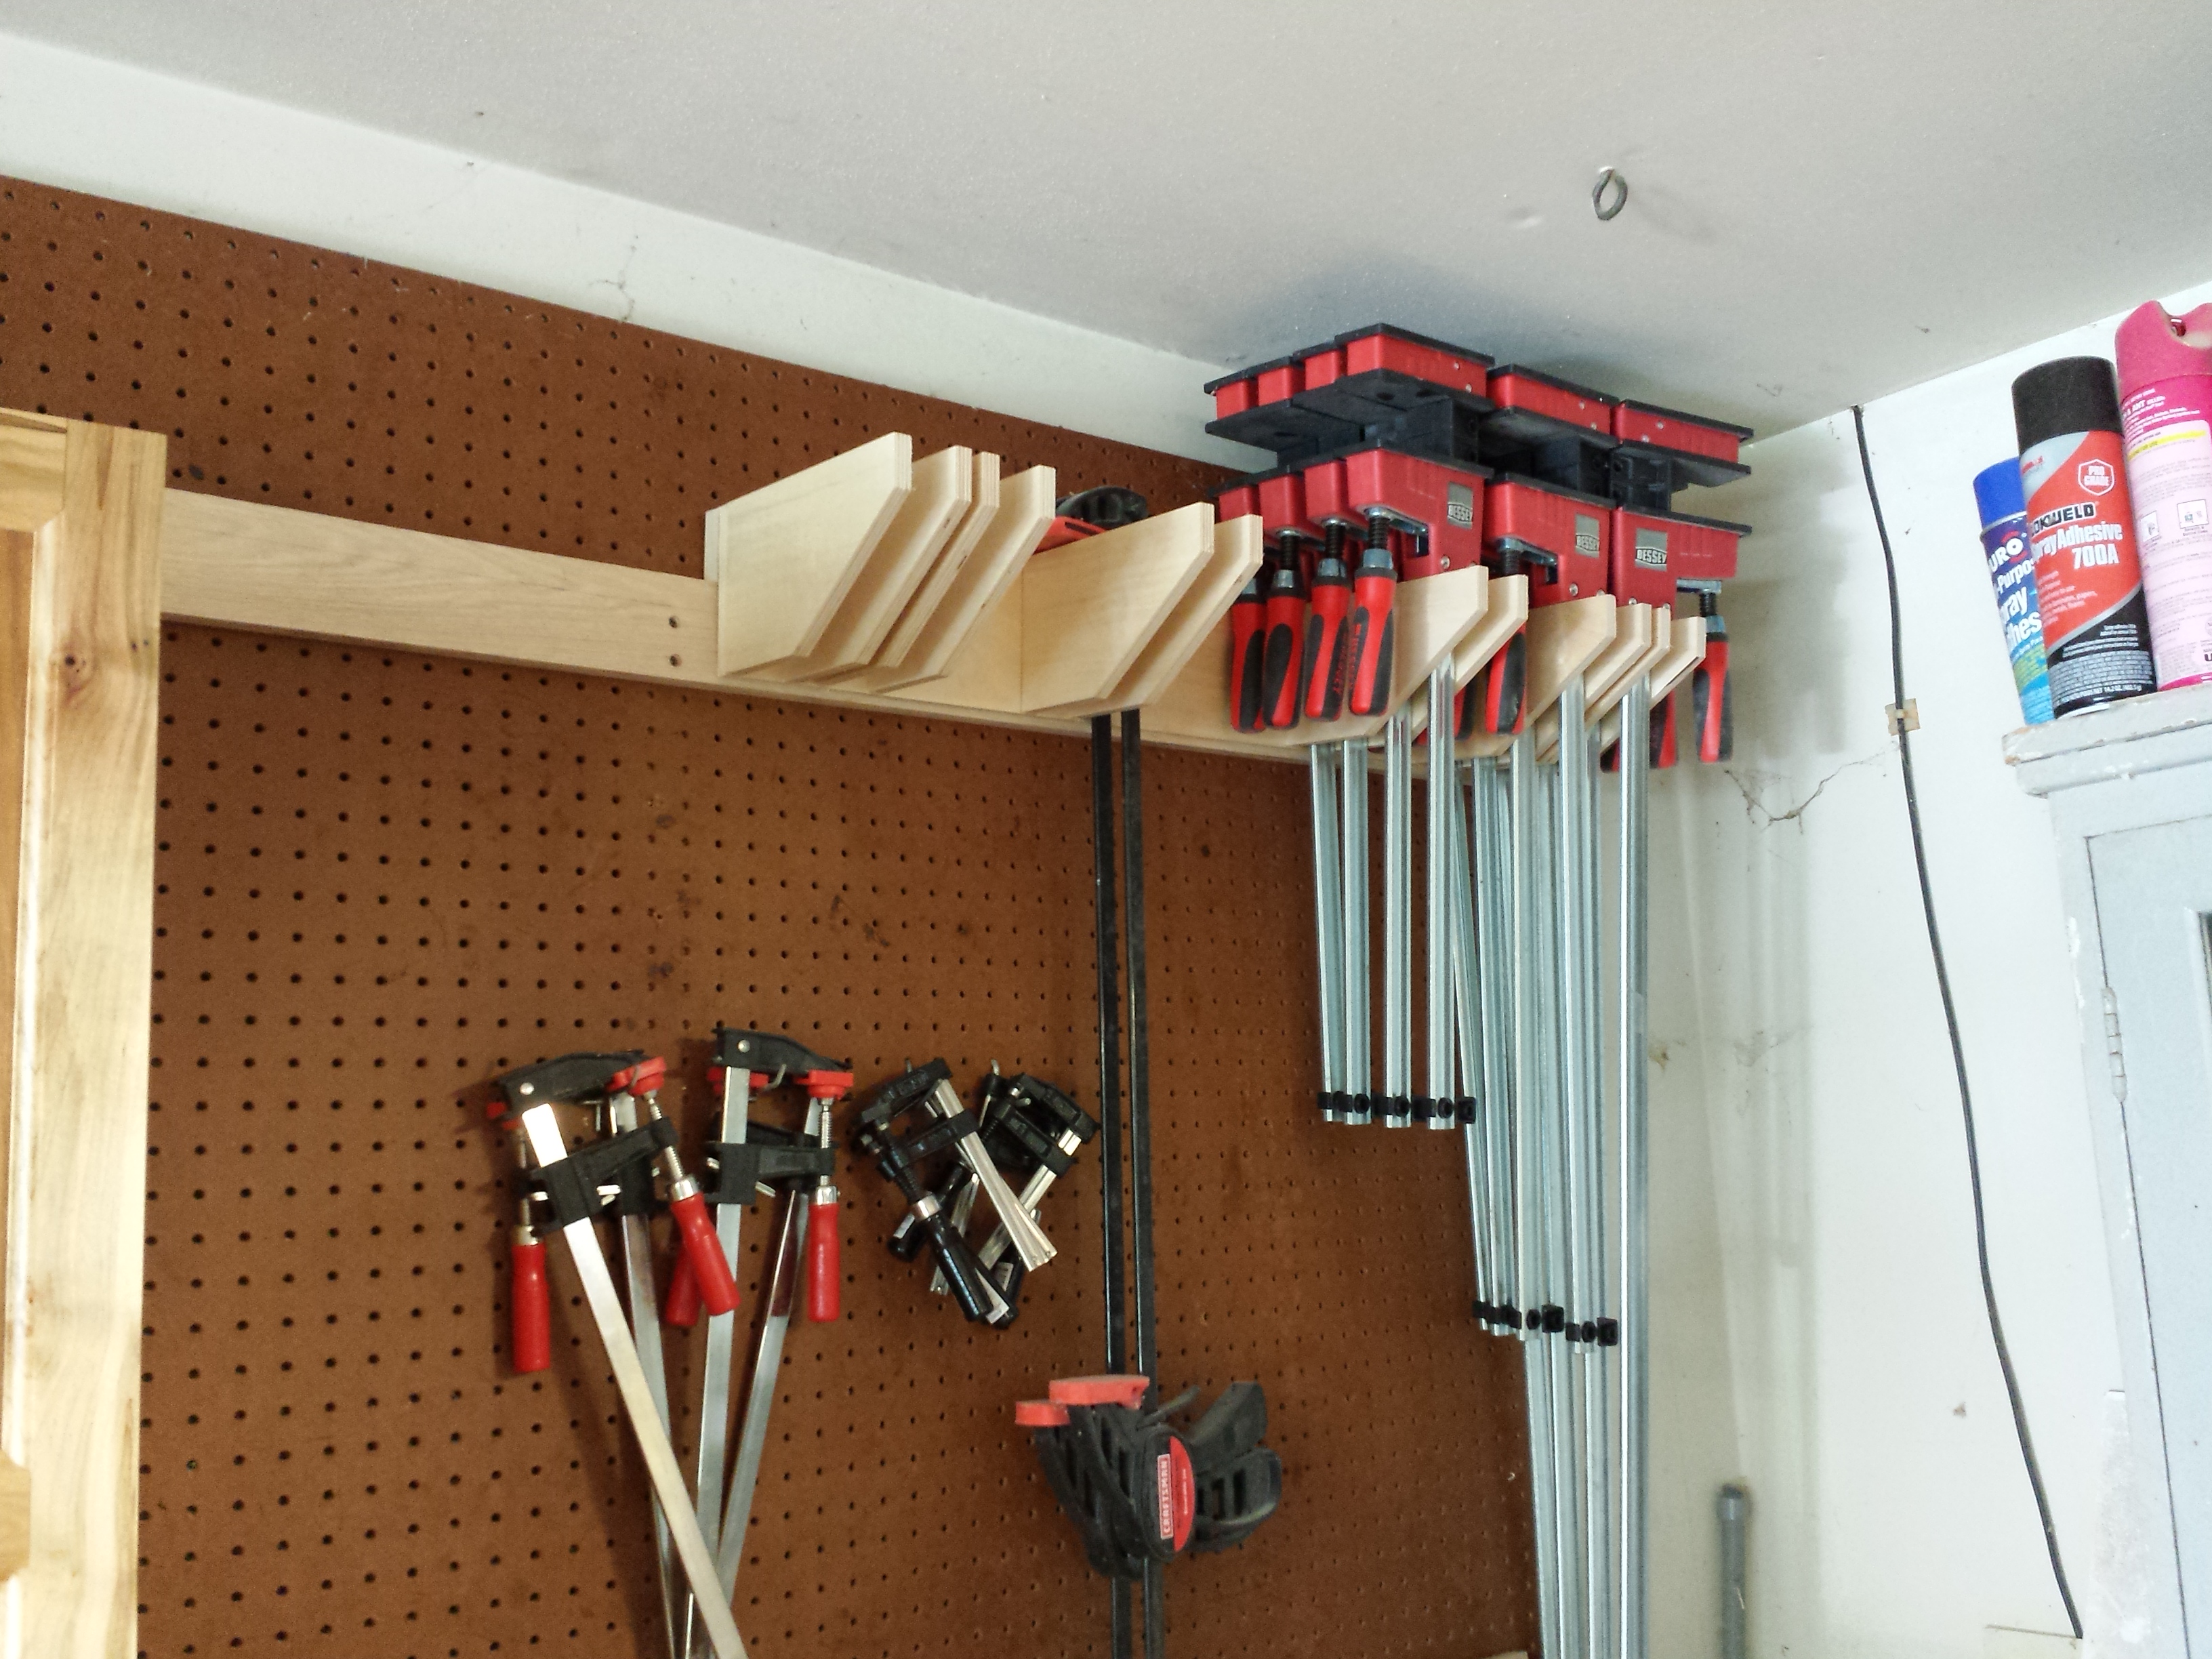 So, now the hand tool cabinet is up on the wall, and my still growing collection of hand tools are stowed away in it. Each tool, that didn’t end up on the plane till or in the chisel rack all had custom hangers made for them. I eventually want to put a saw till in the right door, but with just the one dovetail saw and the one Japanese saw, I decided to leave that for a later project. I still need to make the drawers for the cabinet, but those will come later as well. I also made two clamp racks. The first one is for the k-bodies. If you notice, it is intentionally only half full. I am not buying those clamps yet. 🙂 I also made a rack down lower for my smaller clamps, including the F-Style clamps.
 I dare not call the hand tool cabinet finished. I don’t think I will ever call it finished, as it is meant to grow and change as I do in my woodworking. So don’t be surprised if 5 years from now if I still make the occasional update on it. For now, on to the next project!
Oh, and the white cabinet did not go to waste. My Dad took it, and is going to use it in his garage.