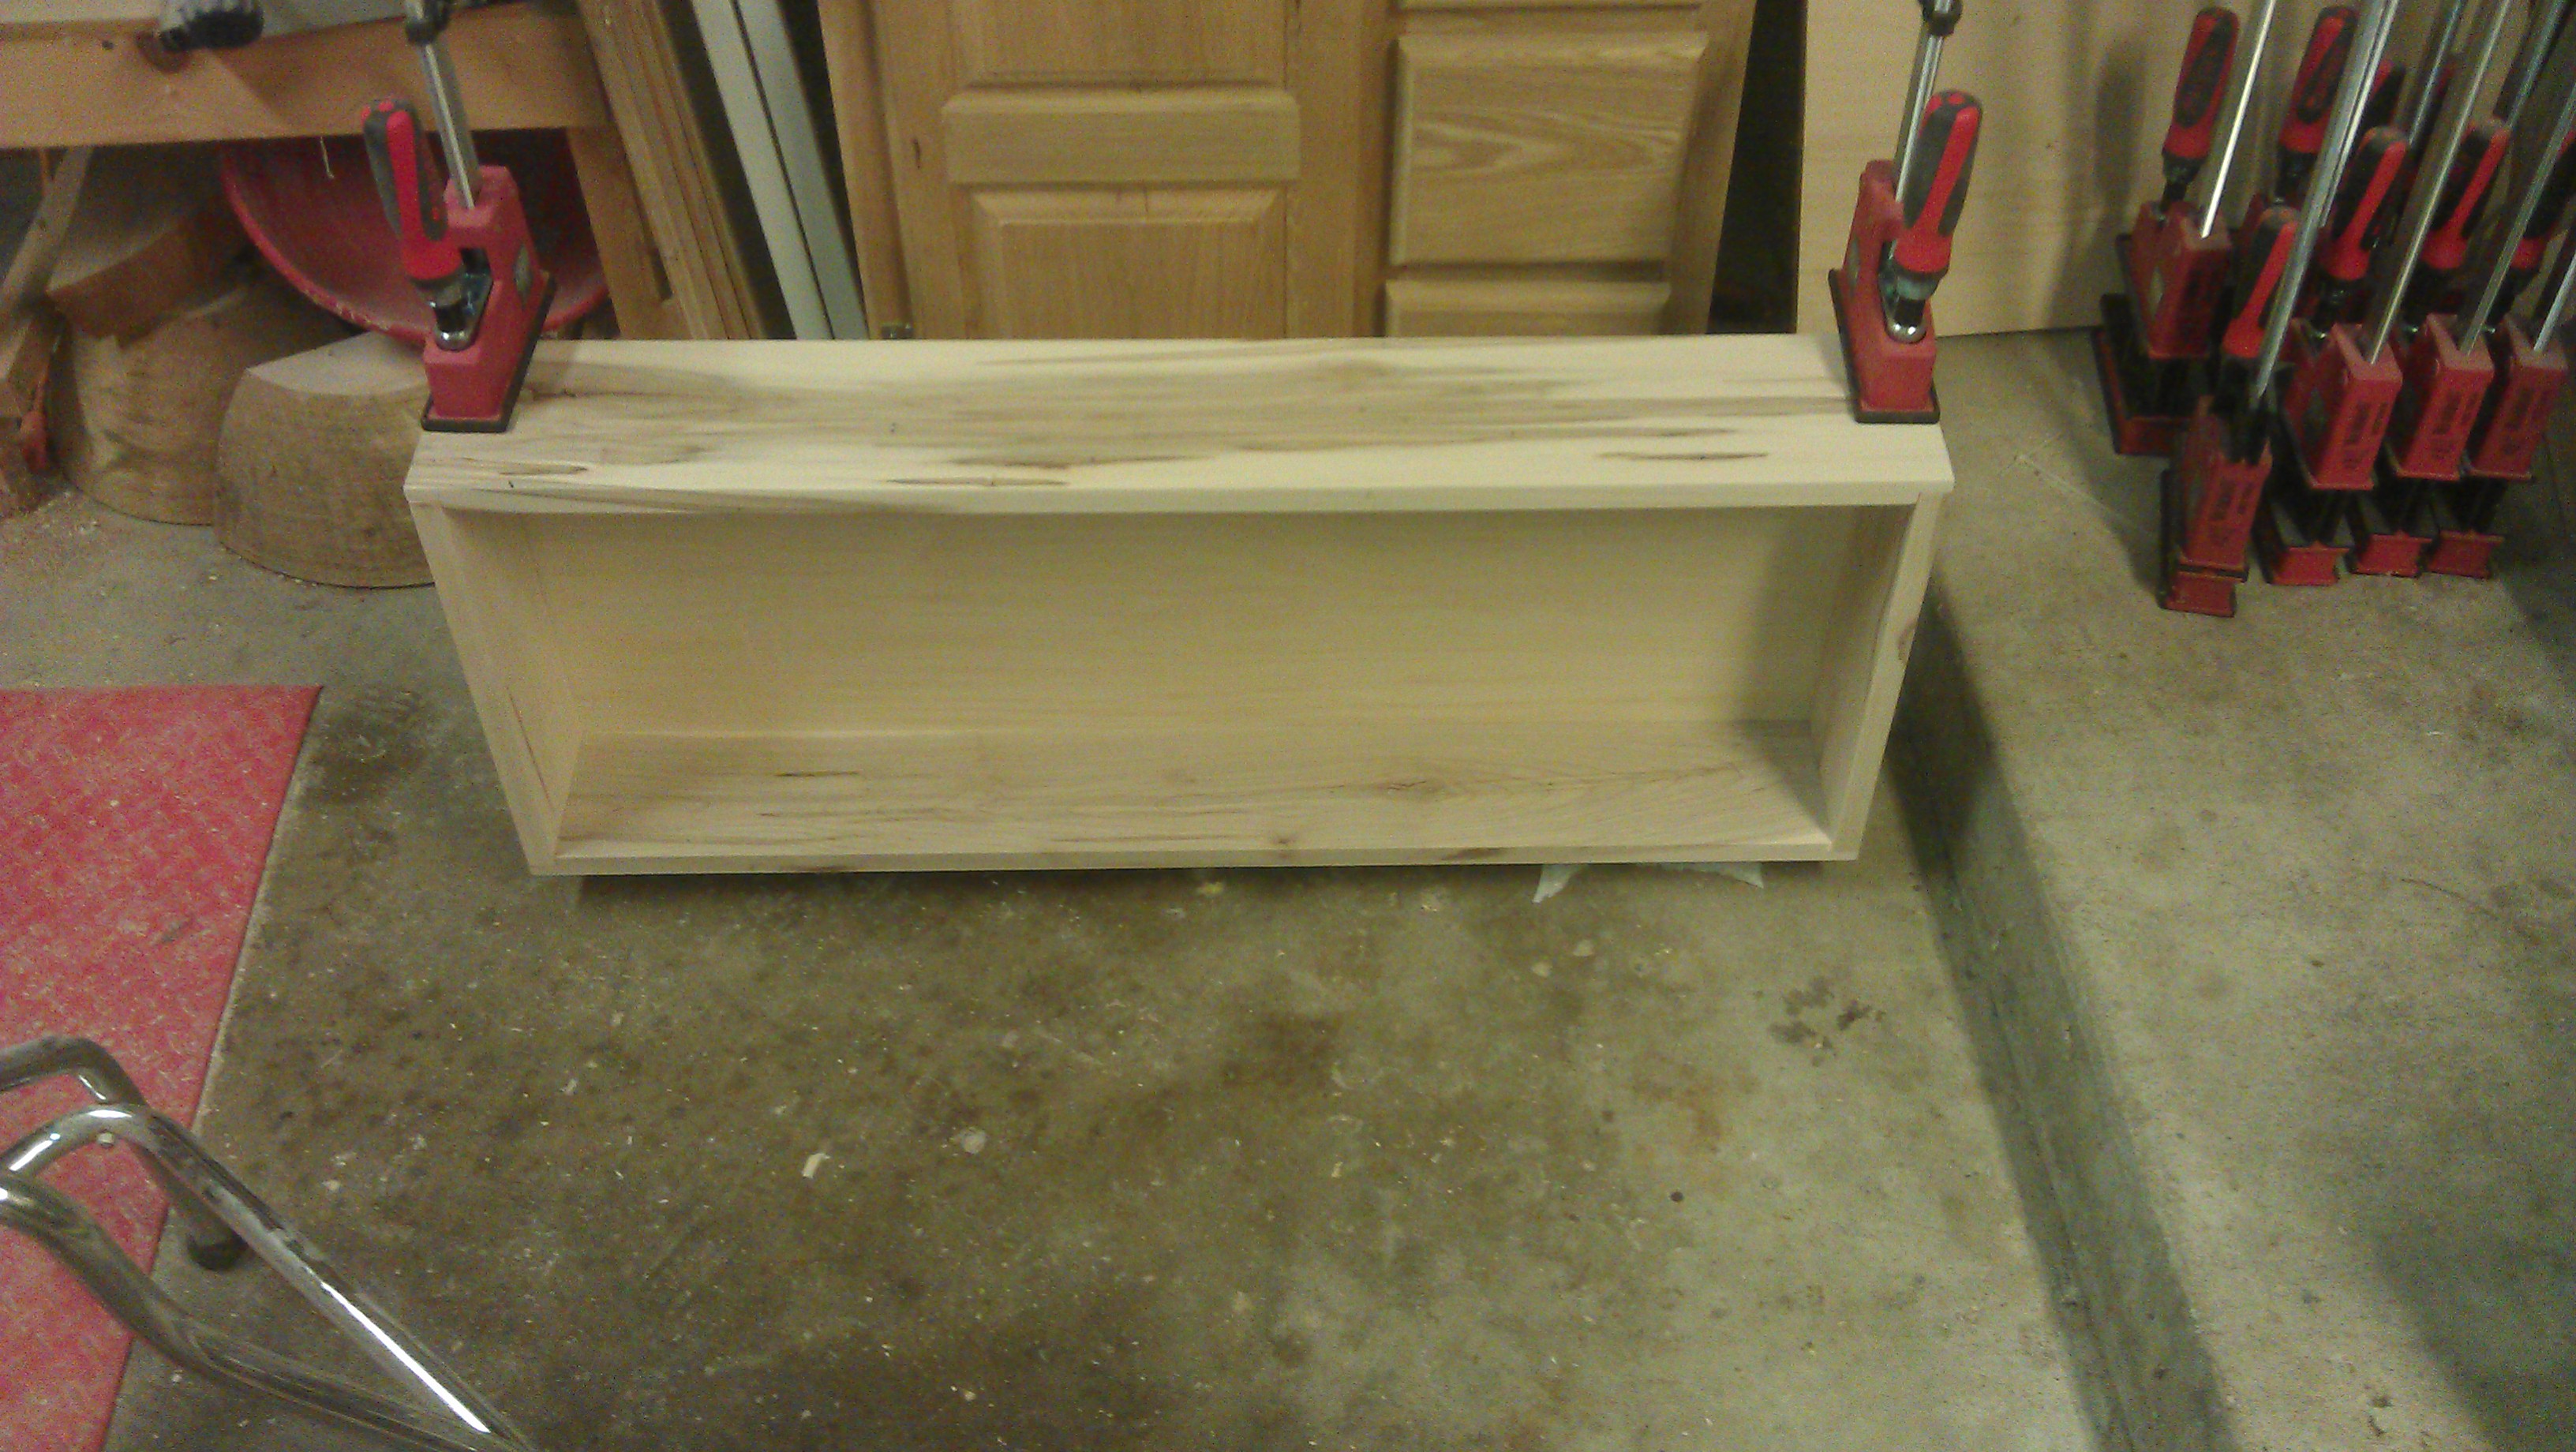
 Except for maybe the quick and dirty projects that we all sometimes just throw together in an afternoon, most every project presents its own unique challenges. My current project, the hand tool cabinet, has relatively simple joinery, largely rabbets and dadoes, with some hand cut dovetails for the drawers. The complexity in this case isn’t the joinery, the complexity comes from the number of individual pieces in the cabinet. Based on the sketch-up drawing, there 49 pieces! If I took the entire cut list and started planing down boards and cutting individual pieces to size, I would have created a confusing mess. Plus I would have parts laying around for weeks, even months, before I would be ready for them. There is a good chance the piece has moved due to humidity changes, or the piece may no longer be appropriate due to mid-stream design changes.
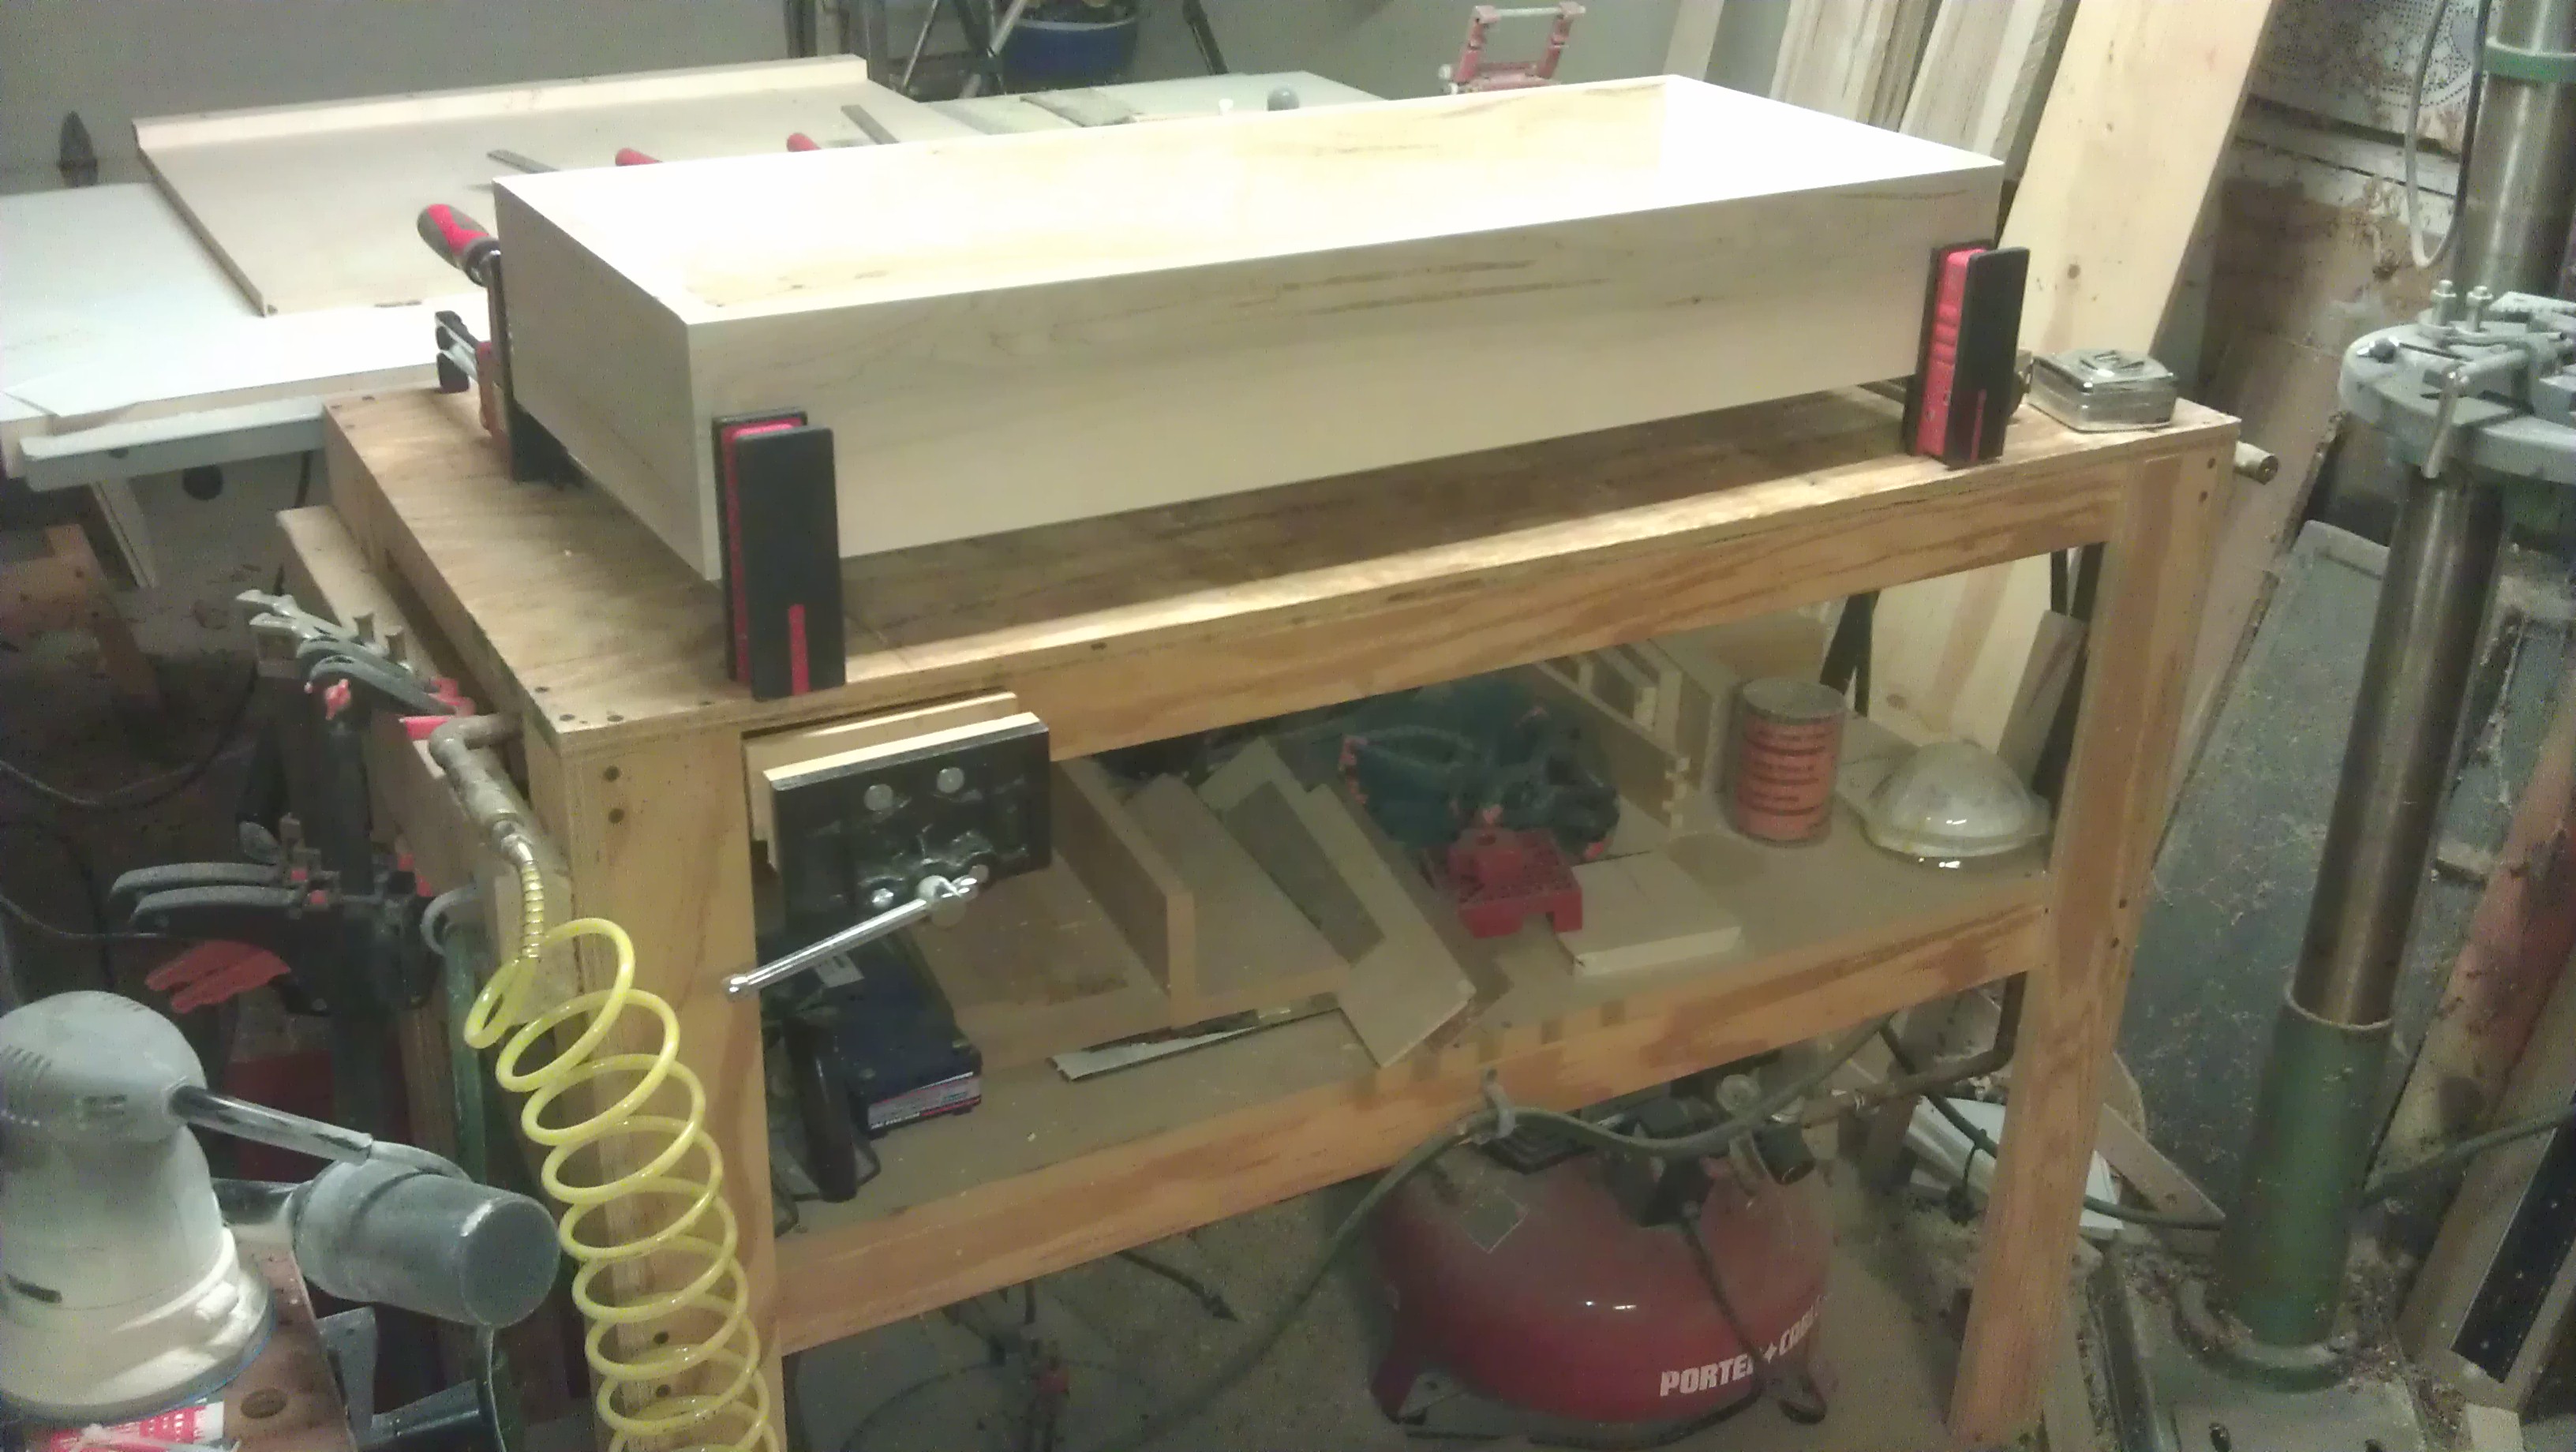
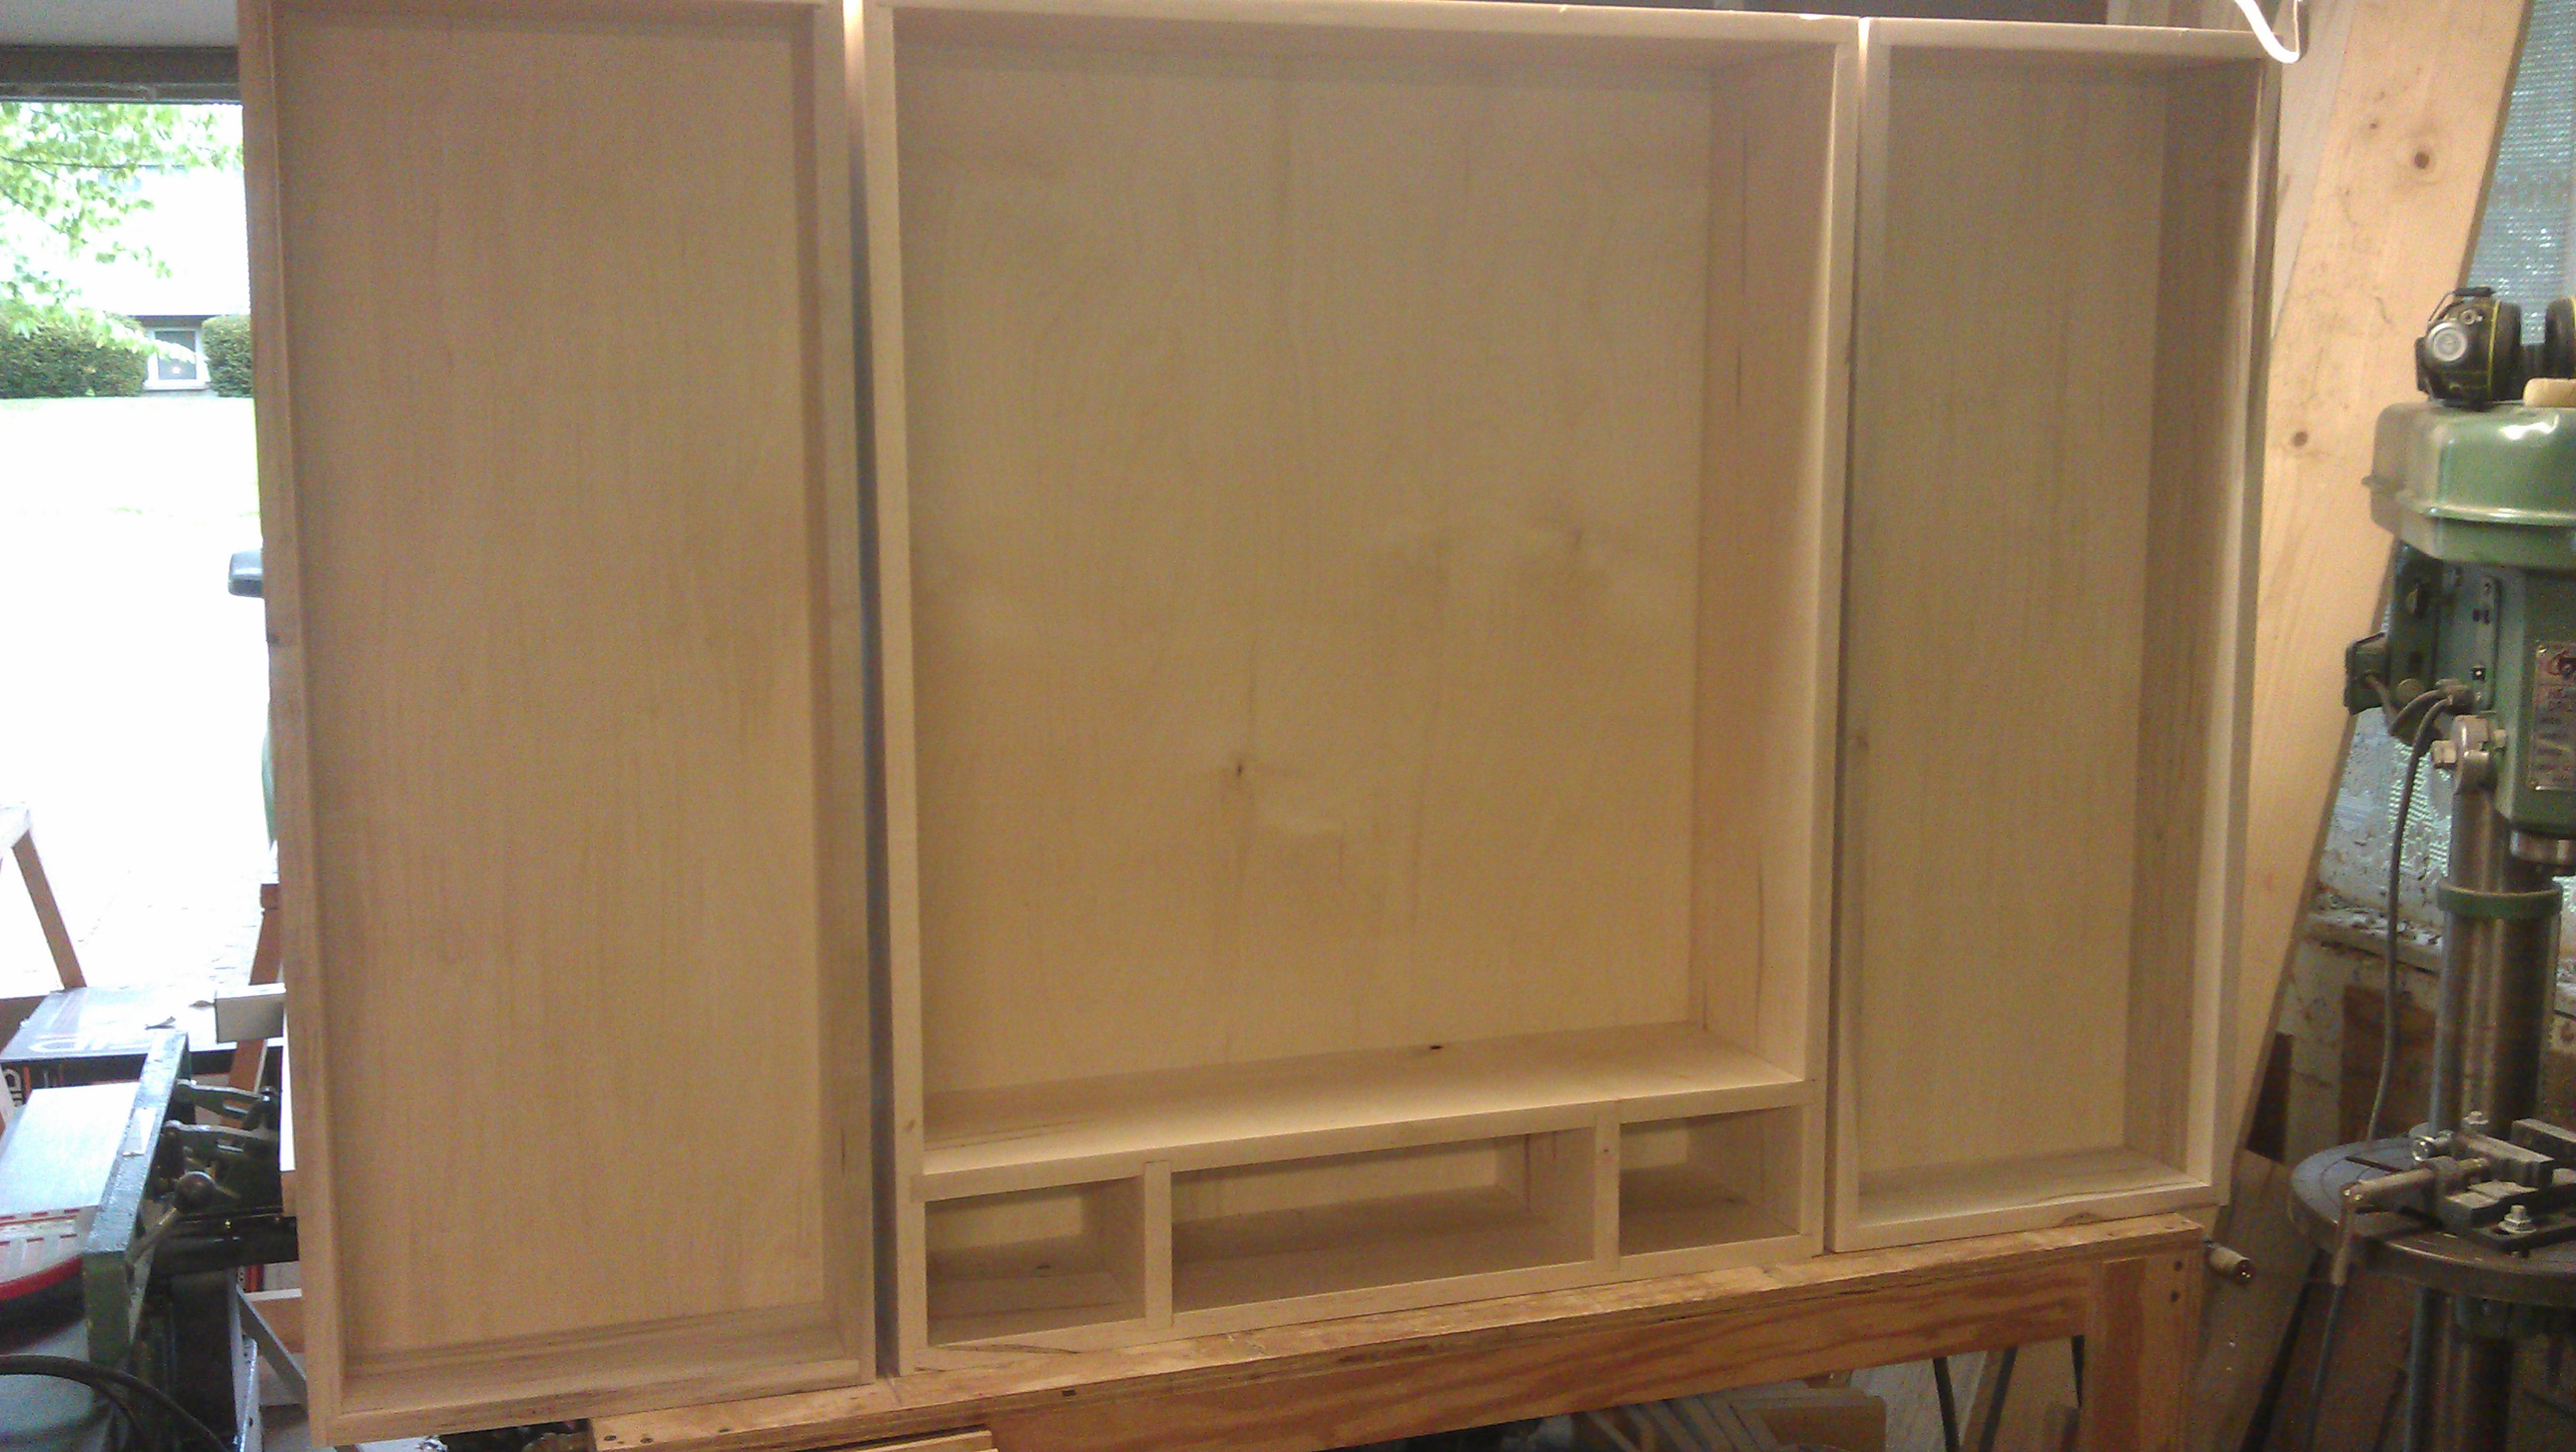
 Instead, I try to componentize my projects. With the hand tool cabinet, this was very easily done. For example, I started out with the main box. I planed down only the wood I needed for that component. From there, I either work on one joint (if a complex joint) or one joint type. For example, the main box is put together using rabbets. So, I start out concentrating on the main rabbets, not worrying about the dados for the shelf or for the back. If I start thinking too far down the road of the project, it makes concentrating on the task at hand that much more difficult. Once I get all my rabbets cut, I move on to the next joint.
For more complex joinery, I concentrate on one joint, typically two pieces of wood, at a time. This is especially important when fitting more complex joints like dovetails, or even hand cut mortise and tenons. As I get each joint fit, I expand out to the next one, and proceed until all the joints are fitted and square. Revisiting joints as necessary.
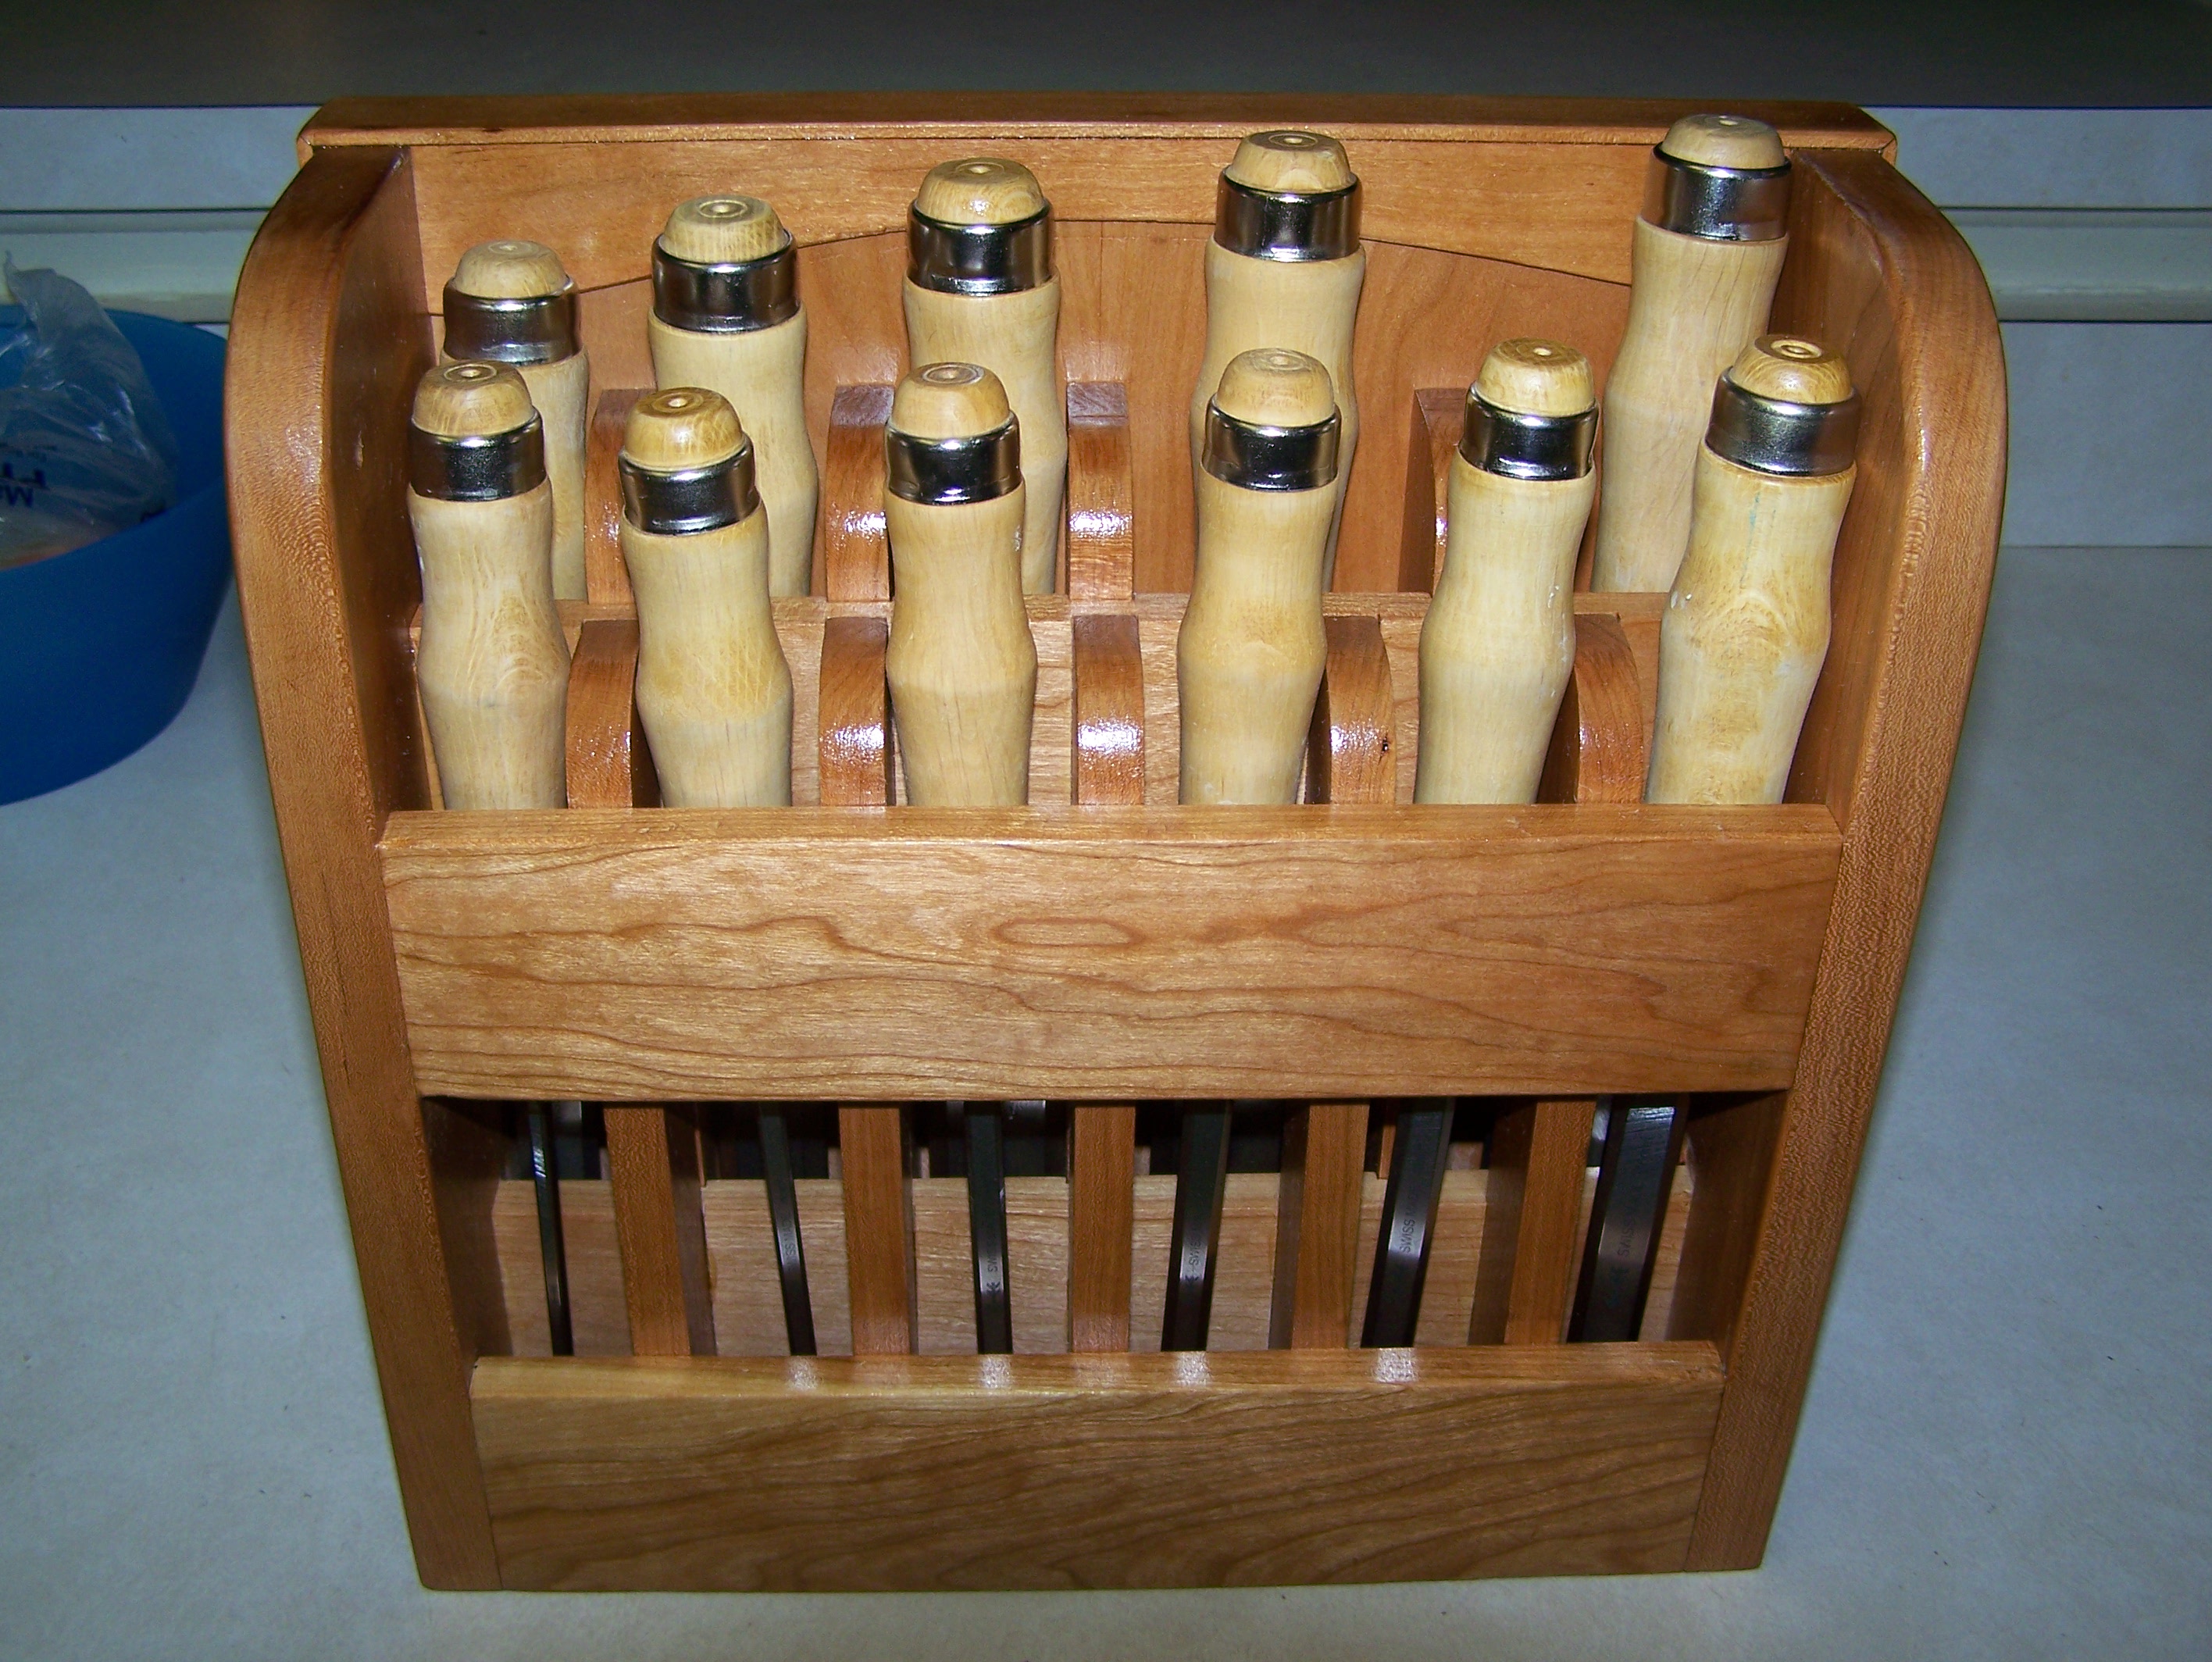
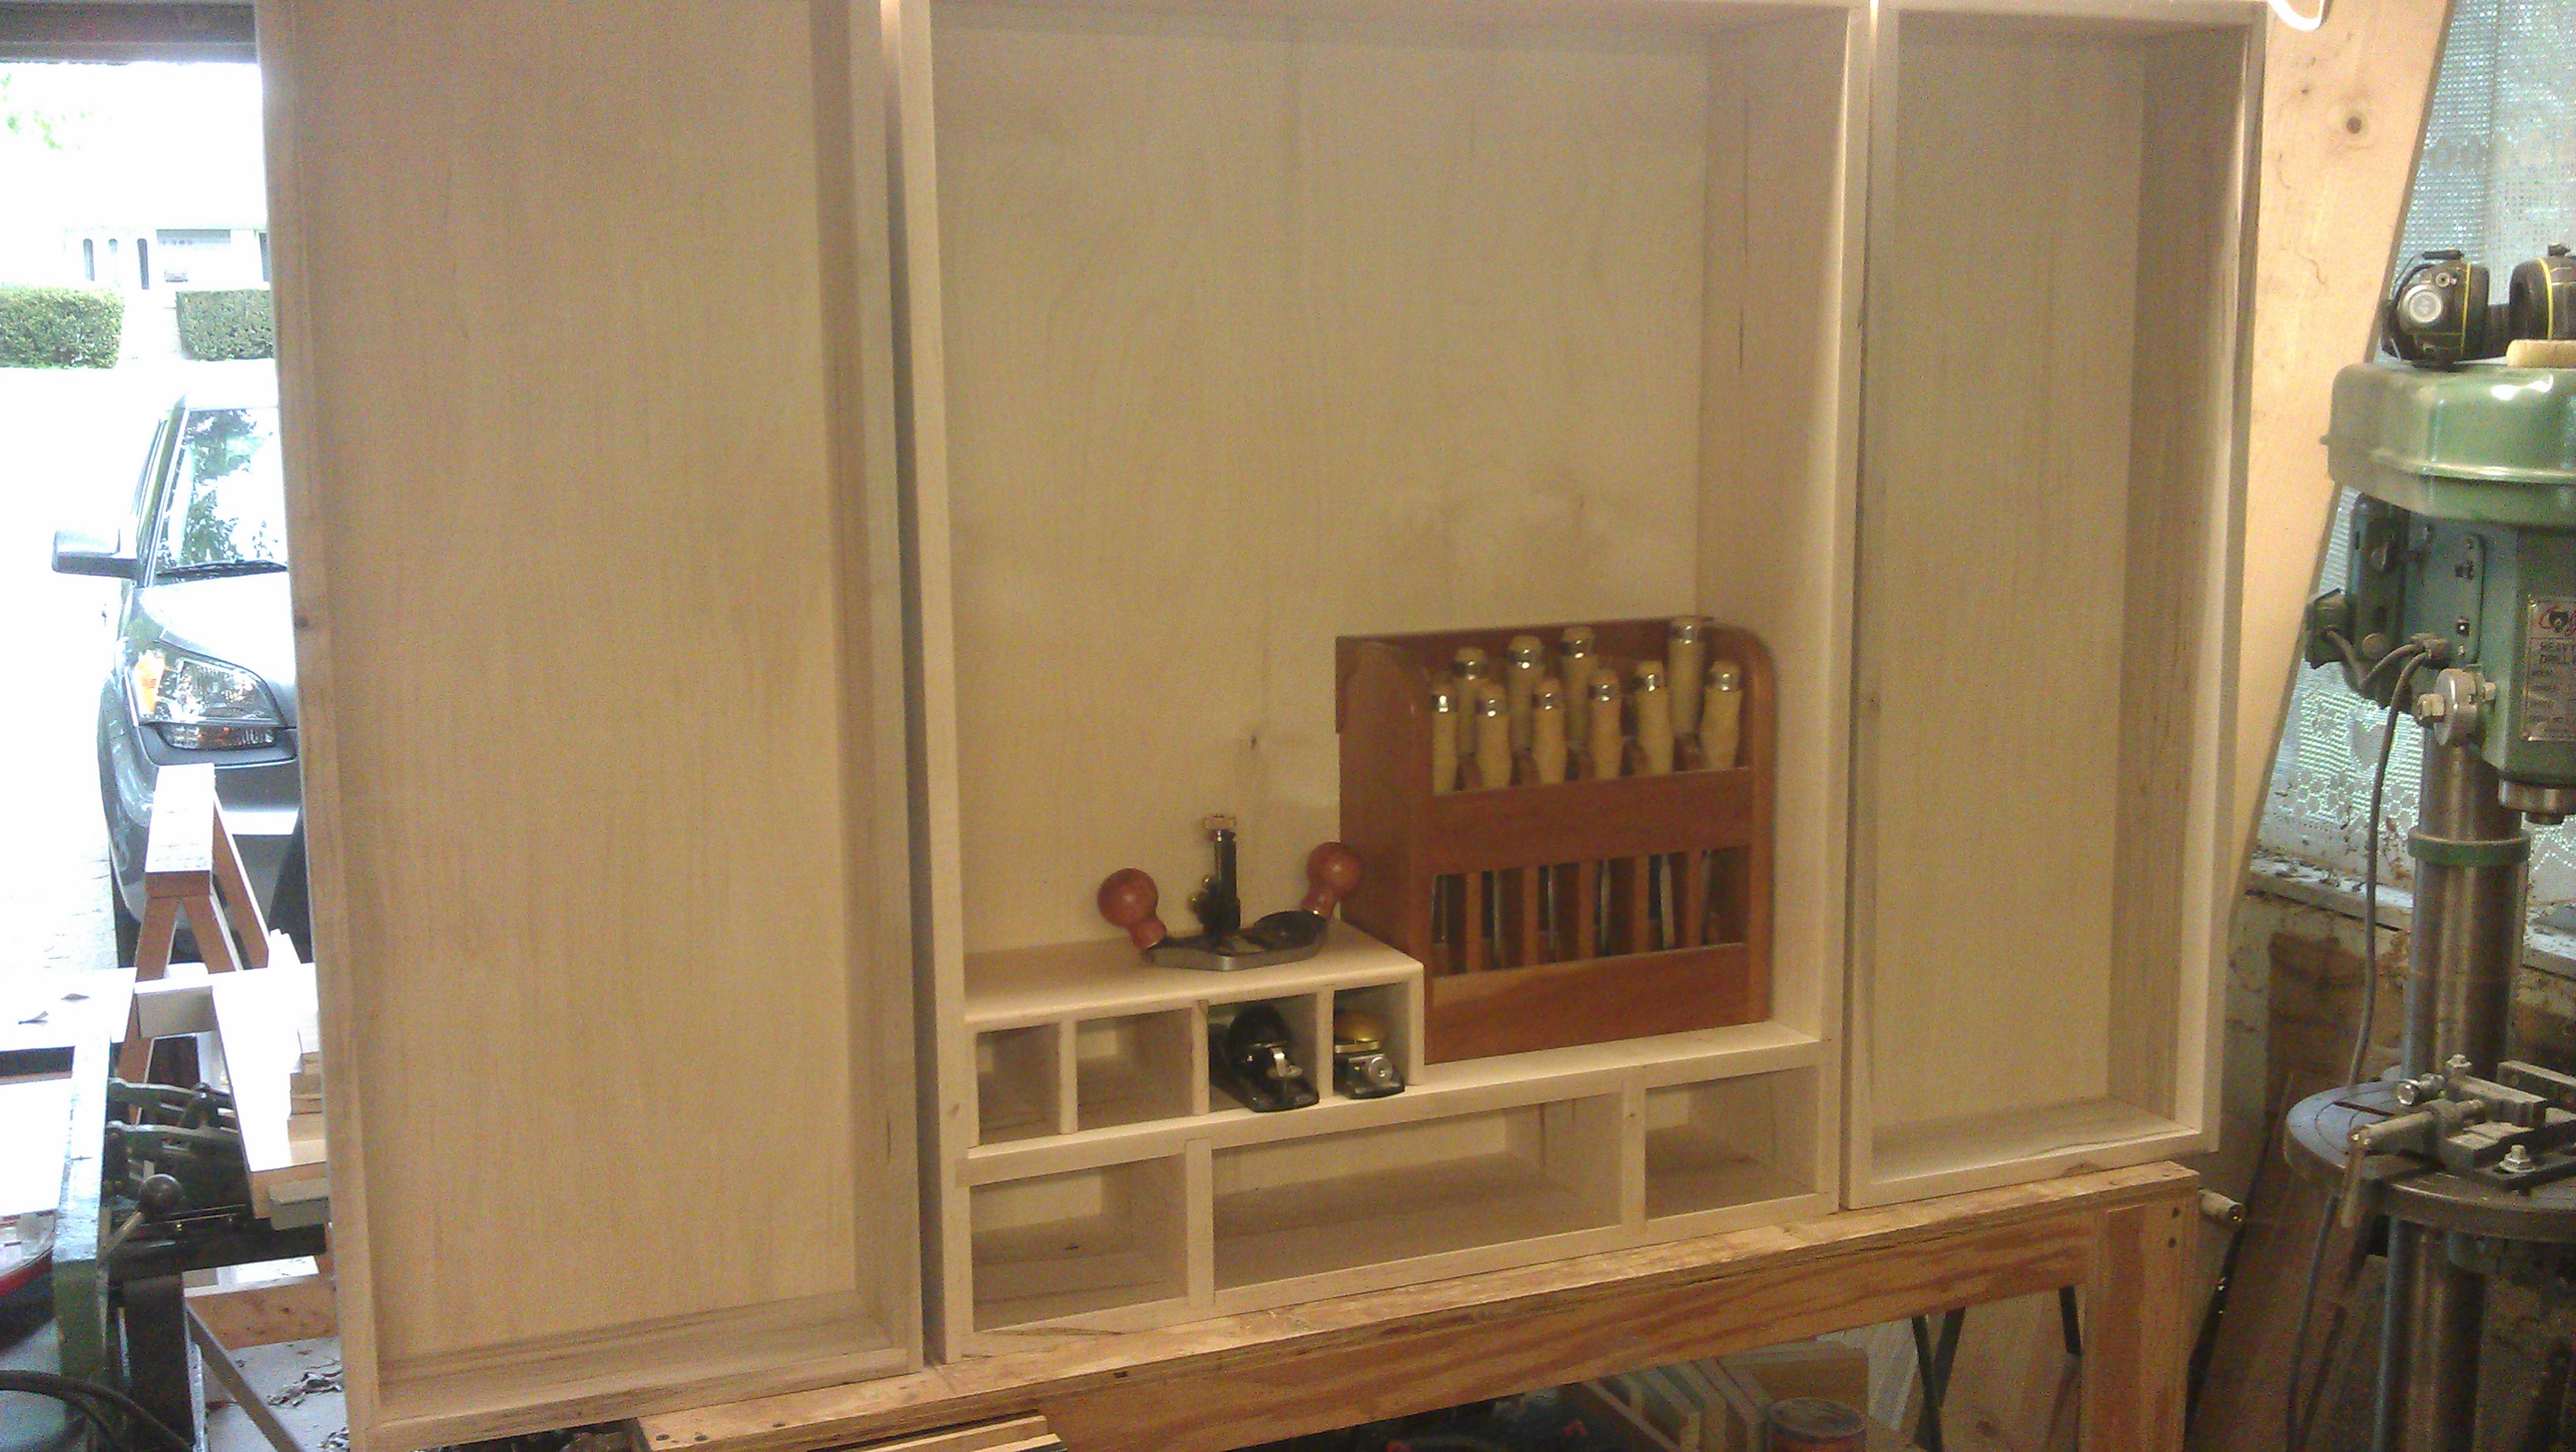
I had someone comment once that my chisel rack would be to far above their skill level to attempt. Even though my chisel rack was my first real foray into a more “fine” woodworking using real joinery and no mechanical fasteners. My response back was to them that was simply not true. As I had accomplished this project, and I still consider myself a beginner! While there are definitely techniques out there that are best left to the master craftsman, there are many complex projects that a beginner woodworker can undertake, just by taking it one piece at a time.