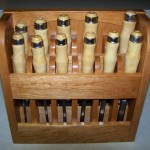
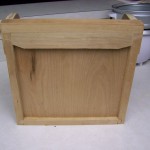
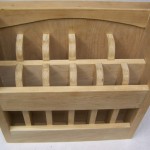
Haven’t figured out where I am going to hang it yet, but today I sharpened all the chisels, put some oil on them, and put them in their permanent home!
Month: May 2011
Chisel Rack With a Couple Coats of Shellac
Published on by Mike (Leave a comment)
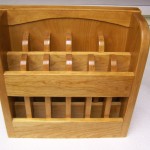
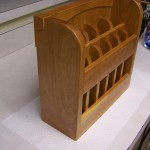
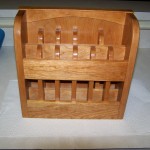
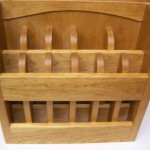
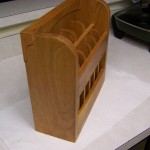
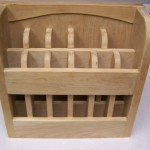
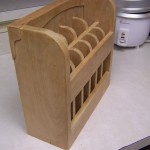
The coats of shellac have been applied, and I very lightly sanded the last coat with 400 grit sand paper. The result is a finish that has just the right amount shine to it. In fact if it is in the right light, you can see a little bit of a reflection in the finish! The last picture was taken with the flash, and you can see some of that reflection happening! I did cut up a foam rubber mouse pad, and covered the bottoms of each slot with that so that will help protect the sharp edge of the chisel. The rack itself is basically complete now. The next step is to sharpen and hone all the chisels going into it, and to of course, find a place on the wall to hang it! Will take and post pics once that has been completed as well.

