I know it has been awhile since I last updated, but I have been busy make sawdust!! I am happy to say that the chisel collection is now complete! The last picture you saw, there were only 3 chisels. I am happy to say I now have the complete set at 11 chisels! There were a couple of factors into why I opted to get the complete set. The biggest factor is cost. The local woodcraft had a 25% off sale for all chisels, which started AFTER I bought the first 3 pictured in the earlier post. Except for those 3, I was able to take advantage of that sale for the remaining chisels. Thankfully the sale ran for awhile! The other reason was after some coaxing from a few people on TheWoodWhisperer.com chat room (you know who you are) they convinced me it is better to have them all and use them occasionally, and not have it and need it. Surprising, I have found I have used all the chisels, fairly frequently while working on the current project, which has had a lot of hand work on it. Fyi, the chisel have been great, I would give them a 5 star rating.
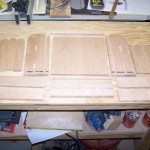
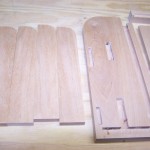
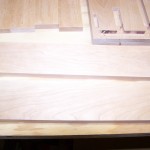
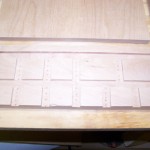
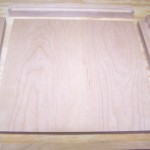
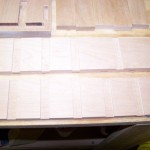
The project I am working on is a storage rack for the chisels. This started out with a drawing I made in sketch-up. From the sketch-up drawins, I estimated the amount of wood I would need. I ended up buying 7 board feet of cherry for the rack. This was 2 more than I figured I would need, however I ended up using ever bit of it! Most of the longer dados were done on the router table. A lot of them were stopped short, and the squared up with my chisels. The short dados on the bottom piece were done largely by hand with the only power tool being the drill press to hog out most of the material. All the mortises were done by hand, again using the drill press to hog out much of the material. The back panel is a glue up of two smaller boards. I had the foresight to glue them together at 3/4″ thick, and let them acclimate awhile. Sure enough, I got warpage. I used, for the first time, my jack plane to get the wobble out, then planed it down to the 1/2″ thickness. The pictures below are all the parts needed to assemble the rack. Each piece has been sanded to 220. The next step is assembly, which as of this posting is not done yet. I will make a future post of the assembled rack.

